Now that you know where you need to add transaction codes in your Fusion instance, you must now make sure you classify them appropriately. In case you don’t already know, Oracle reads bank statements at both the header and line level, so you must add the codes to the proper mapping groups in the Manage Code Map Groups task.
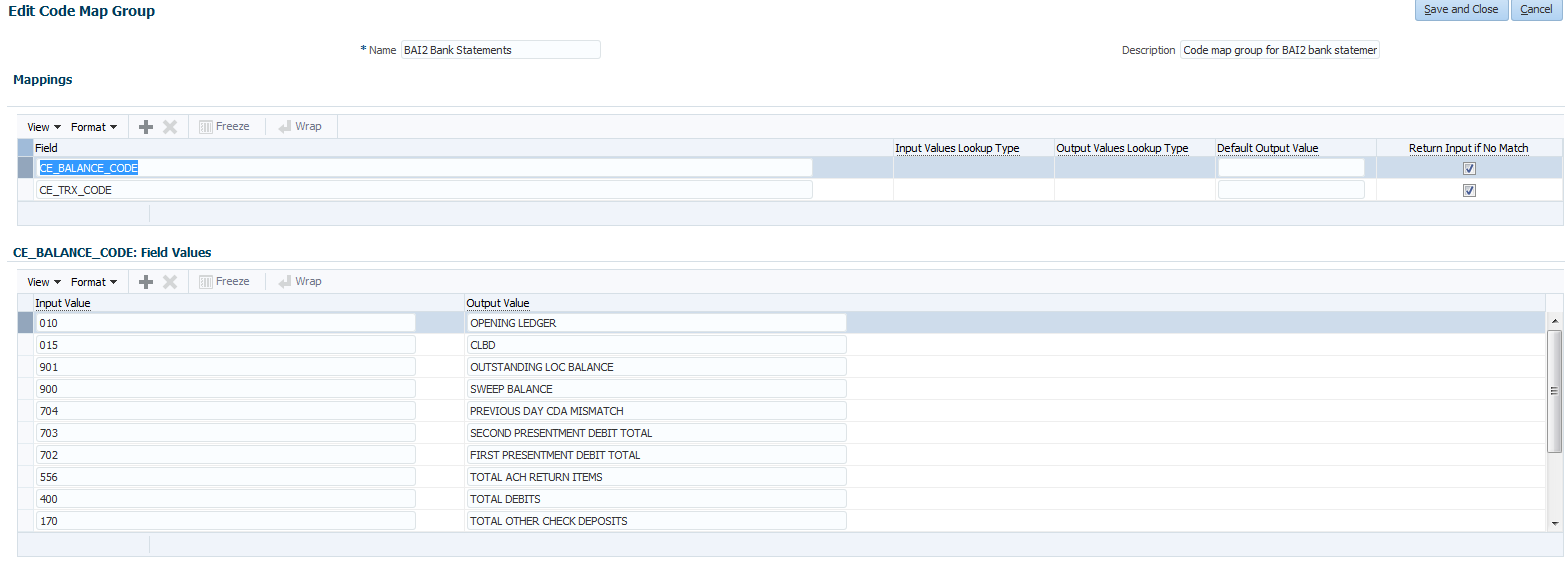
Unfortunately, Oracle only provides a seeded balance code group with seeded values, as seen below:

Since you are defining these codes manually, you must also create a transaction code group. Best practice from Oracle suggests using the naming convention of CE_TRX_CODE, like so:

Go ahead and check the box for “Return Input if No Match” so that if there are errors reading these codes the statement lines can still be loaded with reasons provided for the errors. For example, if CE_TRX_CODE mapping does not include code 275, the system will load the statement and tell you that code 275 is missing from the mapping.
Now you will start adding your codes.

Review the BAI2 Bank Statement Overview file from your bank to determine the balance (header) codes versus your transaction (line) codes. You will have to add all of your balance codes to the CE_BALANCE_CODE mapping group and all of your transaction codes to the CE_TRX_CODES mapping group. The file I had from one bank labeled the header codes as “Summary” or “Status” codes, while all line level codes were labeled as “Detail”. Hopefully your bank provides enough descriptions for their codes so you can easily differentiate the two types.

Even though you have to add each code to the three FSM tasks – Manage Code Map Groups, Manage Bank Statement Transaction Codes, and Manage Cash Management Lookups – you should know that you only need to categorize them accordingly in the Manage Code Map Groups screen.
Next week, I will review the process for loading the bank statements. After that, I’ll run through some tips and tricks for managing your bank statement loads.

