
In React͏ development, smooth moving between pages is vital for a seamless͏ user experience. React Router v6 brings out the useNavigate hook for advanced navigation, simplifying navigation logic͏ in functional elements. This ͏blog post will delve into the useNavigate hook, its features, functions, and benefits in React Router v6.
Introducing useN͏avigate
In React Router͏ v6, useNavigate͏ is a hook ͏given ͏by͏ the react-͏r͏oute͏r-dom package. It substitutes͏ the useHistory hook from past versions and provides similar features for moving between routes ͏programmatically. The useNavigate hook gives back a navigation function that helps you navigate to various routes within your app. To learn more about navigation in React Router, check out my other blog post on navigation with useHistory.
How to Use useNavigate
Let’s illustrate the usage of useNavigate with an example:
Step 1: Import useNavigate
First, import the useNavigate hook from the ‘react-router-dom’ package at the top of your functional component file:
import { useNavigate } from 'react-router-dom';Step 2: Access the navigate Function
Within your functional component, call the useNavigate hook to access the navigate function:
const navigate = useNavigate();Step 3: Use the navigate Function to Navigate
Then, you can use the navigate function to navigate to different paths in your application. This can be triggered by an action such as clicking a button or based on some other reason triggering this:
import React from "react";
import { useNavigate } from 'react-router-dom';
import Heading from "./Heading";
import "./NavigationDemo.css";

const NavigationDemo = () => {

  const navigate = useNavigate();

  const navigateToNewPath = () => {
    navigate('/new-path' , { state: { page: 'New Page' } });
  };

  const replaceCurrentPath = () => {
    navigate('/updated-path', { state: { page: 'Updated Page' } });
  };
  return (
    <div className="container">
      <Heading>React Router Navigation Demo</Heading>
      <button onClick={navigateToNewPath}>Navigate to New Path</button>
      <button onClick={replaceCurrentPath}>Replace Current Path</button>
    </div>
  );
};

export default NavigationDemo;
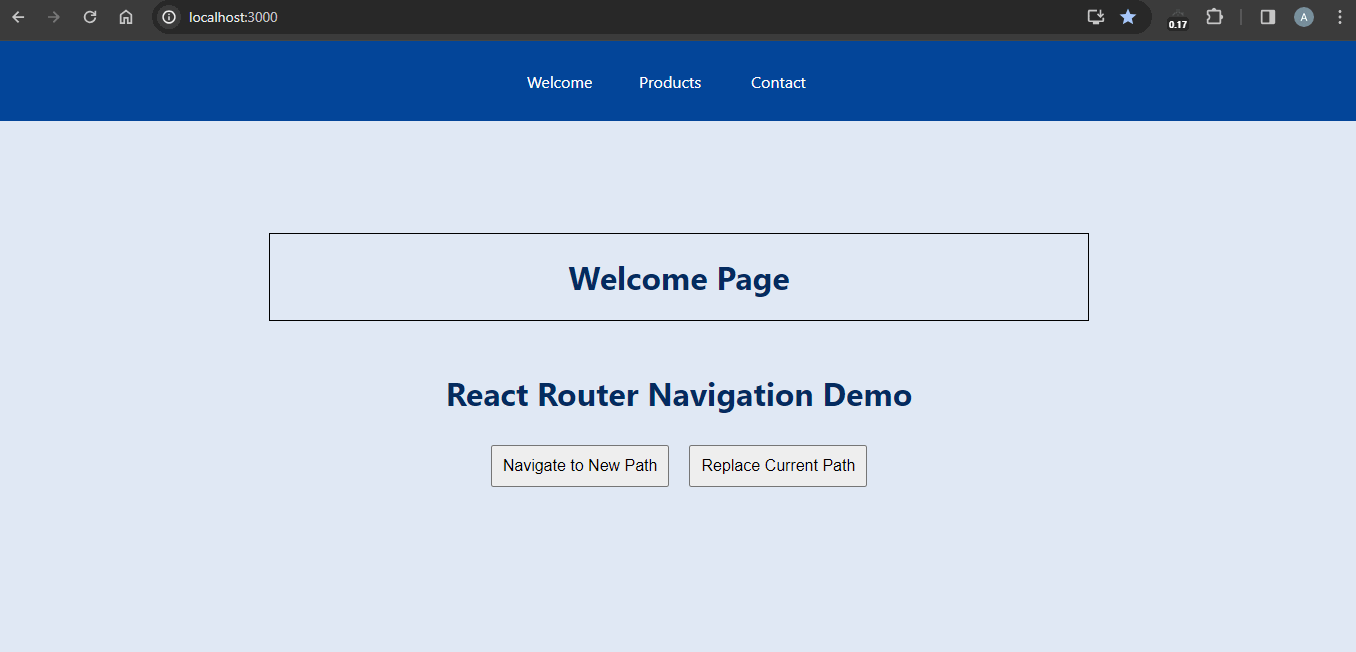
In this example, when the Navigate to New Path button is clicked, the navigateToNewPath function is called, which then uses the navigate function to navigate to the ‘/new-path’ route. When the Replace Current Path button is clicked, it replaces the current path with an updated path in the history, that is, to ‘/updated-path’.
Output:
Features and functions of useNavigate
The useNavigate hook provides several features and functions for navigation management:
navigate(to, options): The main function returned by useNavigate. Goes to the specified route with other routing option(s).
location: A read-only property that returns the current location object containing information about the current URL.
status: A read-write property that allows state data to be passed to the destination.

replace(to, state): A function that replaces the current contents of the history stack with a new representation such as history.replace.
preload(to): A function that preloads a specified method’s code asynchronously, useful for improving client-side communication performance.
Advantages of useNavigate Over useHistory in React Router v6
With the upgrade from React Router v5 to v6, the useNavigate hook replaced the useHistory hook as a more flexible option. This enhancement reflects a deliberate effort to simplify navigation logic in React applications. Here are several key advantages of useNavigate over useHistory:
1. Simplified API
useNavigate provides a simpler API than useHistory, making it easier for developers to perform navigation tasks without directly interacting with the history object.
useHistory approach:
const history = useHistory();history.push('/home');history.replace('/login');
useNavigate approach:
const navigate = useNavigate();navigate('/home'); // Equivalent to history.pushnavigate('/login', { replace: true }); // Equivalent to history.replace
2. Related transportation assistance
useNavigate natively supports relative navigation, allowing developers to write more maintainable and flexible navigation logic, especially in nested routing scenarios.
- In useHistory, navigation of the current path is cumbersome and error-prone, requiring manual creation of the target path.
- useNavigate facilitates by providing navigational instructions about the current path.
3. Direct integration with the navigation environment
Navigating state on the destination path is made even easier with useNavigate, increasing the ability to share state between paths without URL clutter.
useHistory method:
history.push({ pathname: '/dashboard', state: { Login: true } });useNavigate Method:
navigate('/dashboard', { state: { Login: true } });4. Improved routing practices
useNavigate provides additional methods for handling navigation behavior, such as change, touch, preventScrollReset and other advanced methods, which are neither direct nor intuitive in useHistory
5. Future-proof and recommended strategies
Introducing useNavigate to React Router v6 and ignoring useHistory signals a shift towards a simpler and more efficient way of managing traffic Adoption of useNavigate is encouraged to make your application future-proof and conform to the latest best practices in React development.
6. Enhanced programmability and readability
The useNavigate hook increases programmability by allowing developers to easily navigate programmatically, improving code readability and maintainability. It eliminates the difficulties of travel and makes the designer’s thinking clear.
Handling Relative Paths and Advanced Use Cases
React Router v6’s approach to relative paths and advanced navigation scenarios provides developers with increased flexibility. For example, to navigate relative to the current URL instead of the route hierarchy, developers can manipulate the current location with the URL constructor, facilitating more complex navigation patterns. You can also check this doc for more information.
Moreover, React Router v6 introduces experimental options like unstable_flushSync and unstable_viewTransition, offering developers experimental ways to manage navigation and view transitions. While marked as unstable, these features highlight the ongoing development and potential future capabilities of the React Router.
options.unstable_flushSync
The options.unstable_flushSync option is used to control the timing of state updates during navigation. By default, React Router uses React.startTransition for state updates when navigating between routes. This approach allows React to prioritize different types of updates and can help keep the application responsive even during large updates. However, there are situations where a developer might need the state update to happen synchronously, especially if immediate feedback is necessary after a navigation action.
When unstable_flushSync is set to true, React Router DOM wraps the initial state update for the navigation in a ReactDOM.flushSync call. This makes the update synchronous, ensuring that the state change and associated UI update happen immediately without waiting for other updates.
It is important to word that, because of the potential impact on performance and person experience, this selection must be used sparingly and simplest while definitely essential.
options.unstable_viewTransition
The options.unstable_viewTransition option enables the use of view transitions for a navigation action. This is part of an experimental feature set that provides more control over how visual changes are handled when navigating between routes.
Setting unstable_viewTransition to true indicates that the navigation should trigger a view transition. This can be useful in scenarios where you want to apply specific styles or animations during the route transition. It leverages the document.startViewTransition() API, allowing developers to define a period during which elements from the old and new routes can overlap, enabling smoother transitions.
This option enhances your application’s visual continuity during navigation events. Like unstable_flushSync, unstable_viewTransition is marked as unstable and experimental. It’s part of ongoing efforts to improve the routing experience in web applications but should be used with caution, as its behavior may change in future releases.
Conclusion:
useNavigate is a valuable addition to React Router v6, providing an intuitive and efficient way to manage navigation in active objects. Its features and functionality provide developers with powerful tools to manage navigation logic and enhance the user experience in React applications. By using useNavigate, you can streamline navigation performance and create a seamless browsing experience for your users in React Router v6 applications.