
Understanding Vue.js Router
Vue.js routing acts as a guide for your web application, instructing it on which page or component to showcase as the URL shifts. This functionality enables the creation of interactive, multi-page experiences within the framework of a single-page application.
This blog, we’ll explore the essential elements of Vue.js routing, encompassing route creation, navigation across pages, and the handling of dynamic routing.
Step 1: Install Vue Router
The initial step is to incorporate Vue Router into your project. If you’re leveraging Vue CLI, it’s effortlessly integrated by including Vue Router during the project’s creation. Otherwise, utilize npm or yarn for installation.
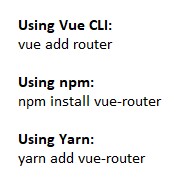
If you’ve already installed Vue Router during the initial Vue CLI setup, you don’t need to install it separately. It’s included in your project by default.
Step 2: Create a Router Configuration
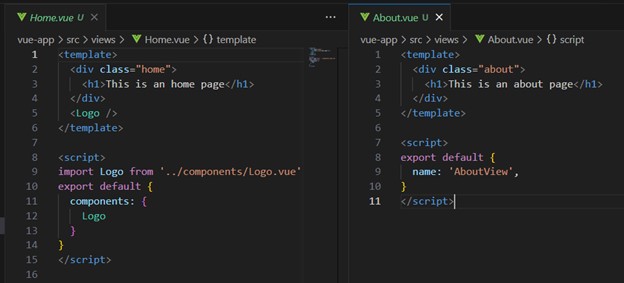
Make sure you have components corresponding to each route defined in your router. For instance, Home.vue, About.vue, and others. Path: src/view/Home.vue
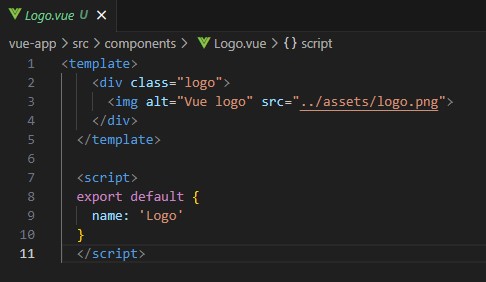
The ‘Logo’ component shows the Vue logo image and is used within the content of the home page component. Its name is ‘Logo’.

Repeat this About.vue structure for other components like ContactUs, Careers etc.
Vue Router Configuration:
Create a router configuration. Path: src/router/index.js
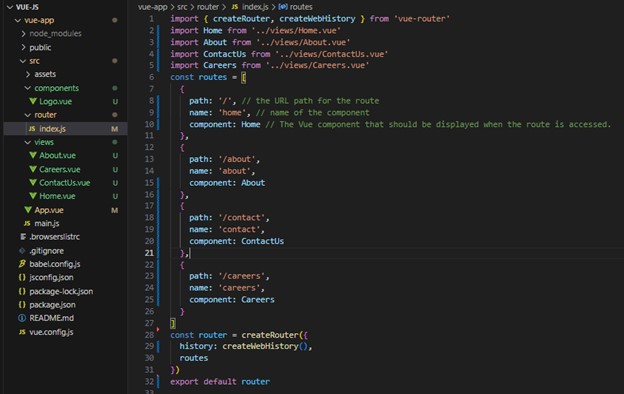
- createRouter({ … }): is creating a router object, which is like a map that helps your Vue.js app know how to handle different web page URLs.
- createWebHistory(): is specifying the type of history mode for the router. In simple words, it tells the router how to manage the URLs in the browser.
- routes: is an array that lists all the different pages or views in your app and what component should be displayed for each URL. For example, you might have a route for the “Home” page and another for an “About” page.
This code configures routes in Vue Router for different pages: Home, About, ContactUs, and Careers, each linked to a specific URL path and Vue component. It sets up the router to manage navigation based on these routes in a Vue.js app.
Step 3: Plug the Router into Your App
In your main app file (main.js), integrate the router:
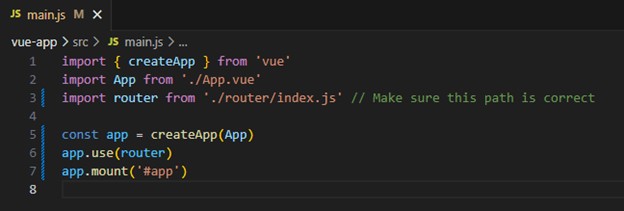
This code initializes a Vue.js app using a root component named ‘App.vue’. It also includes a router for managing different pages and mounts the app to an HTML element with the ID ‘app’, making it visible on the webpage.
Step 4: Use Router Links
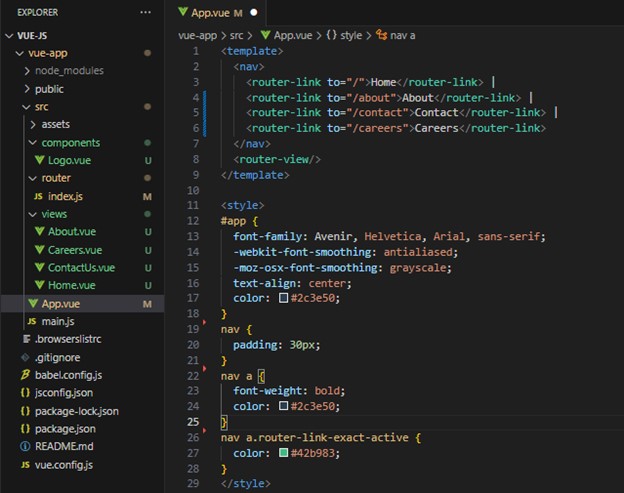
Now that the router’s set up, utilize <router-link> for navigation:
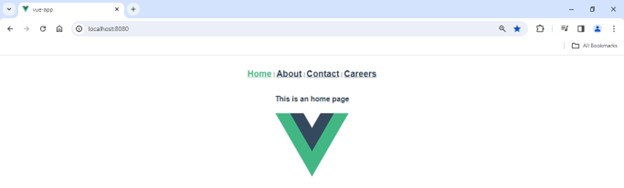
Output:

- <router-link>: These are Vue Router’s special components that create links for navigating between different routes (pages) in your application.
- <router-link to=”/” >Home</router-link>: This code produces a link labeled “Home.” Clicking it directs users to the route defined as “/”—typically, representing the homepage. To extend this navigation to other components like About.vue, ContactUs, and more, replicate this link structure and specify the page path.
- <router-view>: Another specialized Vue Router component serving as a placeholder. It displays content based on the currently active route. Clicking a <router-link> element triggers the rendering of the associated route’s component within this <router-view> element.
In simpler words, this code makes a menu with links to “Home,” “About,” “Contact,” and “Careers.” When you click a link, it shows the content for that page right where you are. It’s like a map that lets you move around your Vue.js app easily. The “router-link” makes these clickable links possible.
Conclusion
Vue.js routing guides your app to display different pages as the URL changes. This blog explains how to set up routes, link pages, and create a navigation bar using Vue Router. It shows how clicking links instantly shows the related content, making your app easy to navigate.
Thank you for sharing good information.