In a previous blog post we looked at the steps necessary to set up a custom agent console. We walked through uploading a page to S3 and configuring a CloudFront distribution which can be whitelisted and then used with Amazon Connect.
To keep things simple we didn’t dive into CloudFront settings, many of which can make deploying a custom website a lot more secure and easy to manage. Here are some steps which you might want to consider next time you are configuring a custom agent console.
-
Keep your test instance easy to update
One of the advantages of CloudFront is that your site will be cached around the world, resulting in faster load times for your users and less hits against your origin (in this case the S3 bucket hosting the website). However, if you are testing a new website and are still making frequent changes to code this feature can actually make your life harder. I can’t even count how many times I’ve upload a new index.html file into S3, only to navigate to my CloudFront link and see the old cached version without any of my recent updates.
To get around this you can use versioning (upload an index_v2.html and then navigate directly to it), different directories or even invalidation rules. For example, by creating an invalidation that excludes all files in your scripts folder you can make sure you will always get the most recent JavaScript files. Note that if you do decide to invalidate an entire folder you need to use a wildcard character at the end of your path. See more details here.
The one disadvantage of using invalidation rules is that you need to create them after you created a distribution and you will need to wait several minutes for it to take effect. It all depends on where exactly your content is being served from, but I have seen invalidation rules take up to half an hour to go into effect. Because of this my preferred method of setting up working websites, without cluttering the S3 bucket with multiple versions of the same file, is to set the default TTL to 0.
When you first configure your distribution you can decide how long CloudFront should cache your objects. The default TTL will be 86400 seconds which translates to 24 hours, but while testing your website you can easily set this to 0. Changing the default to 0 will make every request to CloudFront go directly to your origin and grab the latest objects.
Make sure you configure this when setting up the distribution for the first time and make sure you update it once the site is finalized.
-
Lock down the S3 bucket
In our previous blog post we simply configured the S3 bucket hosting our website to be publicly accessible, however CloudFront can very easily lock down access to the bucket without any downsides to your custom agent console.
All you need to do is select the Restrict Bucket Access option when creating the distribution. You will also need to create an Origin Access Identity (or if you have one already, re-use it). This is a virtual user identity that CloudFront will use to access your bucket. Make sure you select the “Yes, Update Bucket Policy option” or go in and modify the S3 bucket policy appropriately. Here is what an S3 bucket policy might look like after deploying an OAI.
{
    "Version": "2008-10-17",
    "Id": "PolicyForCloudFrontPrivateContent",
    "Statement": [
        {
            "Sid": "1",
            "Effect": "Allow",
            "Principal": {
                "AWS": "arn:aws:iam::cloudfront:user/CloudFront Origin Access Identity"
            },
            "Action": "s3:GetObject",
            "Resource": "arn:aws:s3:::BUCKETNAME/*"
        }
    ]
}
This means there is now no way to access the S3 bucket directly and all traffic will have to go through your CloudFront distribution. Here are more details about the OAI.
-
Allow only select IP addresses.
If you locked down the S3 bucket as detailed above you can use CloudFront to monitor all traffic to your site, however CloudFront doesn’t really have any robust mechanism for blocking malicious access. That’s where AWS WAF comes into play. AWS WAF is a web application firewall that lets you monitor the requests to CloudFront and can be configured to whitelist or block certain requests.
You should review the official documentation, but the core idea behind WAF is that you will select a resource( like a CloudFront distribution) apply certain conditions (most often IP match conditions, but you can also do Geo matching or string matching) and then finally decide if you should allow or block requests that match the condition.
Here are the basic steps to block traffic from a certain IP address.
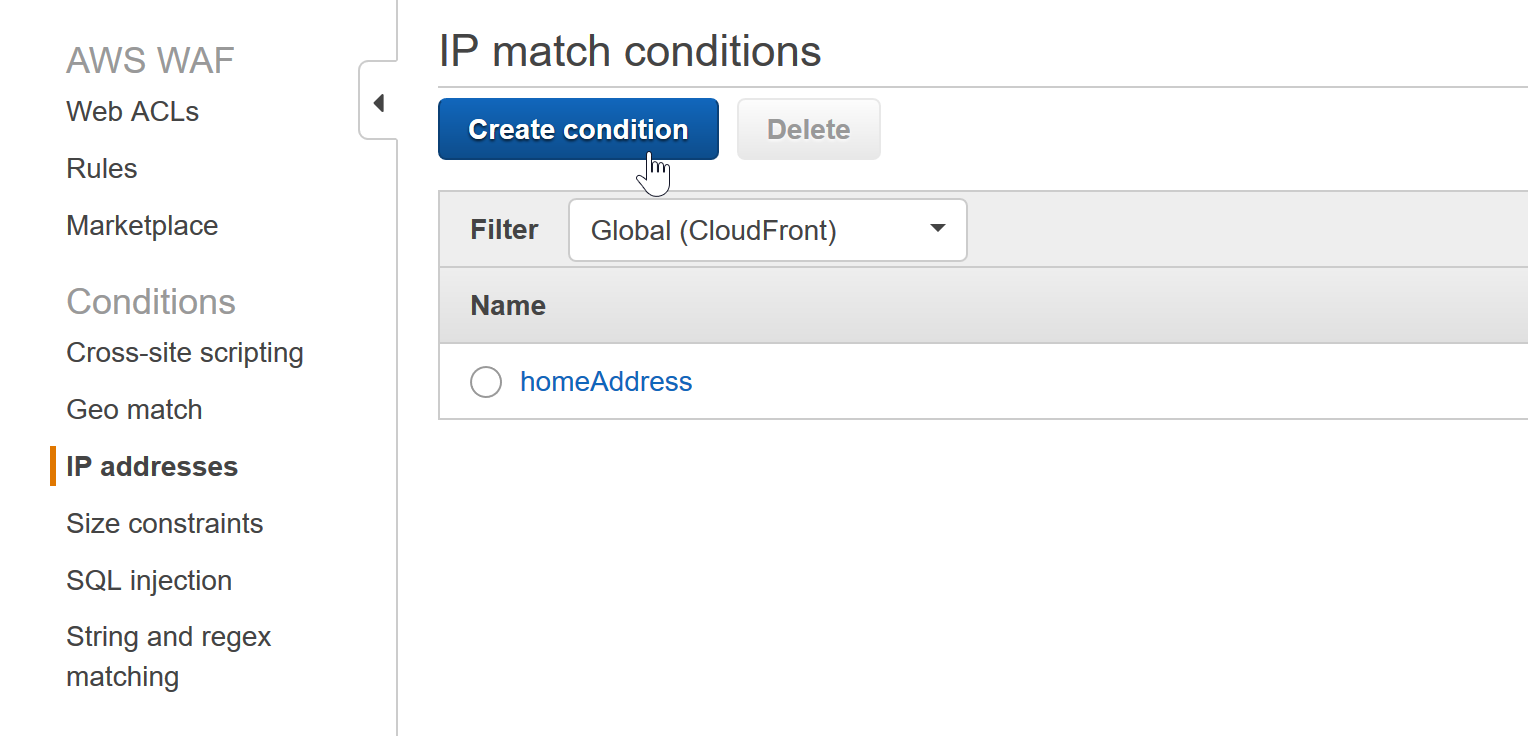
- Navigate to WAF inside of the AWS console and select Conditions > IP Addresses. Enter the address you would like to block from accessing your site.

- Create a new web access control list from the Web ACL’s link, name it something appropriate and select the CloudFront Resource you want to block access to.
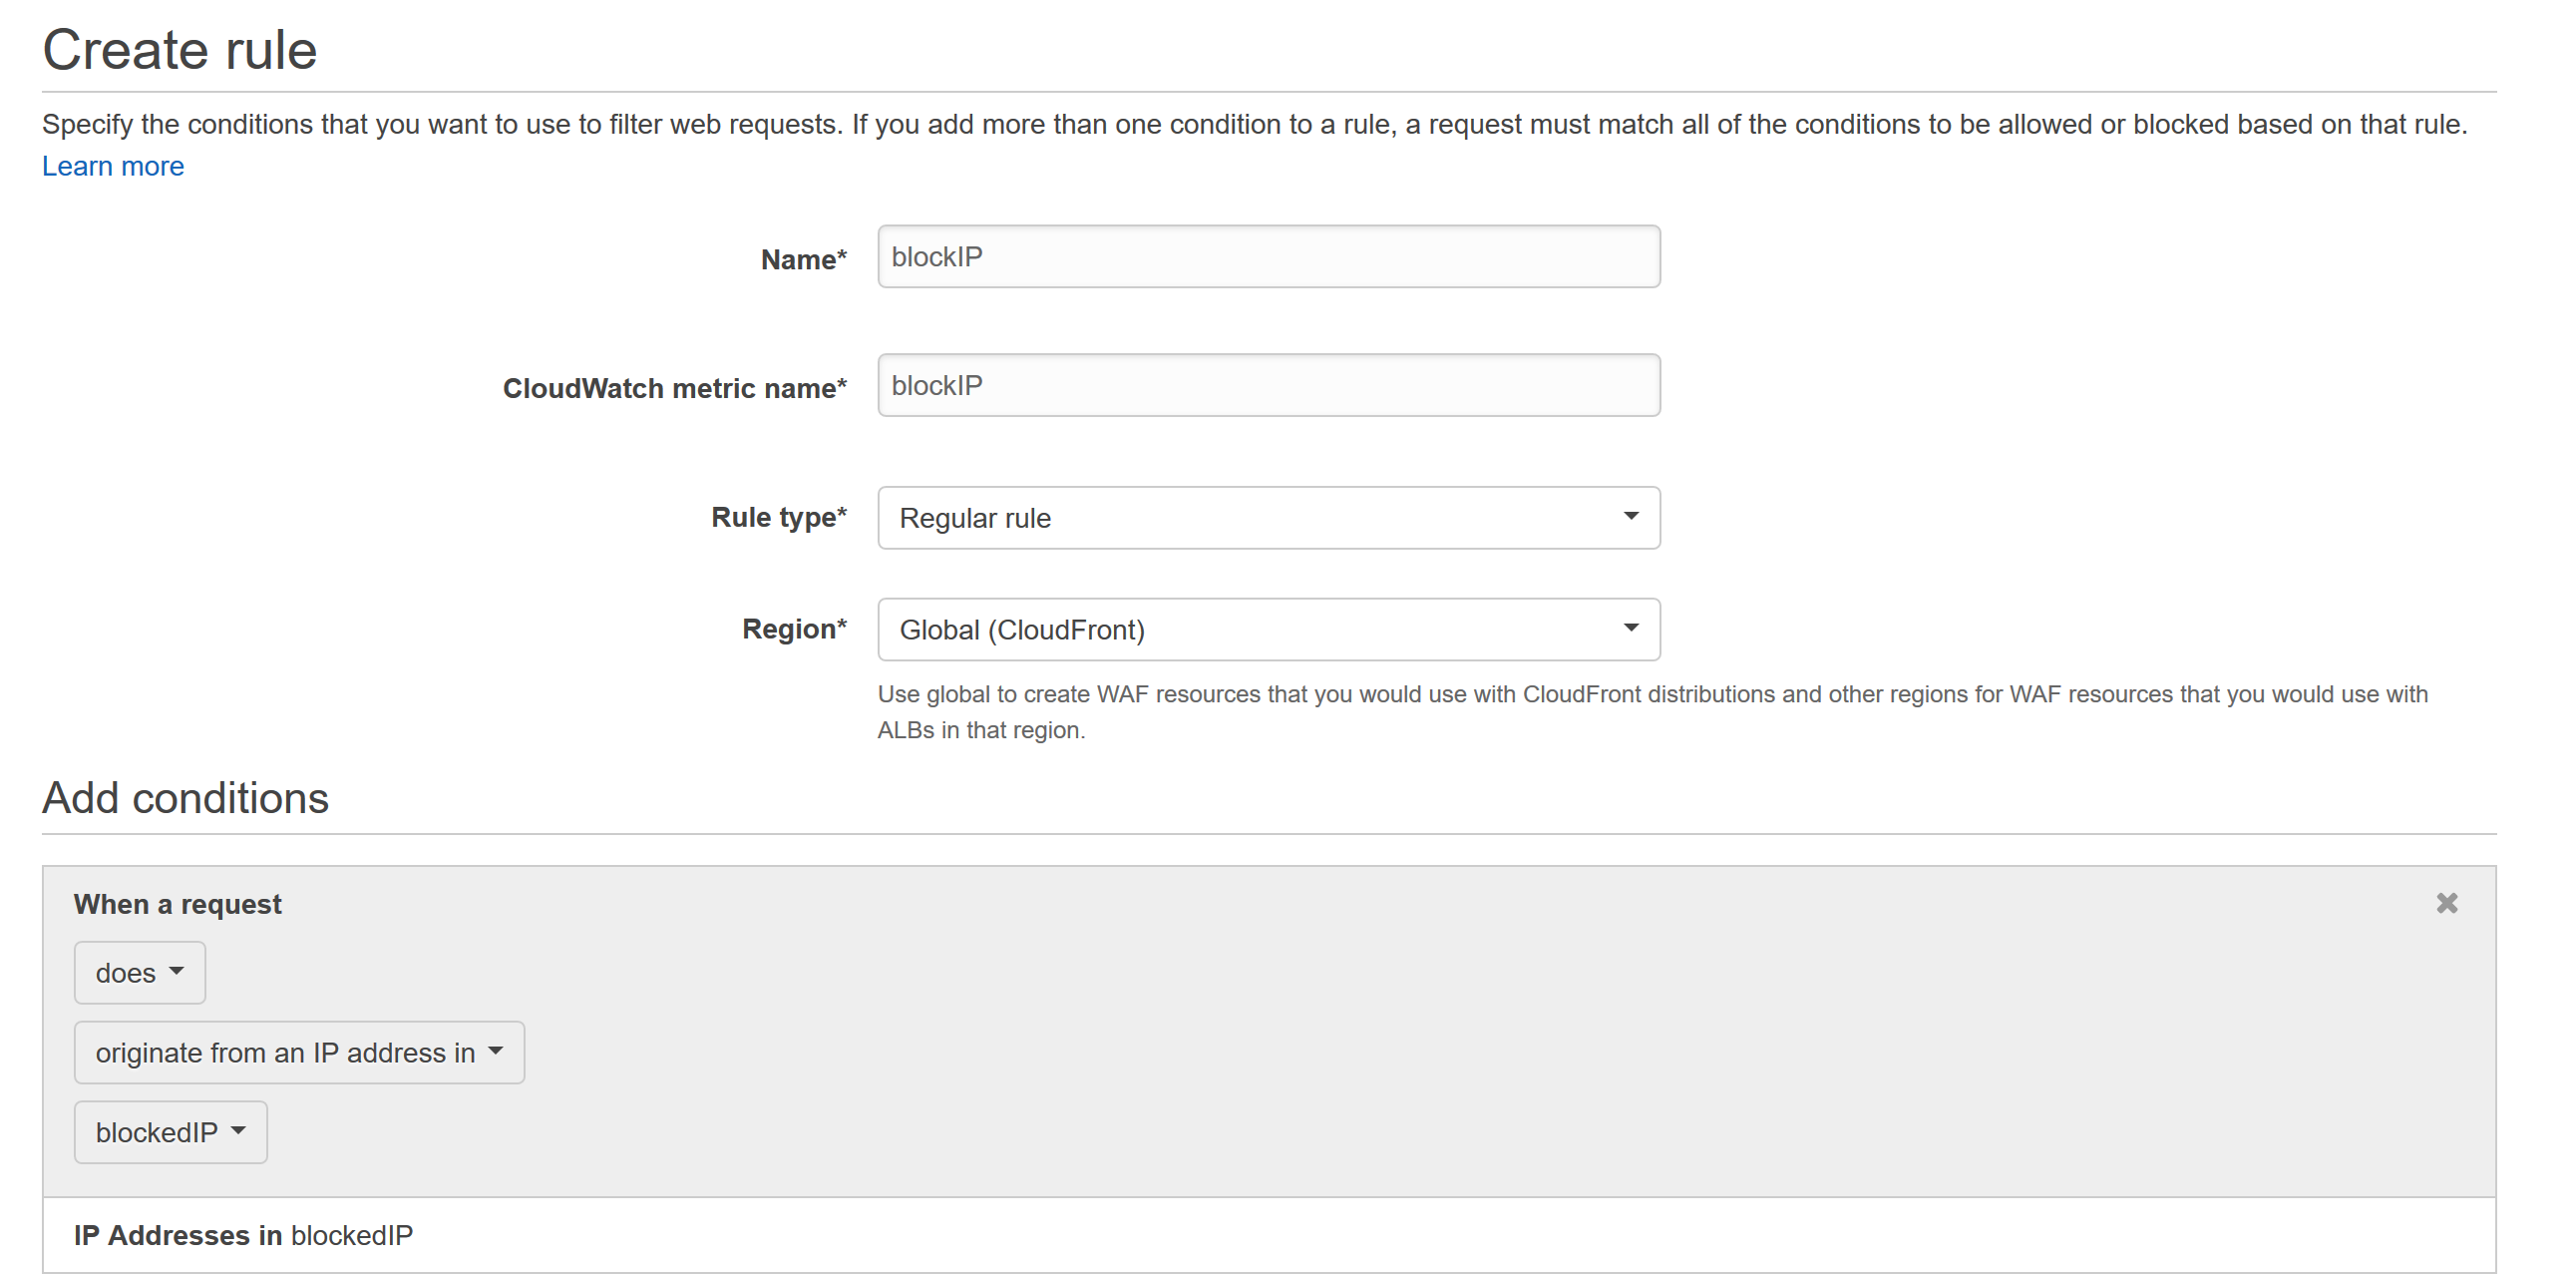
- The second panel of the wizard will allow you to create conditions, but we already have the IP addresses we need, so just click next to set up our rule. Create a new rule for when a request does originate from an IP address in the condition we created (in the screenshot below the condition I created is named blockedIP).
- Finally decide what should happen if we receive a request that fulfills this rule (each rule can have multiple conditions, allowing for very granular control). In this example we want to block any requests from the blockedIP condition so make the following selections.
Note that we set the Default Action to allow all traffic that doesn’t match a rule, you can easily flip this to only allow traffic from a predefined block of IP addresses.
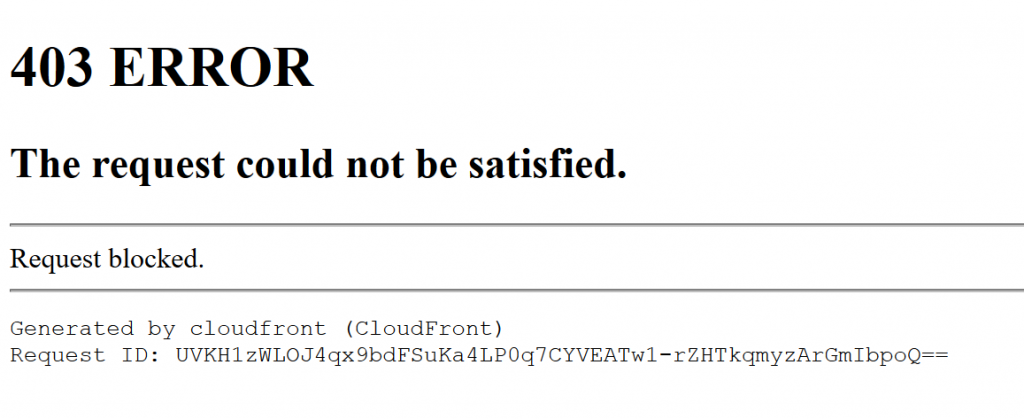
That should be it, once you review and create the ACL traffic from the selected IP addresses will be blocked with a 403 error.
Hopefully this post gave you some ideas on how you can better use CloudFront to deploy your custom agent console or any other custom website. For assistance deploying your own website or help with any Amazon Connect related topic please Request an Amazon Connect Demo.


