Welcome back to getting to know Sitecore search. In this post, we’ll focus on the advanced web crawler. We’ll modify the source, document extractors, taggers and attributes to customize our indexed documents.
Manage Sources
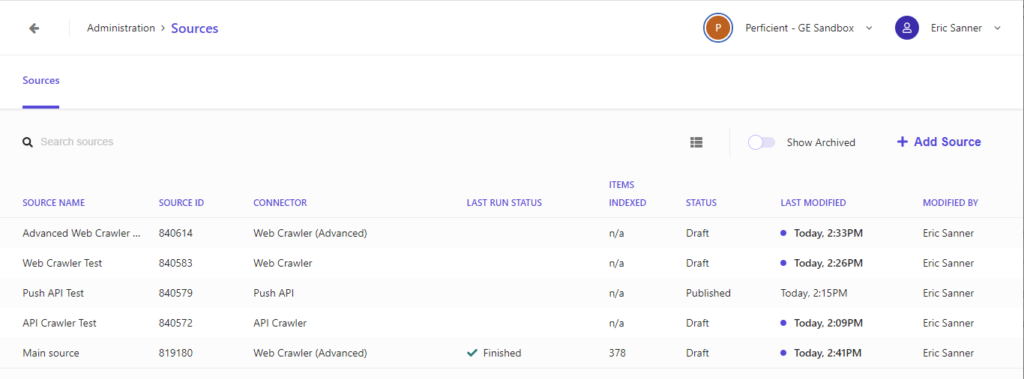
To manage sources, visit Administration/Sources
From this screen you can see a list of your sources. You can see the source name, connector type, last run statue, number of items index, publish status, last modified date, last modified by.
Add a Source
When you add a source you’ll give it a name, description and select a connector type. Once you set your connector type, you will not be able to change it later.
- API Crawler – Read site data from an api
- Only allows JS and Request triggers
- Only allows JS and JSONPath document extractors
- Push API – Send new site urls via api
- You cannot define triggers, document extractors, scan frequency, etc
- Appflow Crawler – You can’t actually create this type of connector. You get an error.
- Feed Crawler – You can’t actually create this type of connector. You get an error.
- Web Crawler – A simple web crawler
- Only allows request, sitemap, or sitemap index triggers
- Only allows xpath document extractors
- Web Crawler (Advanced) – The default and most configurable web crawler
Just like pages and widgets, new sources are in draft state until they are published. Sources in a draft state cannot be seen or modified by other users. You can create multiple sources with the same connector type. For the rest of this post, we’ll use the Web Crawler (Advanced)
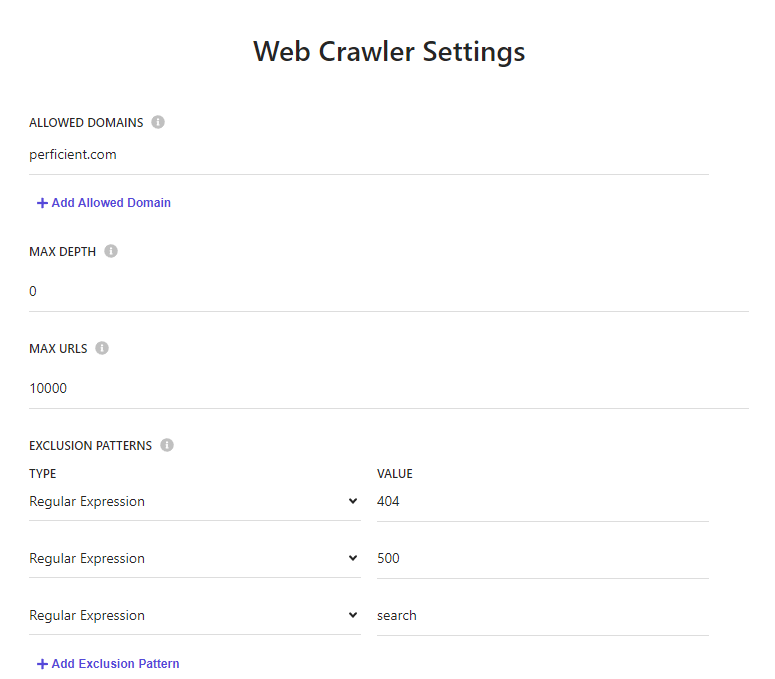
Web Crawler Settings
The web crawler settings allows you to set the allowed domains, excluded url patterns, and if the crawler renders javascript. If the crawler encounters any url that is not in the allowed domains list, it will not be added to the catalog. You can exclude patterns via regular expression or glob expression. Render javascript is disabled by default. Enabling javascript rendering will cause the crawler to run slower. Be sure to view the source of your pages. Does the source match what is on the screen? If not, it might be necessary for the crawler to find all of the content on your site.
Triggers
A trigger is the starting point for the crawler. Each source can have multiple triggers. You can have multiple triggers of the same type.
- JS – Use a javascript function to return an array of urls to crawl
- Request – A single url to crawl
- Sitemap – Link to a single sitemap file
- Sitemap Index – Link to a sitemap index file
- RSS – Link to an rss feed
An example of a javascript trigger function. The javascript trigger basically lets you create multiple request triggers manually.
function extract(){
  return[
    {
      "url": "https://www.perficient.com/success-stories/large-midwest-healthcare-payor"
    },
    {
      "url": "https://www.perficient.com/success-stories/large-rural-health-system"
    }
  ];
}
Document Extractors
A document extractor creates an index document for a url. Each source can have multiple document extractors. You can have multiple extractors of the same type.
- Css – Use css selectors to get attributes from the html
- Xpath – Use xpath syntax to get attributes from the html
- JS – Use custom javascript to get attributes from the html
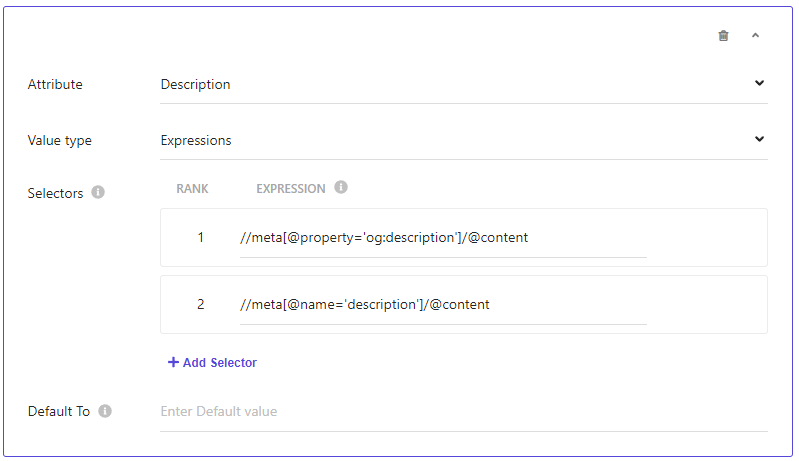
An example of a javascript document extractor function. The name of the key is the attribute to populate. The value is a list of jquery like expressions to pull content from the document. You can use an or (two vertical bars) to represent alternate selectors.
function extract(request, response) {
    $ = response.body;
    return [{
        'description': $('meta[name="description"]').attr('content') || $('meta[property="og:description"]').attr('content') || $('p').text(),
        'name': $('meta[name="searchtitle"]').attr('content') || $('title').text(),
        'type': $('meta[property="og:type"]').attr('content') || 'website_content',
        'url': $('meta[property="og:url"]').attr('content')
    }]
}
We could recreate this same extractor in either xpath or css.
I don’t use xpath very often. I found this handy reference guide to be very helpful https://devhints.io/xpath. You can test your xpath expression in your browser’s dev tools very easily.
- On the elements tab, you can press ctrl+f to use the search bar at the bottom of the window
- On the console tab, you can use the built in $x(“xpath expression”) function
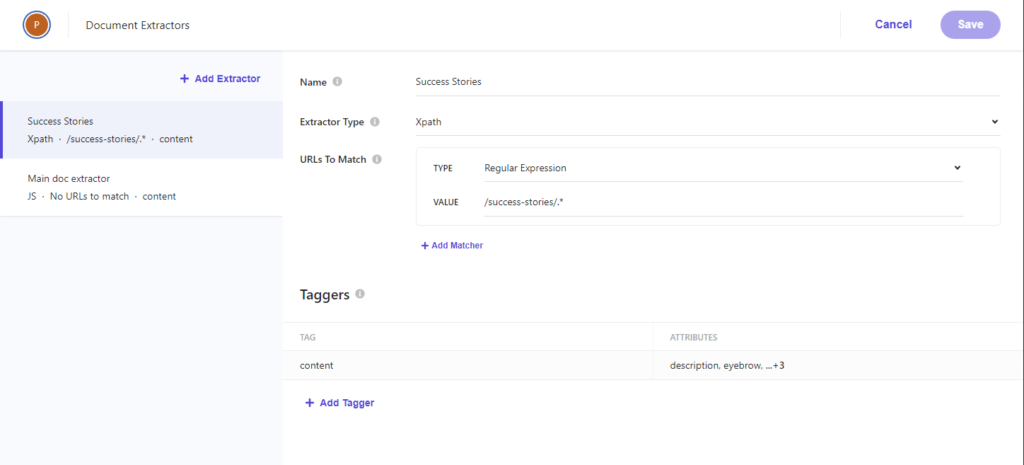
Each document extractor defines a list of urls to operate on and can tag the document differently. For example you might tag your news articles at /news/* differently than blog articles at /blog/*. Remember to use a fixed field string for your content type. We’ll use this field later as a way to facet our search results. The order of document extractors matters. A document won’t be indexed multiple times on the same source. If you have a document extractor that matches all urls above a specific extractor, the specific extractor will not execute. I use https://regex101.com to test my regular expressions before I publish my source.
Scan Frequency
You can schedule your source to automatically scan your site for updates. Choose your frequency and set your start/end dates. You can choose the following options for frequency.
- Hourly
- Every 6 hours
- Every 12 hours
- Daily
- Weekly
Publishing a Source
Once you’ve updated your source, you must publish to rescan/reindex your site. When you click the publish button, it checks your triggers, document extractors, request extractors, locale extractors for errors. It would be nice if you got feedback sooner in the process (like when you save each item rather then having to publish).
If everything is correct, your source will be queued for a scan. You can monitor the main Administration/Sources page for status updates.
Once your scan is complete, check the catalog for new pages and updates to your index documents. Note that it does take a few minutes for the catalog to update correctly.
Content Catalog
I found the content catalog a little lacking to debug my document extractors. You can only search specifically by name or id. I would like to be able to search by url as well. You can filter by content type which is helpful. But it would be nice to be able to filter by source as well. Being able to sort by the columns would make it easier to find duplicate content items.
Unwanted Results
We won’t worry so much about unwanted documents, we can blacklist them in our widget settings. You can tweak the sitemap.xml file on your site to exclude unwanted urls. You can also exclude them by pattern on the web crawler settings.
Attributes
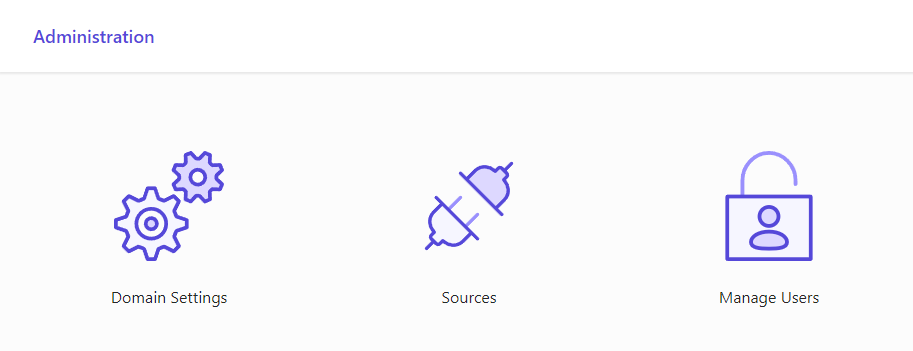
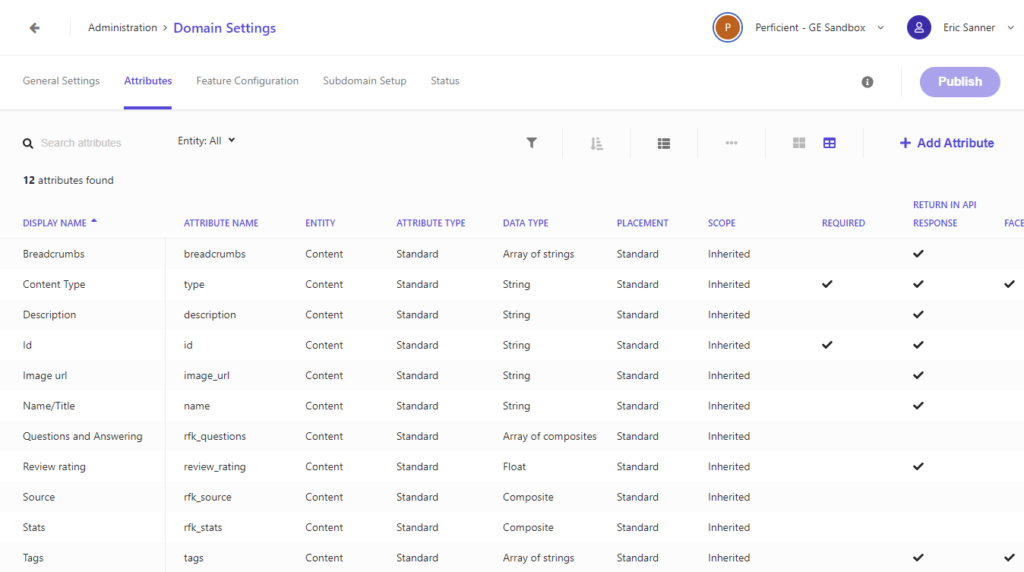
Only a user with the tech admin role has the ability to add new attributes. Click Administration/Domain Settings/Attributes to view the list of available attributes, modify attribute properties, and add new attributes.
Attributes can be any of the following data types
- Integer
- Double
- Array of Integers
- Float
- Array of Float
- Boolean
- String
- Array of Strings
- Object
- Array of Objects
- Timestamp
- Date Time
They are also grouped together by a field called entity. I have not found a way to add additional entities. I would have expected to create a set of attributes for web content, pdfs, word documents, and other types of content that could logically have different sets of attributes. Remember to publish your domain settings so your attributes are available to your document extractors.
Delete a Source
You can only delete a source that is in draft state. Once it has been published your only option is to archive the source. Archived sources are hidden from the UI by default. But you can click the “Show Archived” toggle to view them again. You can restore an archived source which returns it to draft state. Archiving or deleting a source removes all of the associated documents from the catalog.
Add a Source or Modify a Source?
A source can cover multiple urls and can have multiple document extractors. So when does it make sense to add a new source vs adding a document extractor on an existing source? I think it would make sense to have a new source for separate websites or subdomains of your site. That way you can’t have the same url accidentally indexed multiple times. For different sections of your site, it makes sense to create a document extractor and use the urls to match field to limit which pages use the extractor.
Up Next
In the next post, we’ll build a simple UI and connect to the api to get our first real results!
Follow me on linkedin to get notifications as new articles are posted.




Hi, good post! I’m learning Sitecore Search, I’ve a question I hope you can guide me. I’m trying to index the Sitecore content with the following settings of the Sitecore search tutorial (https://doc.sitecore.com/search/en/developers/search-developer-guide/walkthrough–configuring-an-api-crawler-source.html)
– I have 1 request trigger that points to Edge (I use a graphql query) It returns a list of children names of a given path
– Then I have a Request Extractor, I think this will use the result of the previous trigger to generate more results for each children, this extractor returns a URL, header, and body (graphql dynamic query of each child)
I have a JSONPath document extractor to get the attributes from the Request Extractor Results (correct me if I’m wrong). In this I set some tagger to get the fields of the JSON but I’m getting none of them.
Is there a way to check the results of the trigger and extractors? The CEC only shows me the following message: Validation Error: The number of indexed documents should be bigger than 0. Run Status Failed. Am I doing something wrong?
Thanks in advance
Thanks for the question! The request trigger is only good for one url (AFAIK). Even though your graphql query returns a list, these pages are likely not getting crawled. You probably want a JS trigger that calls your graphql endpoint, then returns an object with all your urls. Once that works, your JSONPath document extractor should work as expected. Reach out to me if you have more questions!