The need for mature technology is drastically increasing, placing more emphasis on creating architecture that is modern, reliable, and scalable for not only individual technologies but also how they interact with each other. Microsoft Message Queuing (MSMQ) is one of the simplest and advanced methods that help your business’ technologies interact and connect with each other.
Below are the steps to install MSMQ in Windows 10 along with the code that allows technologies and platforms to send and receive the message to the queue.
Step 1: Open Windows Control Panel. Select program, and then select programs and features.
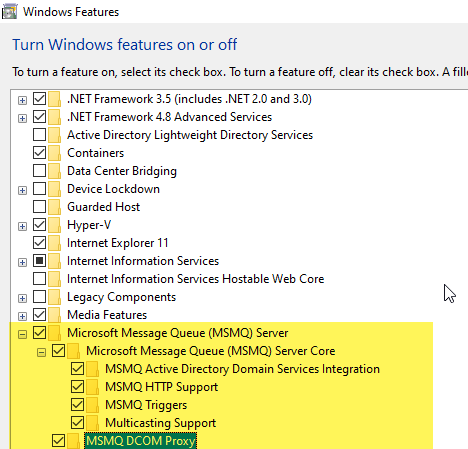
Step 2: Choose “Turn Windows features on or off.” Then, select “Microsoft Message Queue (MSMQ) Server.”

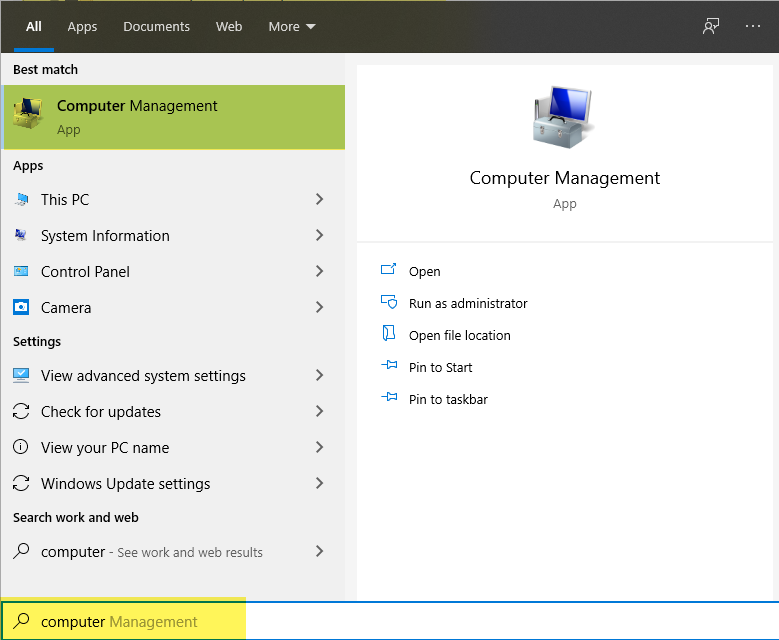
Step 3: Click on the taskbar search option and search for “Computer Management.”

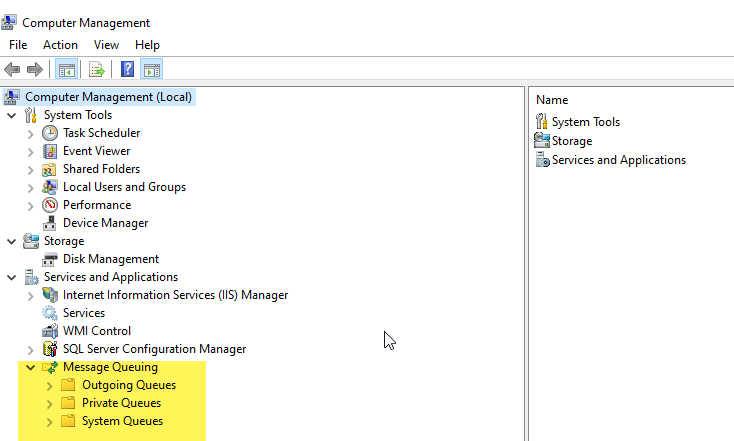
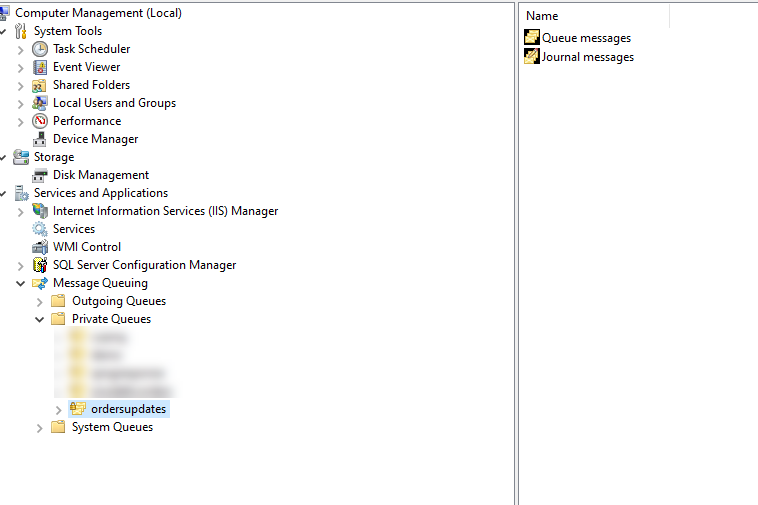
Step 4: Expand the “services and applications” option. Then, expand “Message Queuing.”

Let’s Put This in Perspective
If all is installed correctly, your ERP system will publish the orders when there are updates to the ERP. This will come across as an order update message. The consumer application, such as a commerce website platform, will then read the published message by the ERP system and perform the updates in the consumer application database.

Quick and Easy Installation
In just a few simple steps, you can install MSMQ into your technology stack to enable seamless communication between applications and platforms. Stay tuned for my next piece, How to Publish and Subscribe Messages to a Queue Using MSMQ, where you’ll learn how to set up publishing and subscribing to messages by using MSMQ. For more information on installation or MSMQ technology, contact our commerce experts today.

