If you’re not familiar with Snap Camera, basically it lets you apply lenses to your face while using your computer’s webcam. To use it with Teams meetings you’ll just need to follow these few easy steps.
- Download Snap Camera
- Close Microsoft Teams and any other apps that allow you to use video (Skype, Skype for Business, Zoom, etc.). This will release the video controls from those apps so you can apply it to Snap Camera
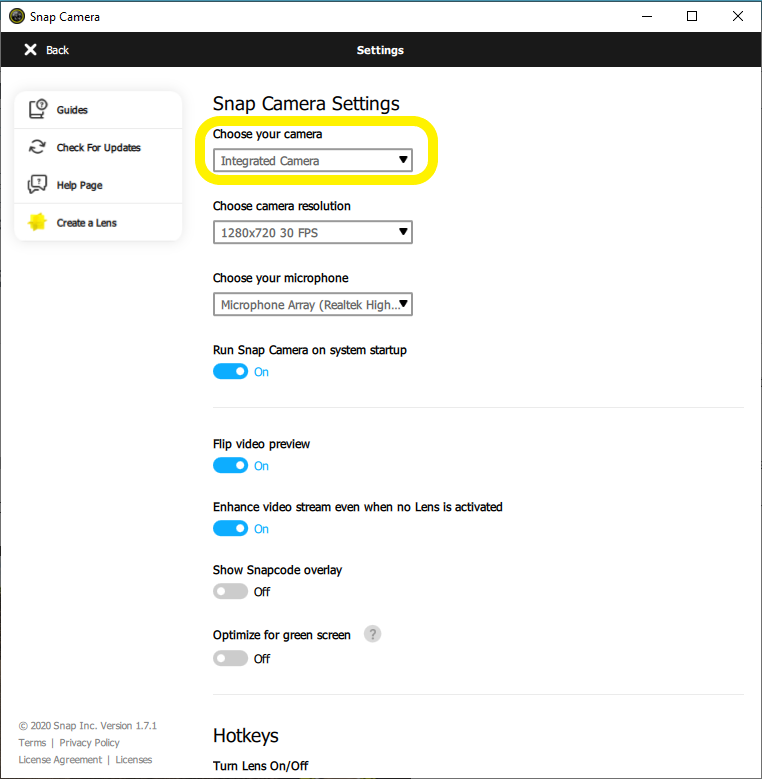
- Launch Snap Camera if it’s not already running. Once it launches go to the settings (gear icon) in the upper right-hand corner of the Snap Camera application.

- On the “Choose your camera” option, make sure your PC’s webcam is selected if it isn’t already.
- Select the filter you want to use in your Teams meeting.

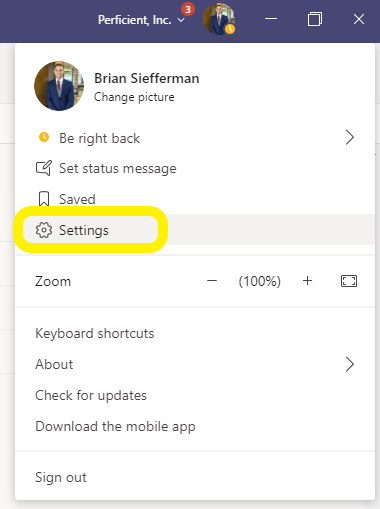
- Launch Microsoft Teams and go to your Settings by clicking on your profile picture in the upper right-hand corner.
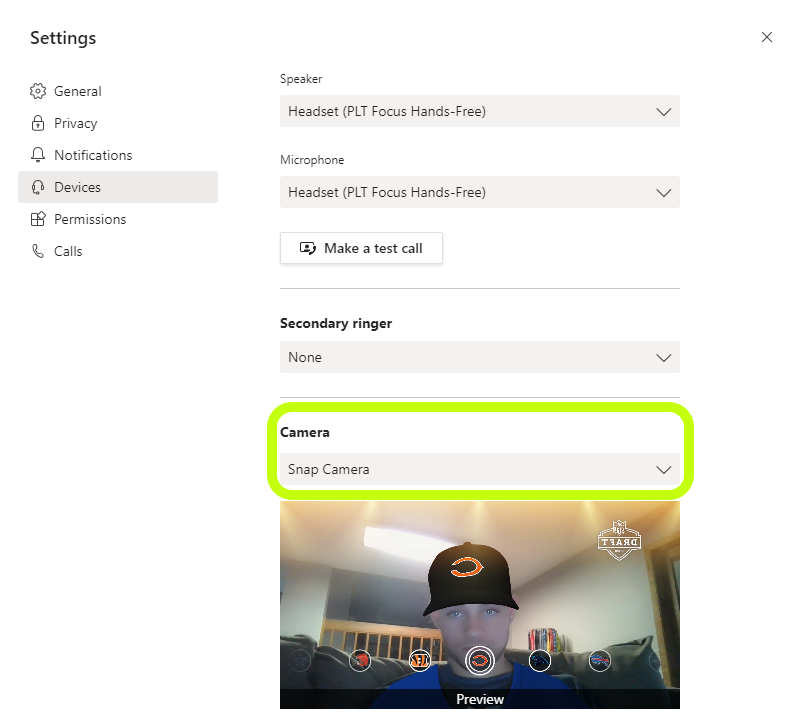
- Go to your Devices and select Snap Camera as your camera.
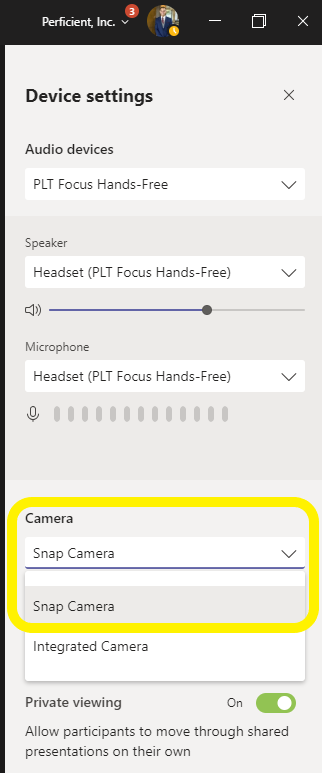
If you’ve already joined the meeting, just click on the ellipses ‘( … )’ and select Show device settings.
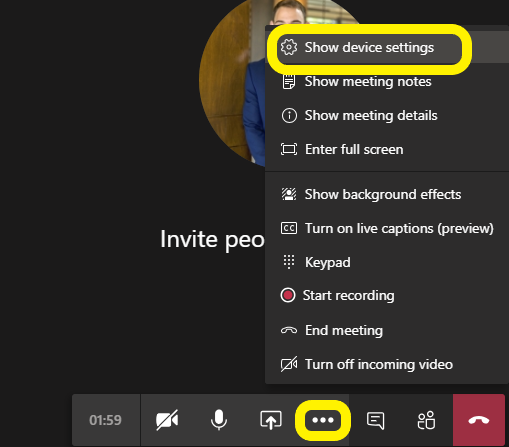
From there, find the Camera option drop-down and select Snap Camera
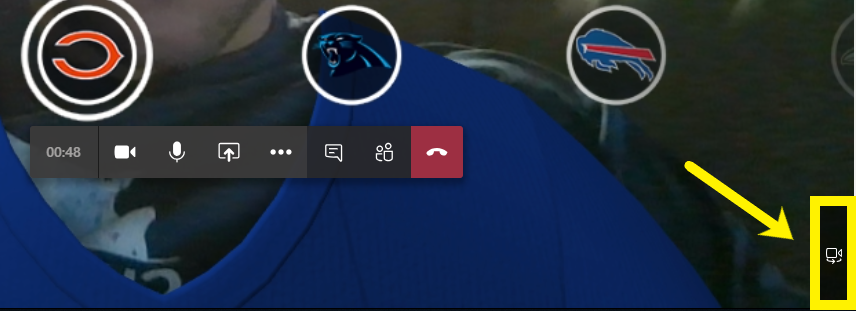
If you want to return back to your normal camera just click on the Switch Camera option in the bottom right-hand corner.
That’s it! I hope you have found this little tip helpful and hope you and your colleagues get a good laugh out of using Snap Camera in Microsoft Teams!

