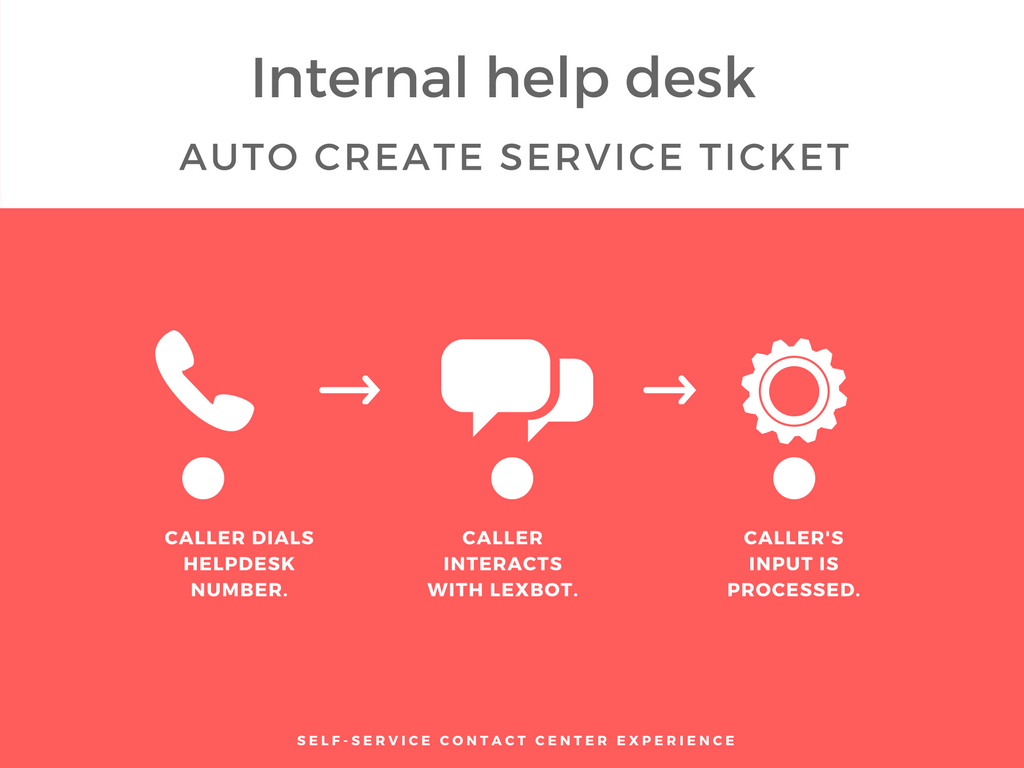
In this blog post we show you how to integrate Amazon Connect with Amazon Lex to provide a self-service call center experience. Amazon Connect is a cloud-based contact center solution, very quick to deploy, configure and simple to use.
The following 80-second recording illustrates a call to an Internal Help desk, to automatically open a service ticket without agent interaction.
Getting Started
If you don’t have any experience with Amazon Connect, start by creating a Free Tier Amazon Web Services account and you’ll be good to go. Here are some useful resources:
- Amazon Connect Administrator Guide
- Amazon Connect User Guide (IVR Section)
- Amazon Connect and Amazon Lex Integration
- Building better bots with Amazon Lex
Steps
1. Deploy a new Amazon Connect instance
Create a new instance of Amazon Connect and claim a phone number in minutes, using Amazon’s official documentation.
2. Create a new Amazon Connect Contact flow
Log in to your newly created Amazon Connect instance, then navigate to Routing/Contact flow and create a new Contact flow. The Contact flow is a call path that callers experience once they dial into the call center. In this example, we start by greeting our caller using a simple Prompt node: “Thank you for contacting help desk“. Following the Prompt node, we add a new Get Customer Input node. This node allows us to get customer’s input either via DTMF or using Lex bots. We will use the latter option.
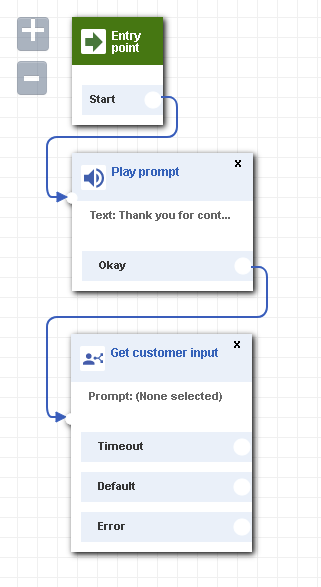
Amazon Connect Contact Flow
Save the changes. Customer’s input will be handled through a Lex bot, see Step 3 for details. Once this is created, we’ll be able to go back to the Contact Flow and finalize it.
3. Build a custom Amazon Lex Bot
Navigate to the AWS Management Console and click on Lex section. Create a custom bot from scratch (or try a sample) and enter the Bot name. An IAM role (a service-linked role) will be automatically created to invoke appropriate services required for the bot.
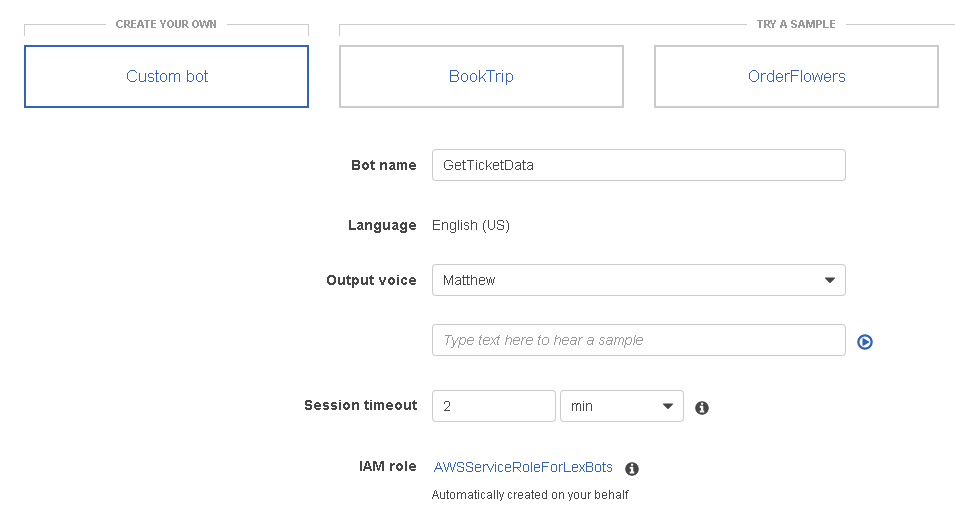
Custom Amazon Lex bot
A Lex bot consists of the following building blocks:
- Intent – A particular goal that needs to be achieved with this bot. (Example: Get required ticket data from your caller).
- Utterance – A phrase to initiate the intent (Example: I’d like to open a ticket/ I need to open a helpdesk ticket).
- Slots – Data to fulfill an intent (Example: Ticket Category – IT Support).
- Prompts – Questions to ask your callers (Example: Which category does your request belong to?)
- Fulfillment – Final stage of the bot, the logic that will complete a caller’s intent in the end. (Example: send all collected data to the IT support desk e-mail, which auto-creates a ticket).
We create a new Intent named CollectTicketProperties and configure it as follows:
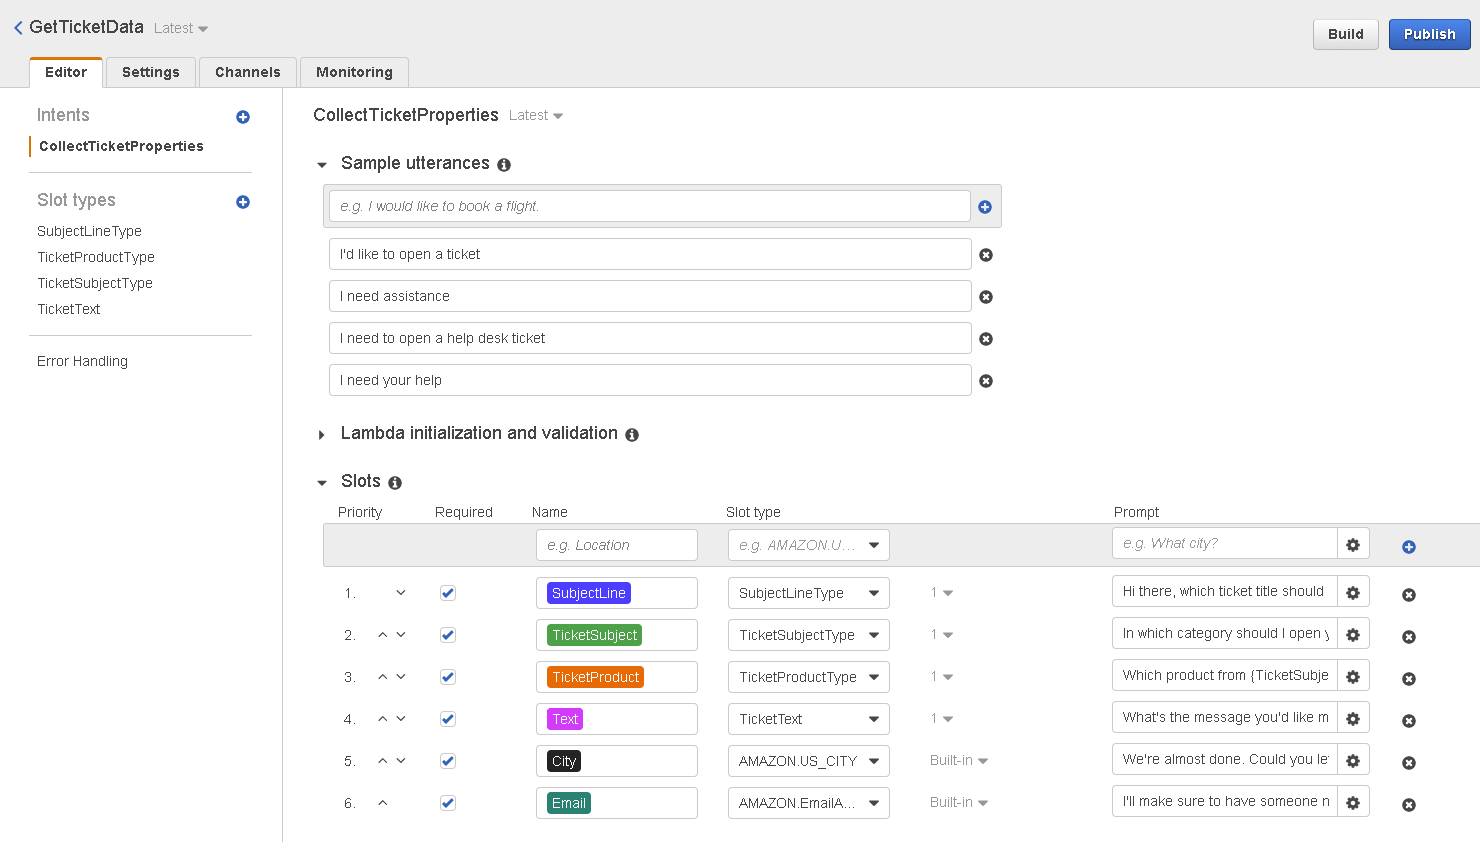
CollectTicketProperties Amazon Lex bot

We use some built-in slot types (AMAZON.US_City and AMAZON.EmailAddress) and create custom ones (TicketSubjectType, TicketProductType, SubjectLineType, TicketText).
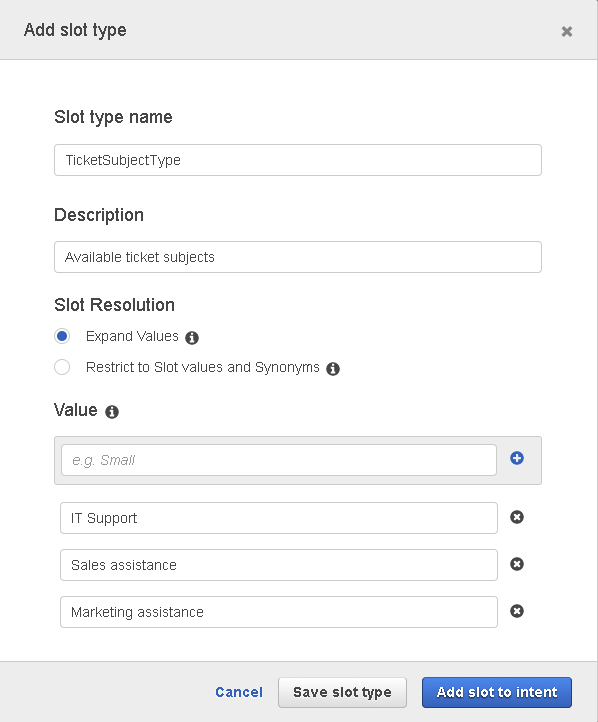
Amazon Lex: Add slot type
These can be used either as callers’ training data or for filtering purposes. In my opinion, dynamic use of own slot types can greatly improve customer interaction quality as we can create more natural and custom conversation flows.
Example conversation flow:
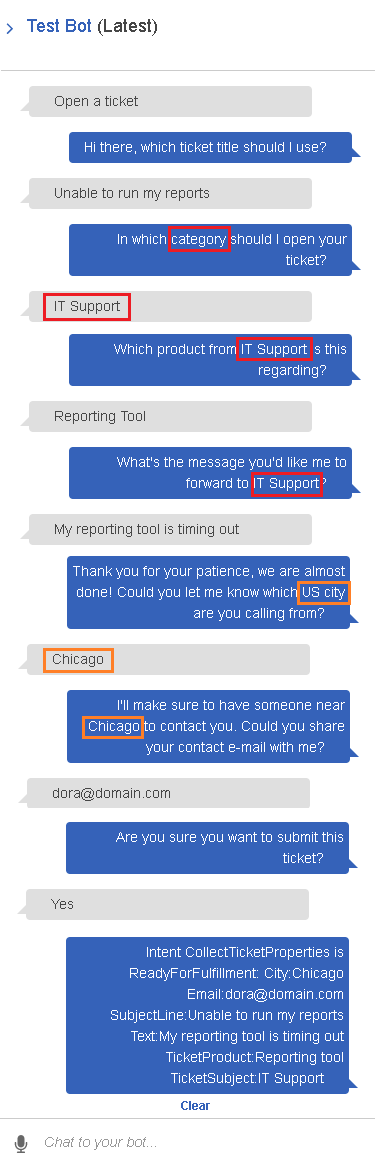
Example conversation between a user and Amazon Lex bot
Check out the highlighted areas from the image above – we were able to dynamically reiterate caller’s words to offer a personalized experience. I hope this provides an insight into how you can build powerful and personalized conversation flows without adding agent time.
Once you finalize the bot, make sure to Build it and Publish, then note the bot Name and bot alias as you’ll need to enter this within the Contact Flow.
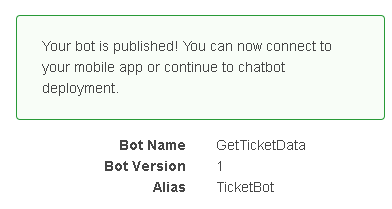
Amazon Lex: Bot name and Alias
4. Add Lex bot to the Amazon Connect Contact flow
To invoke this particular Lex bot from your Amazon Connect instance Contact flow, authorize it from the AWS Management Console/ Amazon Connect/ {YourInstanceSettings}. Click on your instance/ Contact flows and Add the newly created Lex bot.

Once saved, you’ll be able to access this bot from the Contact flow.
Next, log in to Amazon Connect as an administrator, navigate to the previously modified Contact flow and configure the Get Customer Input node by letting your customer know (through a Prompt) which utterance to use to start a conversation (Example: „Open a ticket”). Fill in the Lex bot name, alias and Intent name (important, as a bot can have multiple intents to select from).
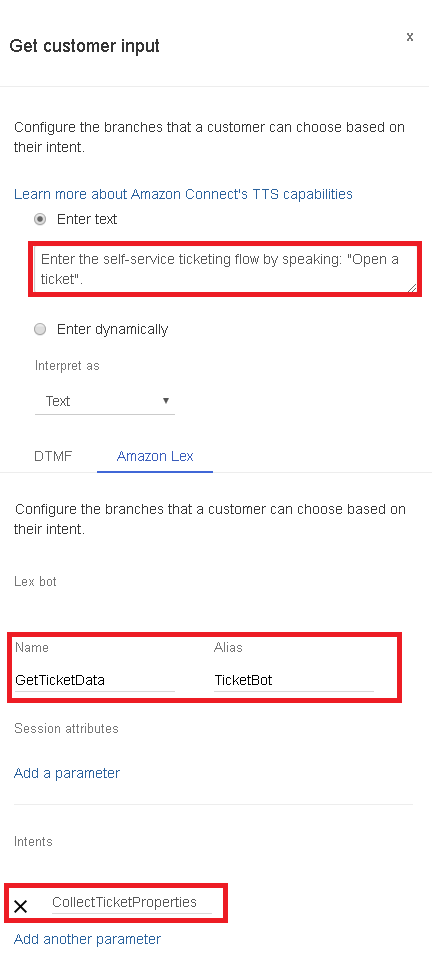
Amazon Connect: Configuring Get Customer Input node
The final version of the Contact flow resembles the following, error handling included:
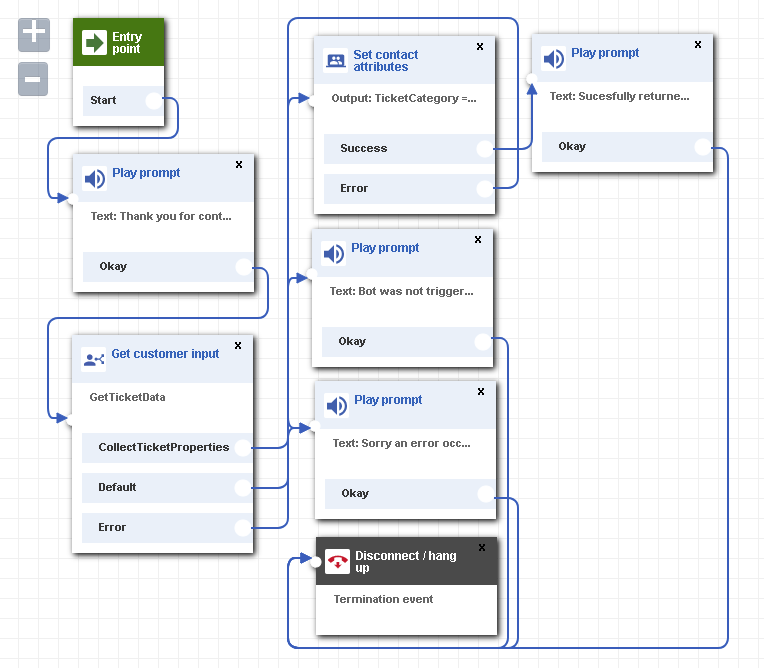
Amazon Connect: self-service Contact flow
Make sure to Save and Publish, then map this Contact flow to your incoming number from Routing/ Phone numbers section in Amazon Connect.
**Tip: if you call into Amazon Connect and you are not able to invoke the Lex bot, it’s possible your Amazon Connect service role is not permitted to invoke Lex bots. This depends on how you previously configured role permissions. Check this by navigating to the AWS Management Console/ IAM/ Roles, then locate your Connect access role, and add AmazonLexRunBotsOnly policy.
That’s it! In my next blog post, I’ll cover the steps on how to complete this self-service flow by processing caller’s data with AWS Lambda.
I’d like to hear your feedback through comments below. Want to learn more about our Amazon Connect solutions? Request a demo or contact us here.