Windows Azure Web Sites have been around for a while now, and one of the great features about them is deployment via source control. You have several options for source control deployment as well: you can use GitHub, CodePlex, TFS or even DropBox to keep your sites integrated and up to date. In this post I’m going to walk-through using DropBox for deploying your web site.
To get started, you will need a Windows Azure subscription and a DropBox account; you can get a free trial of both if needed. Once you have your accounts you will need to login to the Windows Azure management portal. Once you get into your account, select the “Web Sites” option on the left to see the list of your current web sites and their statuses (Windows Azure presently offers up to 10 Web Sites for free).
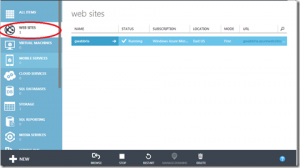
For our sake, we will now select the “+ New” option to create a placeholder site to use with DropBox. As you can see below once I clicked “+ New”, I then navigated to “Compute”, “Web Sites”, “Quick Create”. Once there I gave my site a URL and choose a region to host the site.

You will then be notified that your site is being created which will only take a few seconds. Once the site shows up in the status list with a “Running” status, select it by clicking the site name.

This will take you to the “Quick Start” page. Select the “Dashboard” option and then you can setup your deployment from DropBox.
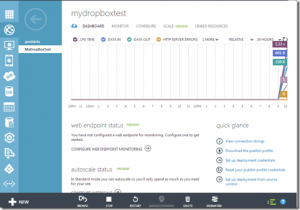
You will then see a dialog to choose where your source is located. For this run through we will choose the DropBox option and click the “Next” arrow.
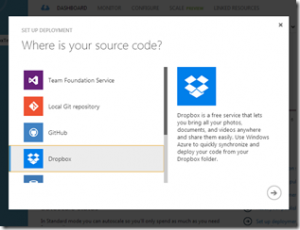
You will then be required to sign-in to your DropBox account. Once signed-in you will then be prompted to allow Windows Azure to create a folder in your account. Select “Allow”.

You will then be prompted to give a folder name. I used the name of my site “MyDropBoxTest”. Once you give a folder name select the “Complete” checkmark. You will then be notified it is setting up and linking your DropBox account. Hopefully you followed instructions and set up DropBox on your machine with the same account that you used to link Windows Azure with.
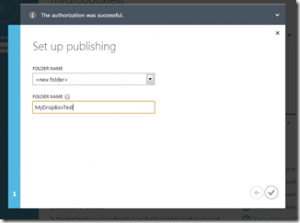
Once your DropBox account is linked, you can navigate to your DropBox account on your machine and the folder should have been created for you if everything is setup correctly. Don’t close the browser yet; you will still need to do one more step.
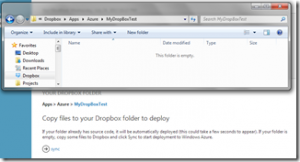
I’m going to use a static site that already built for a past event (one that doesn’t need any more setup), and copy it directly to the DropBox folder I created.

I’m now going to go back to the management portal and I’m going to click the “Sync” option.
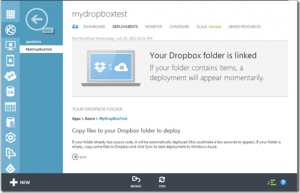
I then get notified that it is deploying the contents of my DropBox folder will only take a few seconds for this static site.
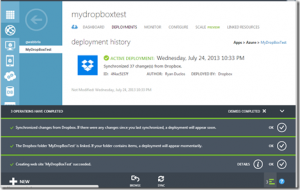
Once the site finishes deploying I can then click the “Browse” option to navigate to my site.

Once I update the files in my DropBox folder I can navigate to the “Deployments” section of the site in the management portal and tell it to sync the changes.

When I last synced the website I removed all the files and updated the index.html to basically just have a couple of lines of text. The changes synced in a few seconds and then I clicked “Browse” to see the changes.

So hopefully you can see that in just a few minutes you can have a web site up in running in Windows Azure with minimal configuration and deployment. Next go around I will talk about continuous deployment with Windows Azure.
