
The process of hiring developers is fraught with time-consuming tasks. One of the most critical yet tedious tasks is the analysis of technical interviews. Listening to recordings, deciphering transcripts, and standardizing feedback takes hours away from engineering managers and recruiters. What if you could automate this entire process, turning a raw interview transcript into a structured, insightful candidate report in a spreadsheet?
This article will guide you through building an automated workflow using n8n, powered by a Large Language Model like Google Gemini or another one. By the end, you will have a system that can receive an interview transcript, use AI to perform a detailed assessment, and log the results neatly in a Google Sheet.
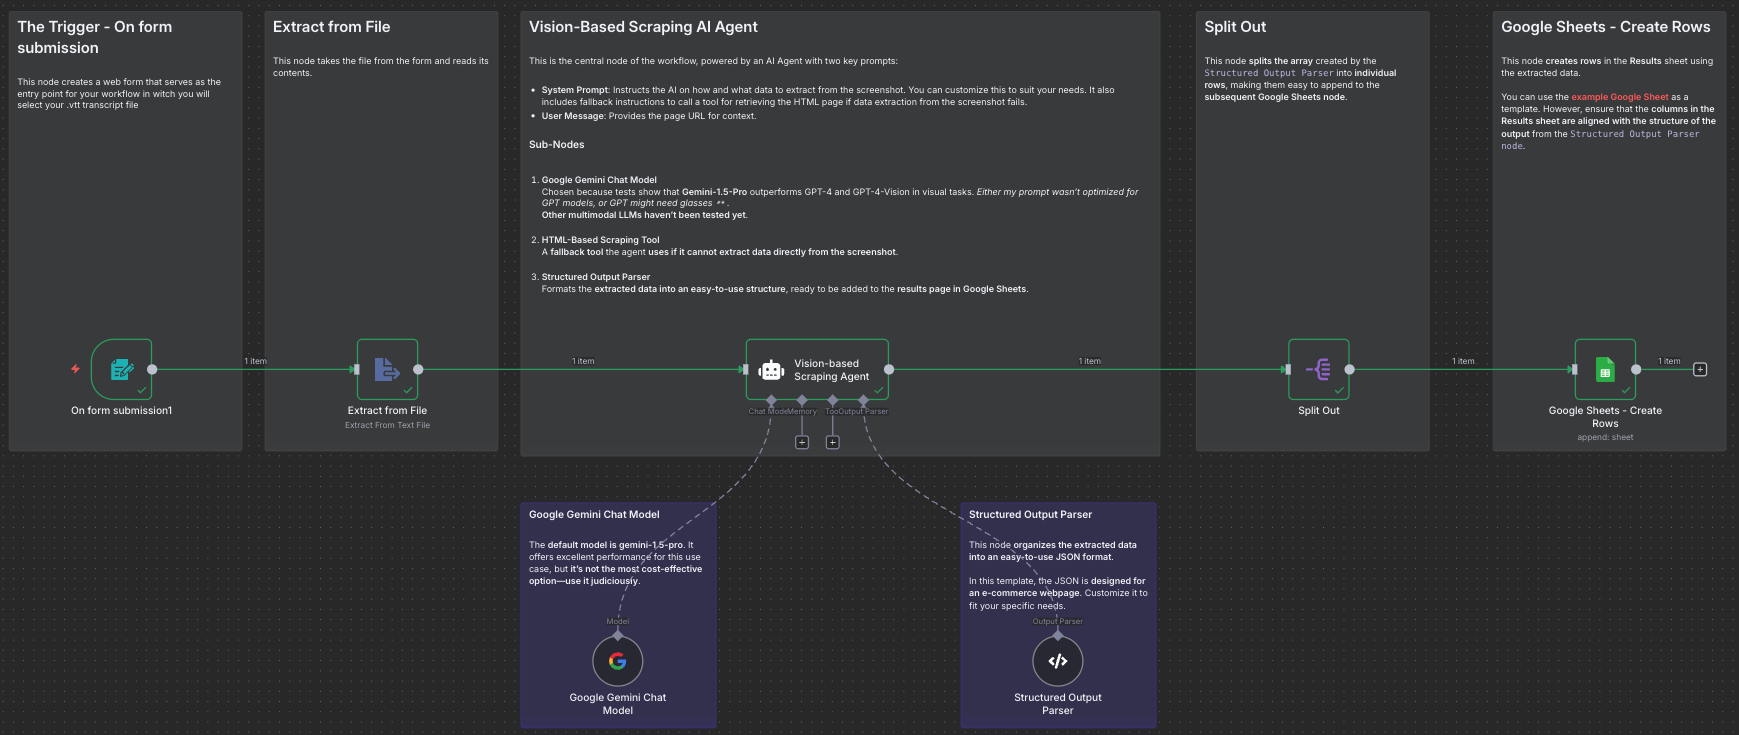
Workflow Overview
Before diving into the setup, let’s understand the journey our data will take. The process is broken down into six key steps, each handled by a specific node in our n8n workflow.
- Download the Transcription File from Microsoft Teams: Download the .vtt file at the end of the interview that contains the content of the interview.
- Form Submission: The workflow is triggered when a user uploads an interview transcript file in .vtt format via a simple web form.
- Text Extraction: The system opens the file and extracts its raw text content for analysis.
- AI Analysis: The transcript text is sent to a Large Language Model, which acts as a “talent assessment agent” to evaluate the candidate’s skills.
- Structured Output: The AI’s analysis is formatted into a consistent and predictable JSON structure.
- Data Preparation: The structured data is split into individual items, making it ready to be added to a spreadsheet row by row.
- Logging Results: The final, structured assessment is appended as a new row in a designated Google Sheet.
Step-by-Step Implementation Guide
Here is how to configure each node in your n8n canvas to build this solution. To begin the process of implementing this workflow, you first need to obtain the interview transcript. If you are using Microsoft Teams, you can download the .vtt file at the end of the meeting.
Step 1: Download the Transcription File from Microsoft Teams
- Start live transcription: Ensure that live transcription is enabled during your meeting. This may start automatically when you begin recording. If not, you can initiate it manually from the “More actions” menu in the meeting controls.
- Access the transcript: After the meeting ends, the transcript will be available in the meeting chat.
- Download the
.vttfile: To download the transcript, open the meeting chat, go to the “Recap” tab, and select the download dropdown to choose the.vttfile format.
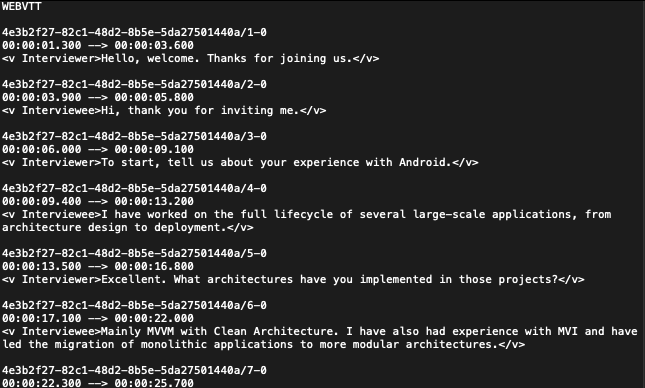
Structure of a .vtt File
A .vtt (Web Video Text Tracks) file is a plain-text file used for displaying timed text, such as subtitles or captions, synchronized with a video. It is similar to an SRT file but includes more features like metadata and text styling. The basic structure is as follows:
- The file must begin with the string
WEBVTT. - A blank line separates the header from the first cue.
- The main content consists of “cues,” which define a time interval and the corresponding text to be displayed.
- Each cue block typically includes:
- An optional cue identifier (e.g., a number).
- A time marker indicating the start and end times (e.g.,
00:00:03.456 --> 00:00:09.582). - The text of the transcript.
Step 2: The Trigger – On form submission
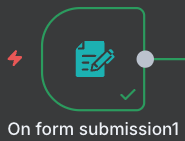
This node creates a web form that serves as the entry point for your workflow in witch you will select your .vtt transcript file from Microsoft Teams.
- Node Type:
Form Trigger. - Configuration:
- In the
Form Fieldssection, add a field. - Set the Field Label to
data. - Set the Field Type to
File. This will create a file upload button on your form.
- In the
Step 3: Extracting the Transcript – Extract from File
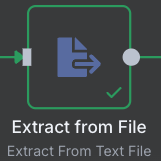

This node takes the file from the form and reads its contents.
- Node Type:
Extract from File. - Configuration:
- Set the Operation to
Text.
- Set the Operation to
- Connection: Connect the
On form submissionnode to theExtract from Filenode.
Step 4: The AI Core – The Agent and Language Model
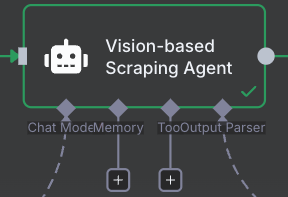
This is the brain of the operation, where the actual analysis happens. It consists of two connected parts: the Language Model and the Agent that uses it.
A. The Agent: Vision-based Scraping Agent
- Node Type:
@n8n/n8n-nodes-langchain.agent. - Configuration: This is where you provide the instructions for the AI.In the Text field, you will insert the main prompt. This tells the AI its role, the criteria for evaluation, and how to structure its thoughts. The input from the previous node is passed using
{{ $json.data }}.You are a talent assessment agent for developers. Your task is to analyze a technical interview transcript in .vtt format and determine the candidate's experience level. Evaluate the candidate based on the following criteria: * **Understanding of Concepts:** Do they understand the fundamentals of Android (e.g., MVVM, UI, testing)? * **Depth of Knowledge:** Are their answers superficial or do they demonstrate knowledge beyond basic theory? * **Practical Experience:** Are their examples concrete or abstract? Do they demonstrate experience working on real projects? * **Terminology:** Does they use the correct technical terminology? * **Attitude:** Are they confident or uncertain in their answers? Do they admit when they don't know something? Based on the assessment, assign a name, an experience level, justify your decision in a concise paragraph, assign a level for understanding architectural patterns with a brief justification, assign a level for implementing the architecture with a brief justification, assign a level for optimizing the architecture for performance and scalability with a brief justification, assign a level for the ability to debug and resolve problems with a brief justification, assign a level for efficiency and code quality with a brief justification, assign a level for designing solutions for complex problems with a brief justification, assign a level for teamwork and collaboration with a brief justification, assign a level for mentoring and supporting junior developers with a brief justification, assign a level for project and team leadership with a brief justification, and briefly justify strengths and areas for improvement. If the topics are not included in the interview, leave them blank. Take into account that the transcription could be in different languages, so answer the questions in the transcription language. 1. **Junior:** If the person has basic knowledge, superficial answers, and limited practical experience. 2. **Semi-Senior:** If the person has a good understanding of the concepts, demonstrates experience with various topics, and can solve problems independently. 3. **Senior:** If the person has in-depth knowledge, can discuss software architecture, advanced methodologies, and has led complex projects. **Input:** The interview transcript in .vtt format.{{ $json.data }} - Connections: Connect the
Extract from Filenode to the main input of the Agent. Connect theGoogle Gemini Chat Modelto theai_languageModelinput on the Agent.
B. The Language Model: Google Gemini Chat Model
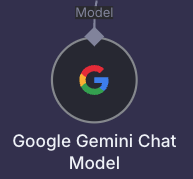
- Node Type:
@n8n/n8n-nodes-langchain.lmChatGoogleGemini. - Configuration:
- Connect your Google Gemini credentials.
- For the Model Name, select
models/gemini-1.5-flash. While other models likegemini-1.5-proare powerful,flashoffers a great balance of performance and cost-effectiveness for this task.
Step 5: Ensuring Consistency – Structured Output Parser
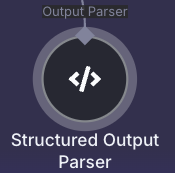
This crucial node forces the AI’s creative text output into a clean, machine-readable JSON format.
- Node Type:
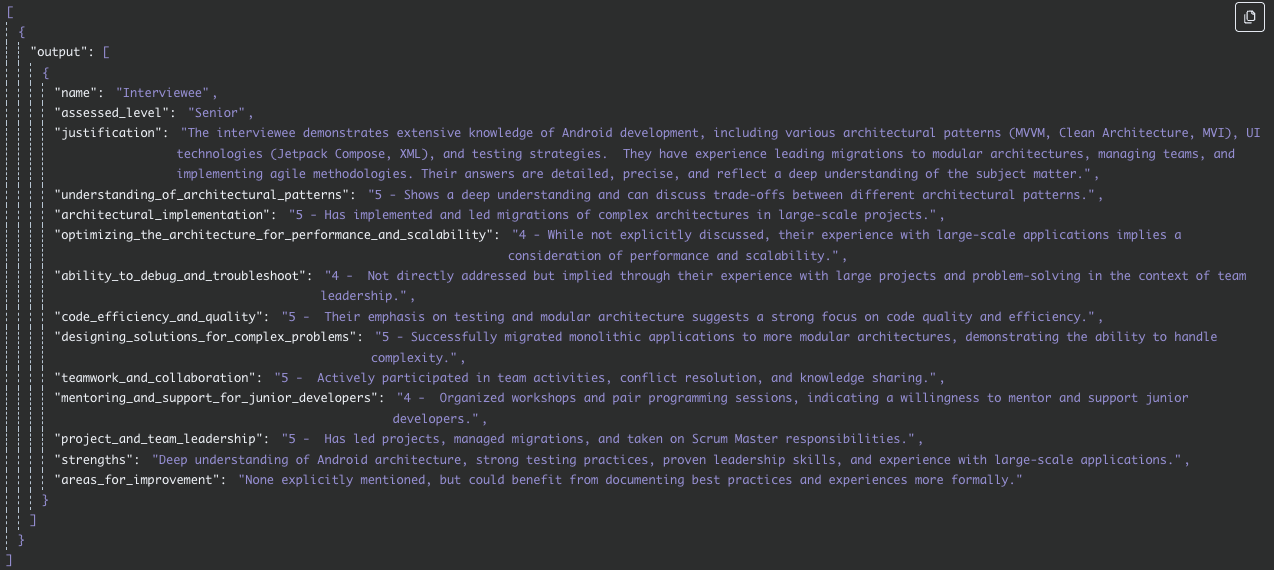
@n8n/n8n-nodes-langchain.outputParserStructured. - Configuration:In the JSON Schema Example field, paste the exact JSON structure you want the AI to follow. This schema should match the fields requested in the agent’s prompt.
[{ "name": "Interviewee's name", "assessed_level": "Assigned level (e.g., Junior)", "justification": "Brief one-paragraph justification of the assessment and the assigned level.", "understanding_of_architectural_patterns": "Level 1 to 5 - brief justification of the level", "architectural_implementation": "Level 1 to 5 - brief justification of the level", "optimizing_the_architecture_for_performance_and_scalability": "Level 1 to 5 - brief justification of the level", "ability_to_debug_and_troubleshoot": "Level 1 to 5 - brief justification of the level", "code_efficiency_and_quality": "Level of 1 to 5 - brief justification of the level", "designing_solutions_for_complex_problems": "level 1 to 5 - brief justification of the level", "teamwork_and_collaboration": "level 1 to 5 - brief justification of the level", "mentoring_and_support_for_junior_developers": "level 1 to 5 - brief justification of the level", "project_and_team_leadership": "level 1 to 5 - brief justification of the level", "strengths": "brief justification", "areas_for_improvement": "brief justification" }] - Connection: Connect this node to the
ai_outputParserinput on the Agent node.
Step 6: Preparing the Data – Split Out
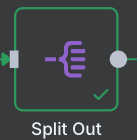
This utility node takes the array generated by the output parser and splits it into individual items, ensuring each assessment becomes a separate entry.
- Node Type:
n8n-nodes-base.splitOut. - Configuration: The default settings are usually sufficient. It will automatically split the
outputfield generated by the agent. - Connection: Connect the Agent node to the
Split Outnode.
Step 7: Logging the Results – Google Sheets - Create Rows
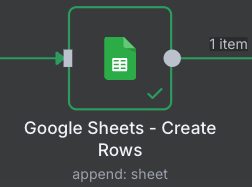
The final step is to save your structured data.
- Node Type:
n8n-nodes-base.googleSheets. - Configuration:
- Connect your Google Sheets credentials.
- Set the Operation to
Append. - Select your Spreadsheet and Sheet from the dropdown lists. Ensure your sheet has columns with headers that match the keys in your JSON schema (e.g.,
name,assessed_level,justification, etc.). - In the Columns section, map the fields from the AI’s output to the correct columns in your sheet. For example:
name:={{ $json.name }}assessed_level:={{ $json.assessed_level }}justification:={{ $json.justification }}- …and so on for all other fields.
- Connection: Connect the
Split Outnode to theGoogle Sheetsnode.

Conclusion
With all the nodes configured and connected, you now have a powerful, automated system for analyzing technical interviews. This workflow not only saves countless hours but also standardizes the evaluation process, reduces bias, and creates a data-rich repository of candidate assessments. You can now focus less on administrative work and more on making great hiring decisions.
Here is the workflow if you want to test it on n8n:
My workflow.json
How to Automate Technical Interview Analysis with n8n, Microsoft Teams, and LLMs is a highly innovative and practical guide that showcases the power of automation in recruitment. It clearly explains how to streamline interview analysis, helping teams save time while making smarter, data-driven hiring decisions.