
We may all have encountered this situation countless times in our projects—copying and pasting files just to create a new component, page, or service. Unfortunately, this slows us down and hampers our productivity by introducing errors into the workflow. However, there’s a solution! Plop.js is the answer to this problem, as it automates these tasks and allows us to focus on writing great code.
What is Plop.js?
Plop.js is a simple yet powerful scaffolding tool—in other words, a micro-generator framework—that helps us automate repetitive coding tasks for projects. It saves time, reduces errors, and standardizes code structures. Moreover, it ensures uniformity across files, making life easier for the entire team.
Highlight Features
- First and foremost, Plop.js is a template-based file generator.
- Additionally, it is an interactive CLI, enabling a smoother user experience.
- Lastly, you can achieve extensibility through custom actions.
Installation of Plop.js
Plop.js can be installed in any of your projects. To illustrate this, let’s take an example of a Next.js project.
Step 1: Create a Next.js Project
To begin with, create a Next.js project using the following command:
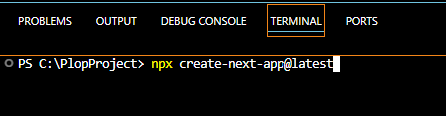
As a result, the above CLI command will prompt you with further questions for setting up your Next.js project.
(Select answers as per your requirement):
- What is your project named? my-app
- Would you like to use TypeScript? No / Yes
- Would you like to use ESLint? No / Yes
- Would you like to use Tailwind CSS? No / Yes
- Would you like your code inside a ‘src/’=’ directory? No / Yes
- Would you like to use App Router? (recommended) No / Yes
- Would you like to use Turbopack for ‘next dev’? No / Yes
- Would you like to customize the import alias (‘@/*’ by default)? No / Yes
Step 2: Install Plop.js
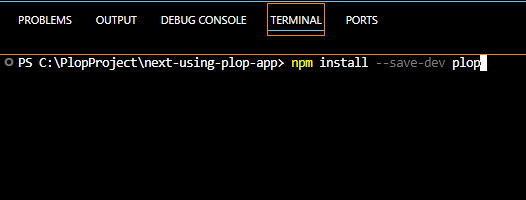
Once your Next.js project is set up, navigate to the project folder and install Plop.js using the command below:

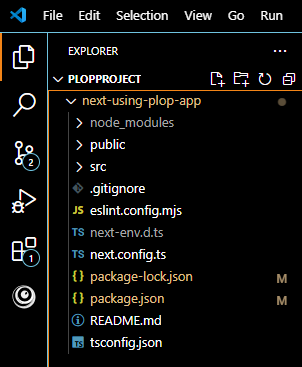
This Installation Generates 3 Key Files
- A node_modules folder for all your libraries, packages, and third-party code.
- A package.json file will give you a starting point for your scripts.
- A package-lock.json file will lock down the versions for each package.
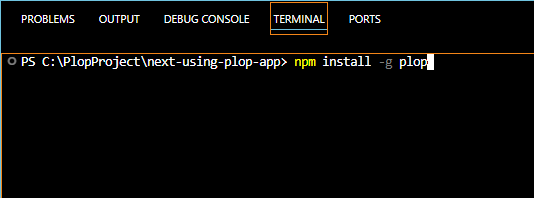
In addition to this, installing Plop globally is optional but recommended:
Step 3: Create plopfile.js
Next, create a plopfile.js at the root of your project. Below is a very basic example of plopfile.js
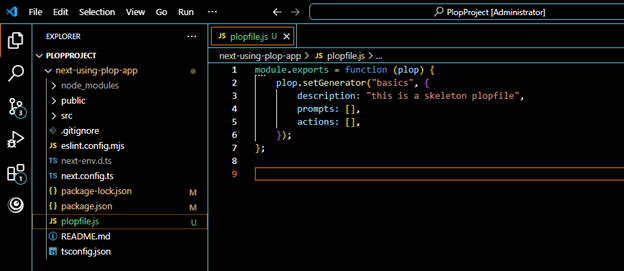
module.exports = function (plop) {
  plop.setGenerator("basics", {
    description: "My first Plop generator",
    prompts: [
      {
        type: "input",
        name: "name",
        message: "What is the name of your component?",
      },
    ],
    actions: [
      {
        type: "add",
        path: "./components/{{pascalCase name}}.js",
        templateFile: "templates/component.hbs",
      },
    ],
  });
};
Breaking Down the Code
- The “setGenerator” creates a plop generator. Here, plopfile.js has a single generator called “basics.”
- The “description,” as the name suggests, describes the purpose of the generator.
- The “prompts” is an array of prompts. This could be added to your created generator.
- The “actions” take the user’s information to each prompt. It is an array of where each action is an object. This is an important step and requires creating some templates.
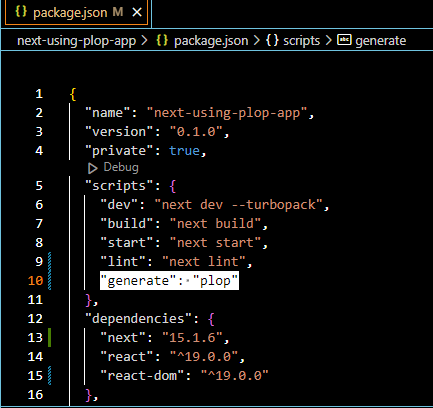
Step 4: Add a Script to package.json
Before running Plop, add the following script (highlighted in the screenshot below) to package.json.
Step 5: Run plop
Lastly, run plop through the CLI command “npm run generate.”
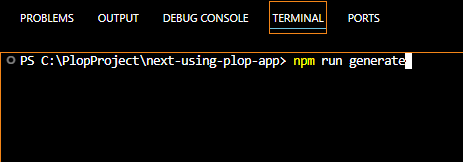
Now, Plop will execute and guide you through the component creation process!
What’s Next?
So far, we’ve covered the introduction and installation of Plop.js and a basic skeleton for plopfile.js.
In the next part, Plop.js Template Creation, we will explore plopfile.js more thoroughly, replace the skeleton code with working code, and create our first real template. Stay tuned!
Great post. Thanks for the insights!