Welcome back to getting to know Sitecore search. In this post, we’ll build a simple UI frontend for our Sitecore Search results. This by no means is a fully working solution nor the most modern. But it should give you a start and help you avoid some pitfalls during setup.
Background
When I started this blog series, I followed the developer guide from Sitecore https://doc.sitecore.com/search/en/developers/search-developer-guide/overview-of-sitecore-search.html. I found it to be a good start, but is currently missing information about building the frontend. Since Sitecore Search was born of Sitecore Discover, I turned there for some guidance on building the UI.
I thought the integration would be easy. Add the beacon javascript to the head tag of your site and add your widgets to the page https://doc.sitecore.com/discover/en/developers/discover-developer-guide/using-the-sitecore-discover-beacon.html. It turns out this method is deprecated https://doc.sitecore.com/discover/en/developers/discover-developer-guide/implement-a-sitecore-discover-widget-using-a-div-tag.html.
I ended up coming back to https://doc.sitecore.com/search/en/developers/search-developer-guide/integrating-using-rest-apis.html to find the final piece I was missing. These pages showed me how to connect and authenticate to the api correctly.
- https://doc.sitecore.com/search/en/developers/search-developer-guide/api-authentication-and-authorization.html
- https://doc.sitecore.com/search/en/developers/search-developer-guide/get-an-access-token-and-a-refresh-token.html
- https://doc.sitecore.com/search/en/developers/search-developer-guide/add-an-api-key-or-access-token-to-a-request-header.html
During my research, I found several sites that could be helpful in the future, though they are more related to discover.
- https://doc.sitecore.com/discover/en/developers/discover-js-sdk-for-react/react-resources-for-your-implementation.html
- https://developers.sitecorecloud.io/discover-sdk/react/1.x-alpha/storybook/index.html?path=/docs/introduction–page
- https://developers.sitecorecloud.io/discover-sdk/react/website – This site has working examples of widgets with real content
- https://github.com/Sitecore/developer-portal/tree/main/apps/devportal/src/components/integrations/sitecore-search – This repo has a more fully fleshed out example React application specifically for Sitecore Search
Domain Settings
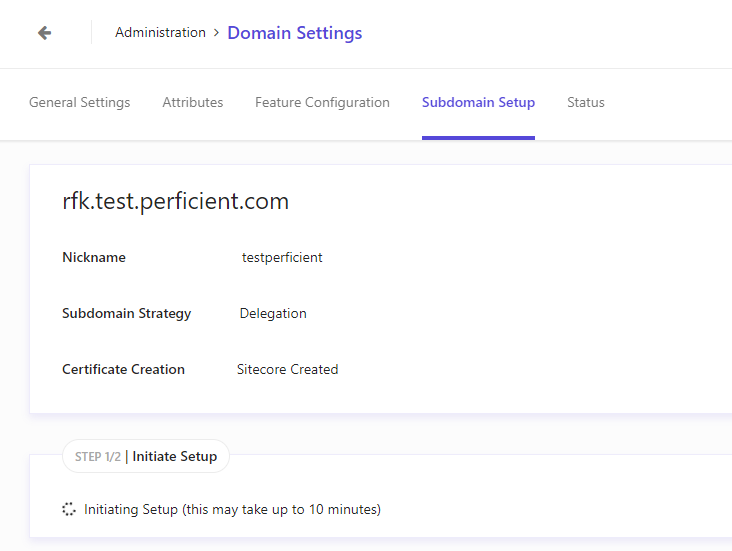
Before we can begin building our frontend, we need to configure our domain settings. These are found under Administration/Domain Settings. You must be a TechAdmin to access this section of the site. Your Sitecore Search account lists a primary website for your account. You can add additional websites for this domain. This allows multiple sites to access the search results. Note that you will only have one catalog, so each site will pulls from the same pool of documents. You must also complete Subdomain Setup. There are two options to choose from https://doc.sitecore.com/discover/en/developers/discover-developer-guide/implementing-domain-delegation.html. The subdomain setup creates dns records which prevent ad blockers and tracking prevention from blocking requests to the Sitecore Search api. After you choose your strategy, you can initiate setup.
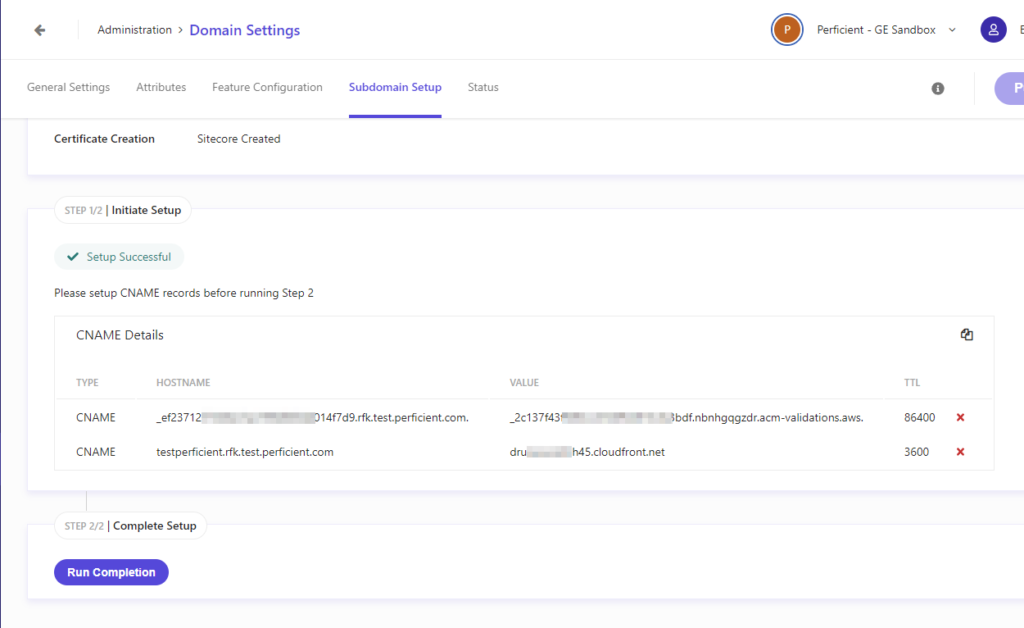
This will take a few moments while Sitecore Search generates dns records for your account. You’ll use this information to create the dns records with your domain name registrar.
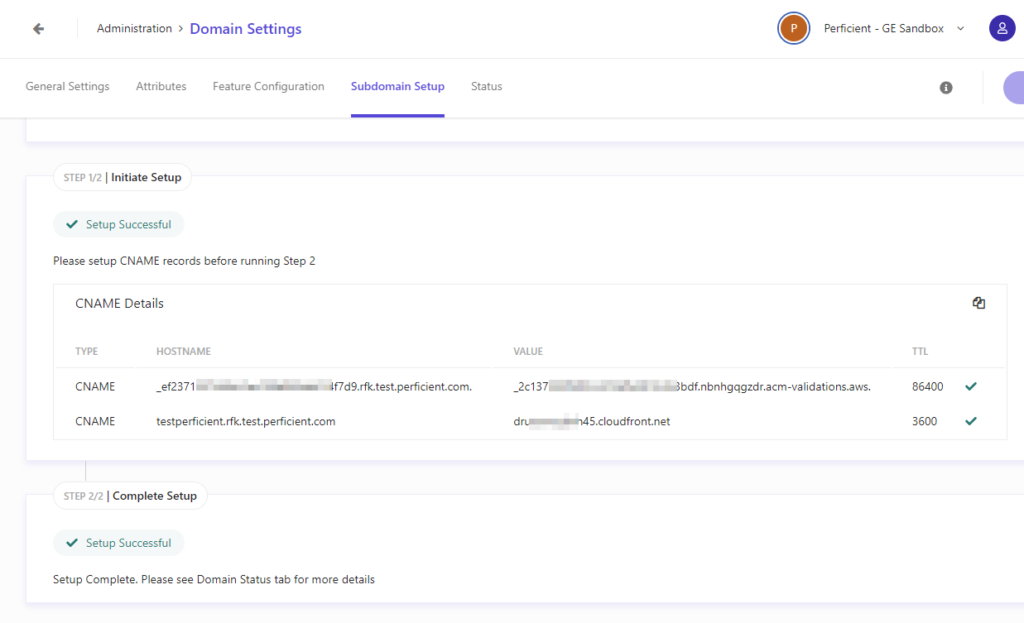
After you have added the records, run step 2 to validate the dns records and complete setup.
Api Access
In order to build our frontend, we need an api key to use for authentication. You can find this information on the Developer Resources/API Access page. You can create new api keys that are limited in scope or used for different purposes.
The api access page lists https://testperficient.rfk.test.perficient.com as my server host. I found this url does not work to serve results. I had to use https://discover.sitecorecloud.io/discover/v2/xxxx, where xxxx is my domain id (which can be found on the administration/domain setting page).
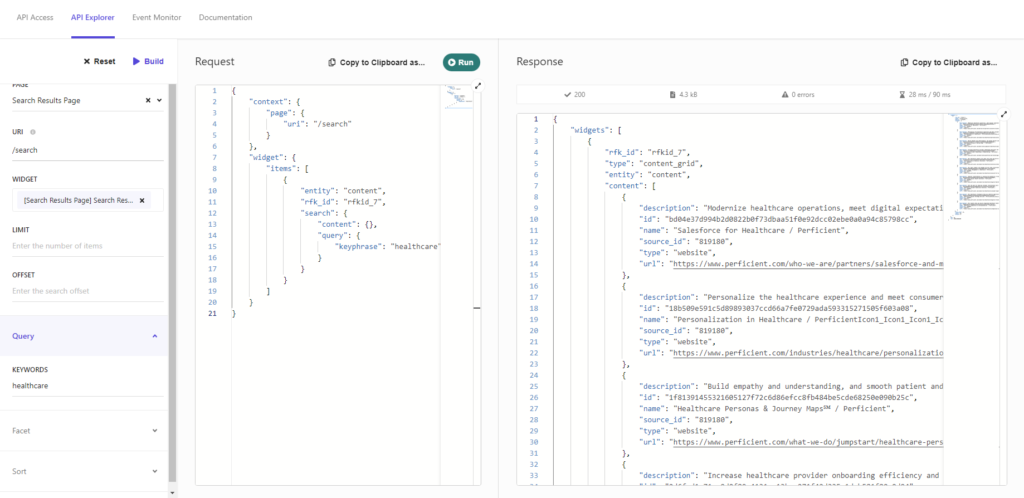
The Developer Resources section includes an api explorer. This tool lets us build a query that we can use to test our frontend.
Select a page and widget, enter a keyword and click the build button.
Frontend UI
The simple frontend consists of several key pieces
- Adding the beacon script in the head tag
- Creating an input box for our search term and submit button
- A div to hold our results
- An ajax call to the search api
- Processing the results
I wanted to avoid the overhead of a react application and opted for jQuery in this example. Read through the code and find each of the key pieces listed above.
<!DOCTYPE html>
<html lang="en">
<head>
    <title>ES Test / Perficient, Inc.</title>
    <script type="text/javascript" src="https://testperficient.rfk.test.perficient.com/api/init/1/init.js" async="true"></script>
</head>
<body>

    <div style="width: 80%; margin: 20px auto;">
        <input type="text" placeholder="search" id="sc_search"
            style="width: 93%; background-color: white; color: black;" />
        <input type="button" id="sc_search_submit" value="Search" />
    </div>
    <div id="rfkid_7"></div>

    <script src="https://code.jquery.com/jquery-1.12.4.min.js" integrity="sha256-ZosEbRLbNQzLpnKIkEdrPv7lOy9C27hHQ+Xp8a4MxAQ=" crossorigin="anonymous"></script>

    <script type="text/javascript">

        $("#sc_search_submit").click(doSearch);

        function doSearch() {

            var keyphrase = $("#sc_search")[0].value;

            var searchRequest = {
                "context": {
                    "page": {
                        "uri": "/estest"
                    }
                },
                "widget": {
                    "items": [
                        {
                            "entity": "content",
                            "rfk_id": "rfkid_7",
                            "search": {
                                "content": {},
                                "query": {
                                    "keyphrase": keyphrase
                                }
                            }
                        }
                    ]
                }
            };

            jQuery.ajax({
                url: "https://discover.sitecorecloud.io/discover/v2/194192040",
                method: "POST",
                headers: {
                    "Authorization": "01-bXXXXXXe-6XXXXf26dXXXXaae3XXXX8a37XXXXde51XXXX173"
                },
                dataType: "json",
                data: JSON.stringify(searchRequest)
            }).done(function (data) {

                $("#" + data.widgets[0].rfk_id).empty();

                $.each(data.widgets[0].content, function (index, obj) {
                    $("#" + data.widgets[0].rfk_id).append(
                        `<div style="width: 80%; margin: 10px auto; background-color: white; padding: 10px">
                            <div style="font-size: 1rem; color: #B79967; text-transform: uppercase; font-weight: 700; margin-bottom: 22px;">${obj.type.toUpperCase()}</div>
                            <a style="font-size: 1.25rem; color: black; font-weight: 400" href="${obj.url}">${obj.name}</a>
                            <p style="font-size: 1rem; color: black; width: 100%; margin-bottom: 10px; -webkit-line-clamp: 3; display: -webkit-box; -webkit-box-orient: vertical; overflow: hidden;">${obj.description}</p>
                        </div>`
                    );
                });
            });
        }
    </script>
</body>
</html>
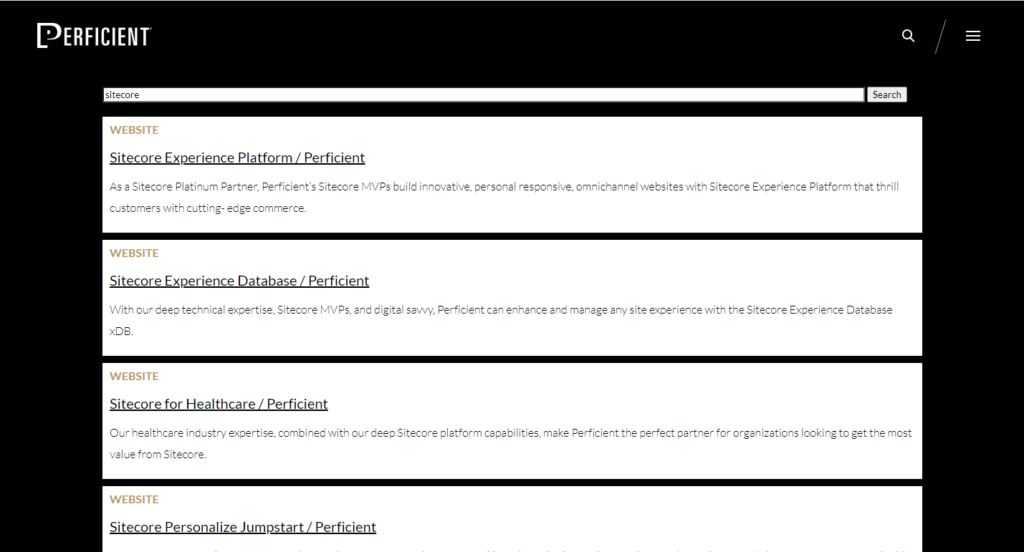
With all of this in place, I am able to enter a search term in the box and get results!
Widget Settings
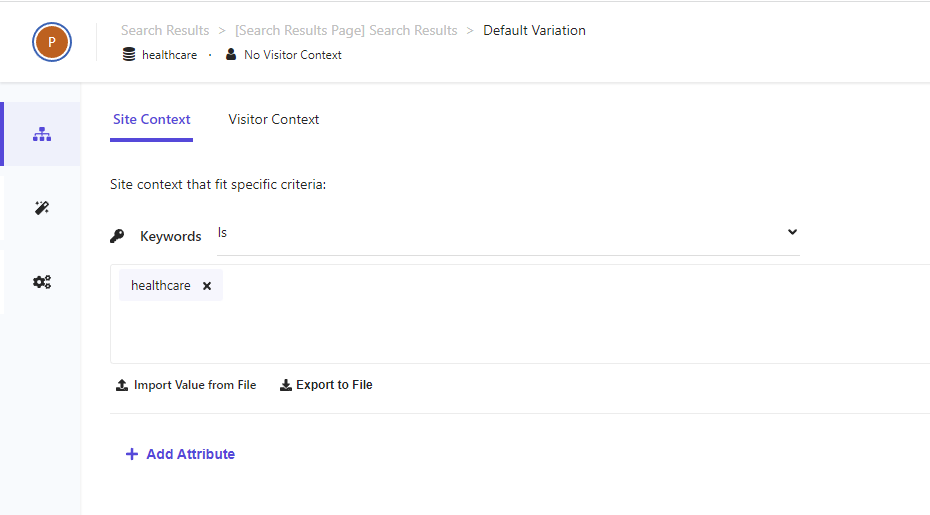
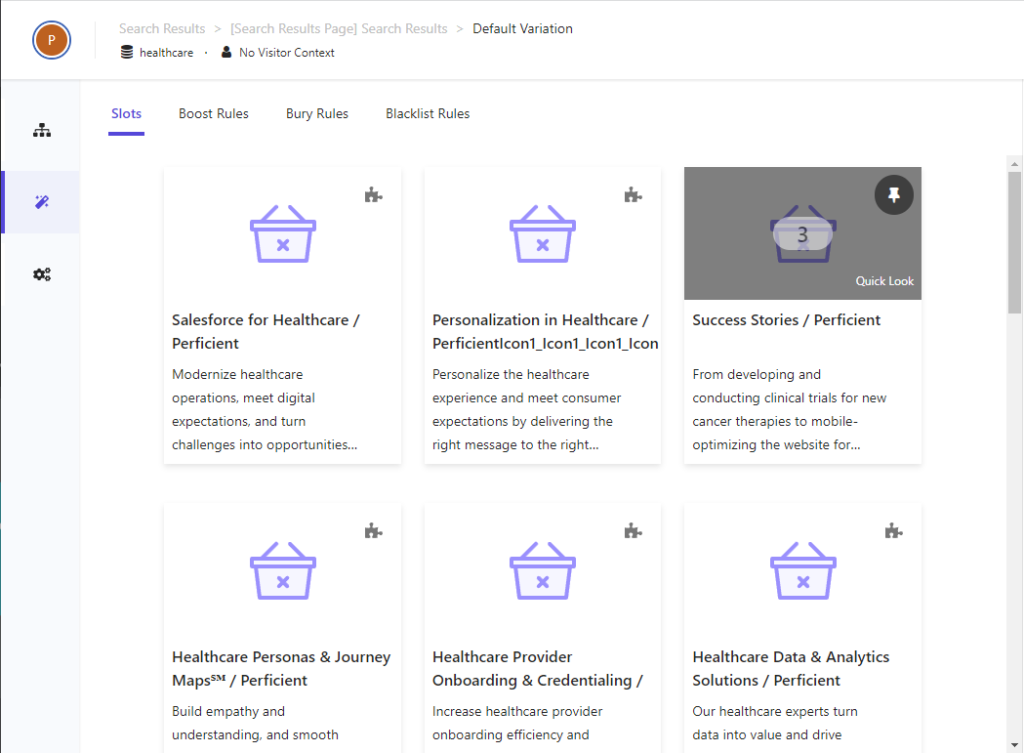
Now that you have a working front end, you can start to experiment with customizing your results. This is the fun part! You can create widget variations and control how often each variation is displayed. Each variation can have its own rules based on keywords and visitor context. You can put a specific document in a specific slot in the results, boost, bury and blacklist documents. You can assign the priority of textual relevance to the attributes of your documents and personalize results based on the user’s history on the site.
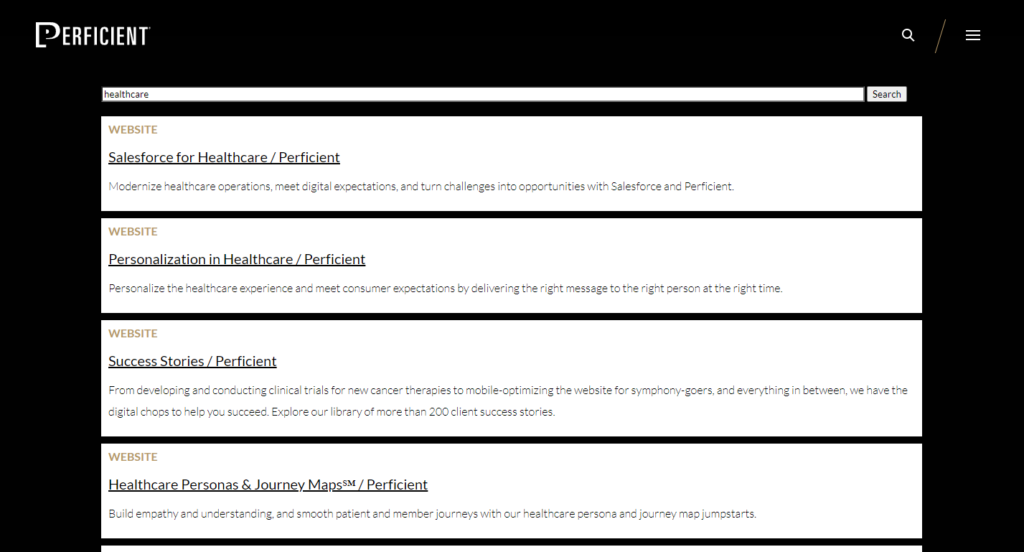
The changes to your widget settings and rules appear in your frontend as soon as you save and publish the widget. I added a rule for healthcare that pins “success stories” in the third position.
When I search for healthcare, “success stories” is listed in the third position as expected.
Up Next
I struggled to get my simple frontend to work. But I’m happy that I have a UI I can continue to experiment with. In the next post, I’ll build a more modern UI with the React SDK for Sitecore Search.
Follow me on linkedin to get notifications as new articles are posted.
UPDATE (2023/08/31):
Since this article was written, the Sitecore Search SDK has been released, the documentation site for Sitecore Search has been updated, and the React SDK has fresh examples.


Use the react SDK.
Thanks for the comment Mike. I’ll use the react sdk in an upcoming post.