As you are aware, the alfresco solution for BPM is built on the alfresco process service Engine. Alfresco process service enables process designers to develop forms, or user interfaces for user tasks, to simplify the interaction between business processes and human actors. APS has several present UI features, such as text input and process variable content.
You should opt to make a custom stencil because the included stencils are insufficient for your purposes, and you would need something more tailored.
Creating a Custom Stencil into Alfresco Process Services
Click the Kickstart app content from the APS welcome page to reach the administration dashboard. Here, you can create and manage all AP models and definitions.
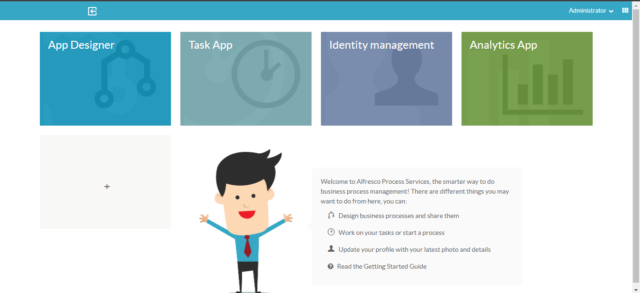
Fig: Alfresco Process Service Engine (APS)
The item stencil is located in the top menu. To access the stencils view, click on it. Press the “stencil” button in the top right corner to show the form seen in the illustration below.
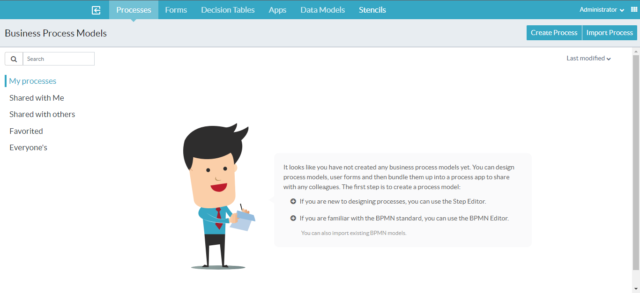
Fig: APS App designer
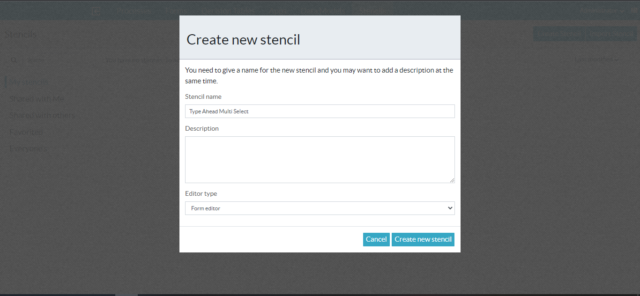
Creating stencil in APS
The stencil set, known as “Type Ahead Multi Select,” is displayed on the website and is available for editing and customization. After completing the form, click the “make new stencil” button to be taken to a page with all the included stencils. Press the stencil editor button in the top right corner to customize the stencil set. After pressing the button, select Add New Item in the top right corner. After that, you’ll arrive at a page similar to the one below.
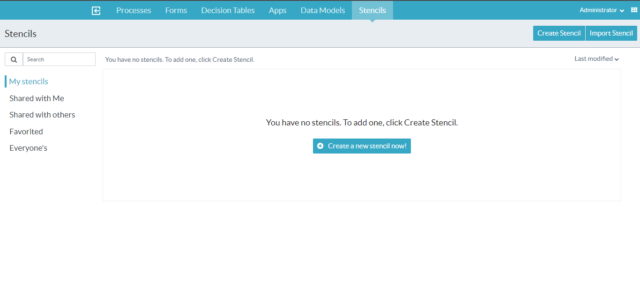
Fig: The Stencil design in APS
After creating a new custom stencil, start filling in the fields described below.
- Fill (Type Ahead Multi Select) in the name.
- Fill the form runtime template with:
[you HTML, CSS, JS ] code.
Example: <div> My First Stencil App</div>
- Fill the form editor template with:
<i> label of new stencil app </i>
All the other fields are optional. Go to the top left and save the stencil.
Creating a Form Using the Custom Stencil
Now that the new stencil set is created (with our custom stencil included), let’s make a simple form using a new stencil; the task is straightforward. Consider we already completed this task in a previous example.
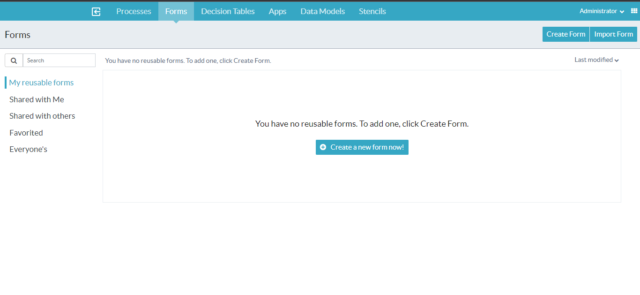
Fig: APS Forms
To create the form, let’s click on the forms item in the top menu of the apps page. Once you are on the forms page, click the create form button on the top right. To complete the task, fill in the form and click the create new form button, as shown below. The stencils field has to be pointed to the (Type Ahead Multi Select) set.

Fig: Create New Form Fields
Once the form is created as empty, it’s time to design it, simply including the My form field. To add the custom stencil to the form, drag my first stencil item from the left panel to the right one; now that the form is completed, the whole form should look like the picture below. Save the form by pressing the disk icon on the top left, and your form is created.
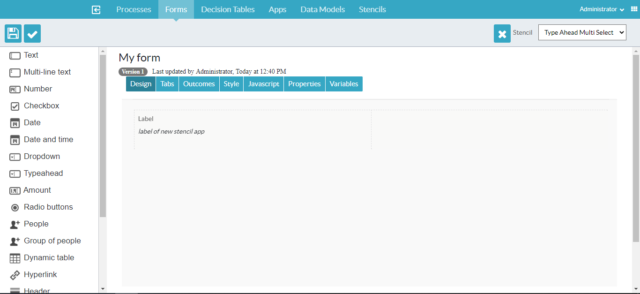
Fig: Design From APS
Updating the User Task in the Process Model
After creating the form, we must change the user task in the process model to refer to the new form. Let’s select the process option from the APS page’s top menu and click on the visual editor button to go right to the (myProcess). Once the editor has been displayed, click on the user task and then click on the item in the bottom panel that is the referenced form. Design (myProcess) emphasizes references from item to point on My form.
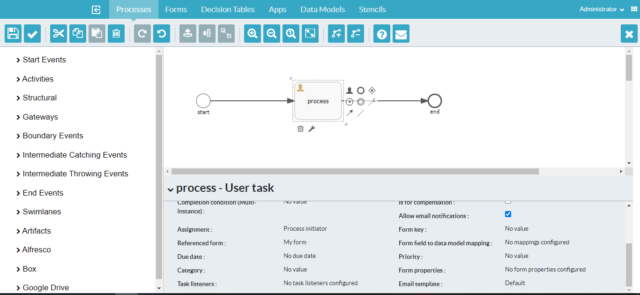
Fig: APS Process
Once the referenced form item is selected, a model window shows you the available form. Select My form and press save button. Now the form is referred from the user task, and we can save the process model again by pressing the disk icon on the top left.
Publishing Again in the App
APS has been republished following the modification of the process model to reflect the new form of user tasks. Click on the applications item in the top menu of the APS page to finish the task. Once on the APPS screen, click the lens to alter the myAps option. Click the publish button in the top right corner after you’ve reached the app administration page.
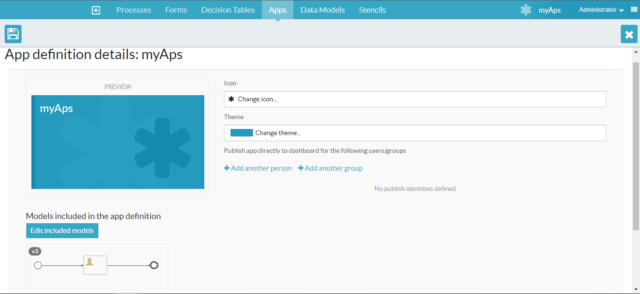
Fig: App Publish
After publishing the app, the users or groups you assign the process creations will have this app. The landing page of APS contains the My process app. You can see it below. While clicking on my process app, a new model will be available, including the tasks, process, report, and start.
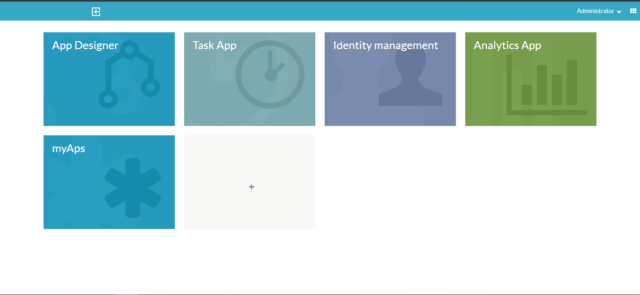
Fig: New Process is created
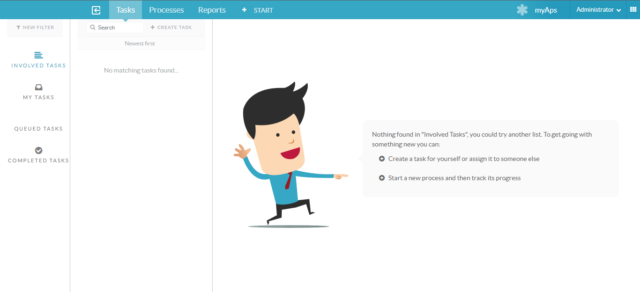
Fig: My process app
Here is an example of how APS creates a type ahead multi-select custom stencil.

Fig: Custom Stencil Label
While creating stencils, I use languages like HTML, CSS, and JavaScript. In the field type, ahead multi-select data comes from the REST API, a dummy testing API. You can see in the below figure how the data is present in a field, and you can check it using the checkbox. While clicking on the checkbox, you can see the data and which checkbox you have clicked on.

Fig: Custom Stencil data (1)

Fig: Custom Stencil data (2)
I hope you guys have enjoyed it; feel free to ask questions if you face any issues while creating a custom stencil. If you want Custom stencil code, you can visit my GitHub link too. You can also visit my LinkedIn profile if you want to connect with me. You can see more blogs at AlfrescoHub

