A recent question came to me about how to make a custom OTBI report available so a user can run the custom OTBI report from the Scheduled Processes user interface.
From that screen, we want a user to be able to click on the Schedule New Process button and be able to call up the custom OTBI report and submit the job for processing.
To achieve this, follow the steps:
- Confirm the Job is defined so it can be submitted from the Scheduled Processes screen
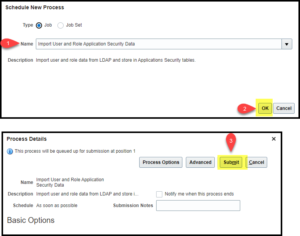
- Run “Import User and Role Application Security Data”. This will create a privilege in the name of the job prepended with “RUN_”
- Create a custom role
- Assign the RUN_ privilege to the custom role
- Assign the custom role to the user
- Run “Send Pending LDAP Requests”
- The impacted users will now be able to select the job from the Scheduled Processes screen
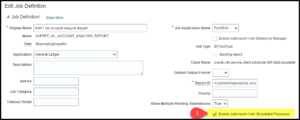
Define the Job such that it can be run from Scheduled Process by checking the “Enable submission from Scheduled Processes”
Run “Import User and Role Application Security Data” to create the “RUN_” privilege
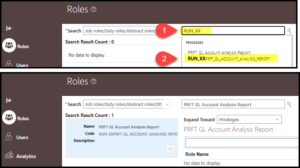
Use the Security Console to confirm the Privilege has been created by searching for the job name with “RUN_” as the prefix
Create a custom role – in the case shown, a custom role was created to be the container for all custom jobs that will be assigned to General Accountant and General Accounting Manager users

Assign the privilege to the role

Assign the role to users

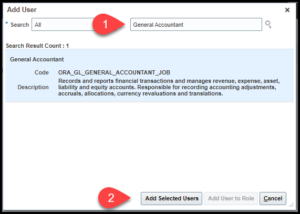
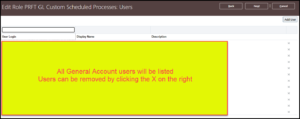
Add individual users or all users that have an assigned role such as General Accountant. In this case, after clicking on (2) all General Accountant users will be listed, individual users can be removed by clicking the X to the right of their name. When done, click next, then save and close
Run “Send Pending LDAP requests”

Confirm the impacted users can run the Job from the Scheduled Processes user interface
