In the first installment of this guide, we discussed how OneStream users can uninstall their old add-in, install the correct version of the add-in, and ensure that the add-in was enabled within Excel.
Next, now that the correct version of the add-in installed and enabled, the next step will be to log in and connect to our OneStream application.
- Within Excel, a new ribbon tab will appear called “OneStream XF”
- Within the OneStream XF tab click “Logon”
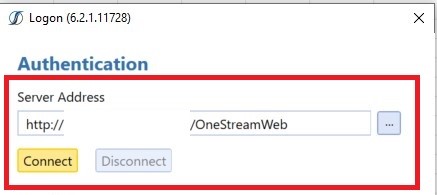
- A login window will pop up, type in the server address (Same address used when connecting to OneStream on the main login page)

- The “…” button can be used to add multiple server addresses to make connecting easier in the future.
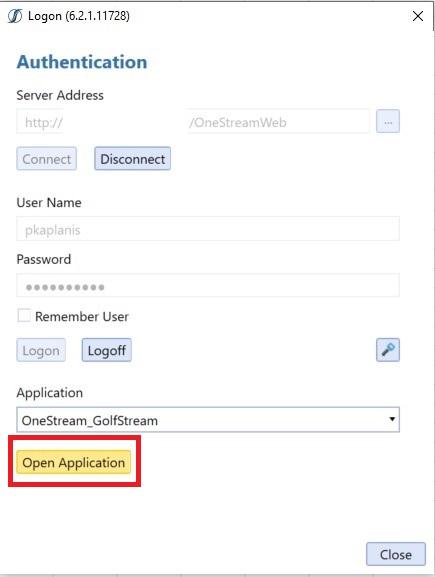
- After connecting, log in using the username and password.
- Select your desired application.

- Click “Open Application” to complete the connection.
Lastly, after a successful connection is made, the next section will show some of the beneficial Excel add-in features. Below is a short list of features to be covered:
- Creating a simple Quick View
- Launching documents from the OneStream Excel Add-In
QuickViews are the query mechanism within the OneStream Excel Add-In to easily perform any desired ad hoc analysis. QuickViews can be created in various ways such as using the add-in’s typing functionality or using the context pane’s drag and drop features to build the rows and columns of a QuickView. The context pane is where users can set their POV, create and edit QuickViews, or launch documents.
This section will demonstration using the type-in functionality and the context pane to build a simple QuickView:
- Here is a screenshot of the context pane’s tabs. In the first “POV” tab, the POV for the user defined in the system is presented in the QuickView.


- In cell A2, type the desired account to be displayed in the rows. In cell B1, the desired entity desired is typed into the columns.

- By highlighting exactly the information entered, in the below screenshot, the user can go to the context pane to create the QuickView.

- Select the “Quick Views” tab on the context pane and clicking “Create Quick View”.

- Here is the resulting QuickView.

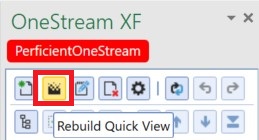
- Highlighting additional members that are typed outside of the QuickView and clicking “Rebuild” will add these members.


- Here is the resulting QuickView

Another convenient feature the add-in provides is the ability to launch files saved on OneStream’s File Explorer. The File Explorer is like an internal OneStream SharePoint site that allows users to save and share documents. Users can launch Microsoft Office files or XF documents saved on the File Explorer directly from the “Documents” tab on the context pane of the OneStream Excel Add-in.
Here is an example of launching an Excel document from the context pane.


This two-part blog provides the high-level information on to install, connect, and use the OneStream Excel Add-In. Ensuring the add-in is installed correctly will save users from the future headaches and enable them to use a familiar tool to analyze data. This will give the user the ability to benefit from tools such as dynamically updating data, ad hoc reporting capabilities, and features discussed.

