One new update that may have flown under your radar is the new built-in polls feature in a Teams meeting. In today’s article, I’ll be covering this cool new feature and show you how you can start using polls in your meetings!
Step 1: Schedule your meeting
Let’s start things off in the Microsoft Teams client Calendar tab. Let’s create a meeting and add some attendees.


Once that’s done, click Send.
Step 2: Add Forms as a tab
Now that we have created the meeting, let’s open up the meeting by double-clicking on the meeting in your calendar. Once the meeting has opened you should see the option to Add a tab ( + ).
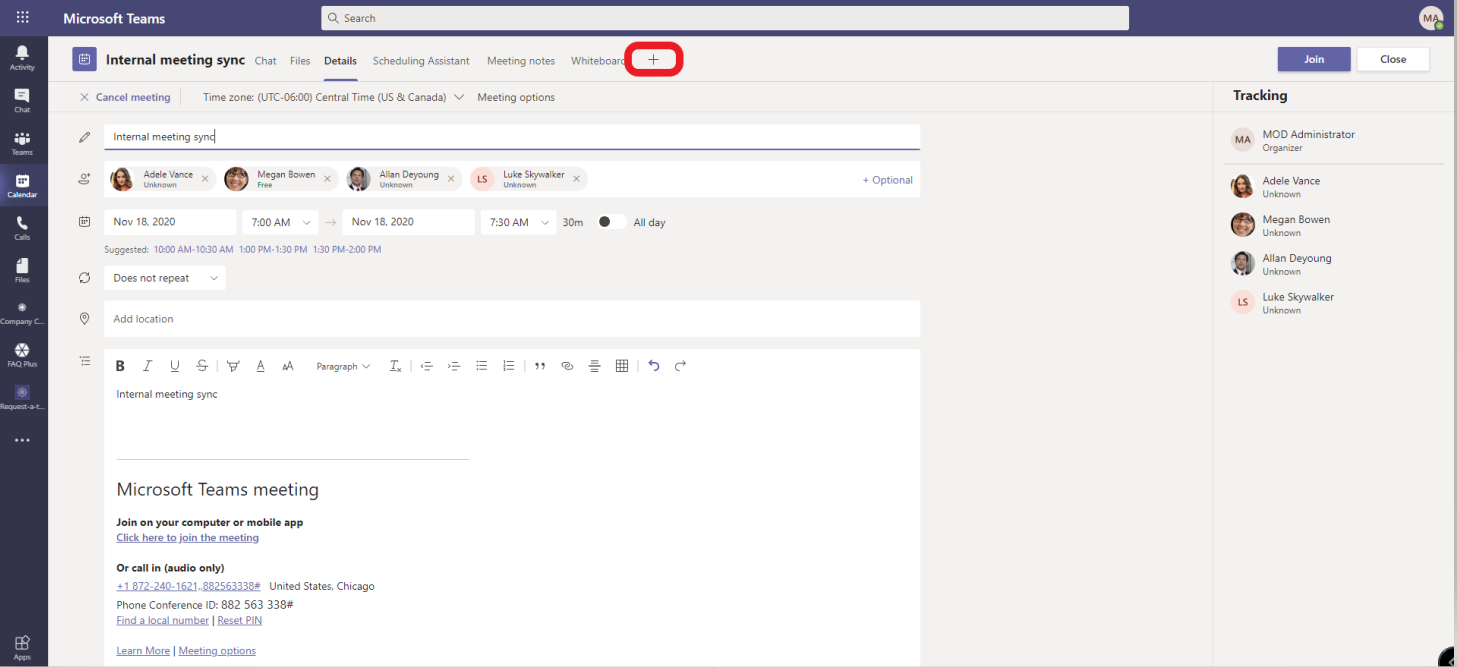
Click on the plus (+) icon to add a tab and search for Forms.
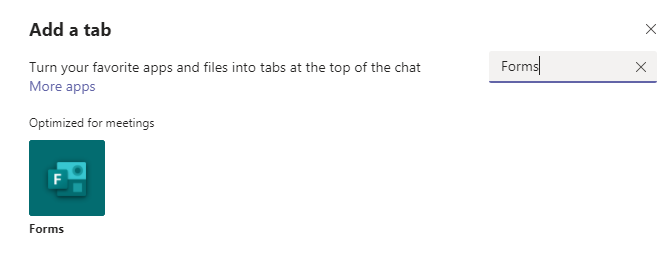
Select Forms and then select Add.
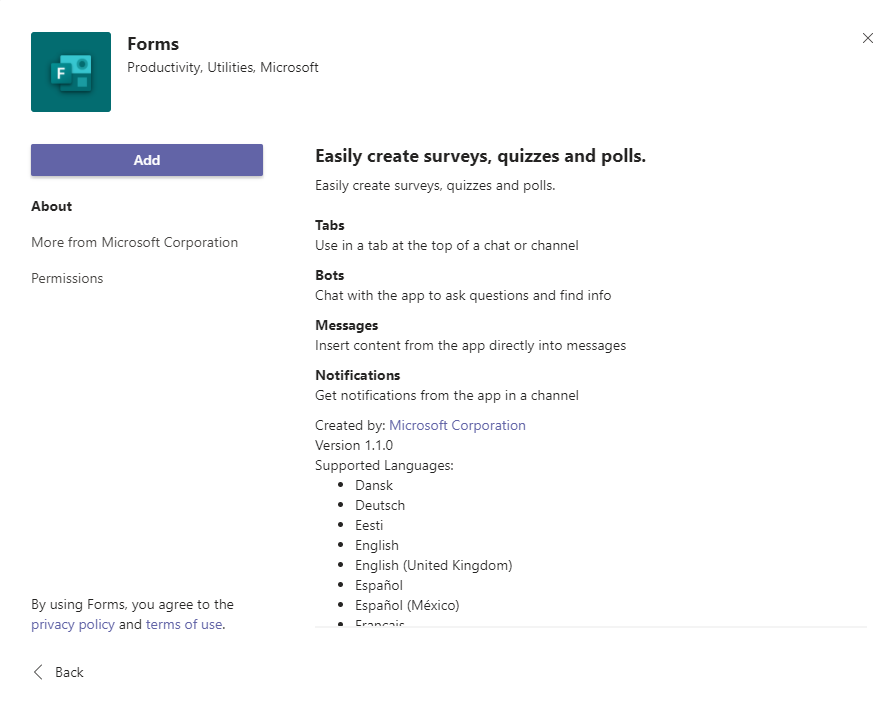
You will then see a pop-up explaining how you can now prepare your polls before the meeting or during the meeting as well as collect attendee responses in real-time. Once you see this pop-up just select Save. You should now see a new tab in your meeting invite window called Polls.
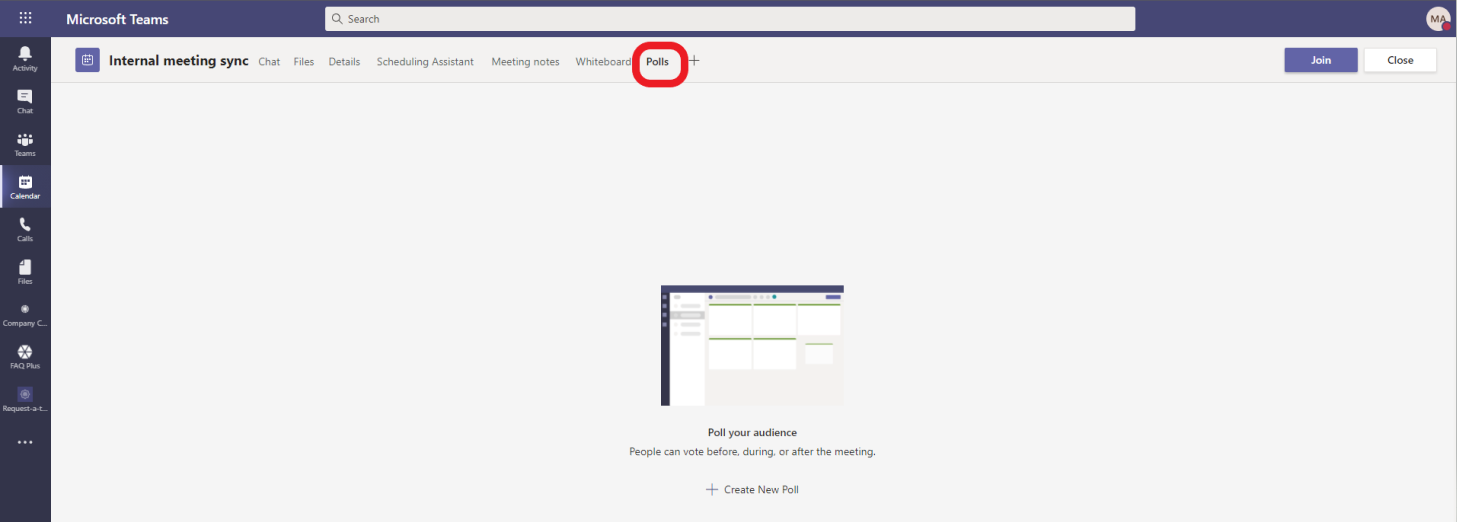
Step 3: Create your poll(s)
In the Polls tab select + Create New Poll. Now comes the fun part, start by creating the question for your poll and then list out the different options. You’ll notice you have the option of toggling on/off the ability for people to select multiple answers/options along with the ability to share results automatically after voting and/or keep responses anonymous. When creating the polls this breaks down into 4 different scenarios:
- Not anonymous with results shared
- Not anonymous with results not shared
- Anonymous with results shared
- Anonymous with results not shared
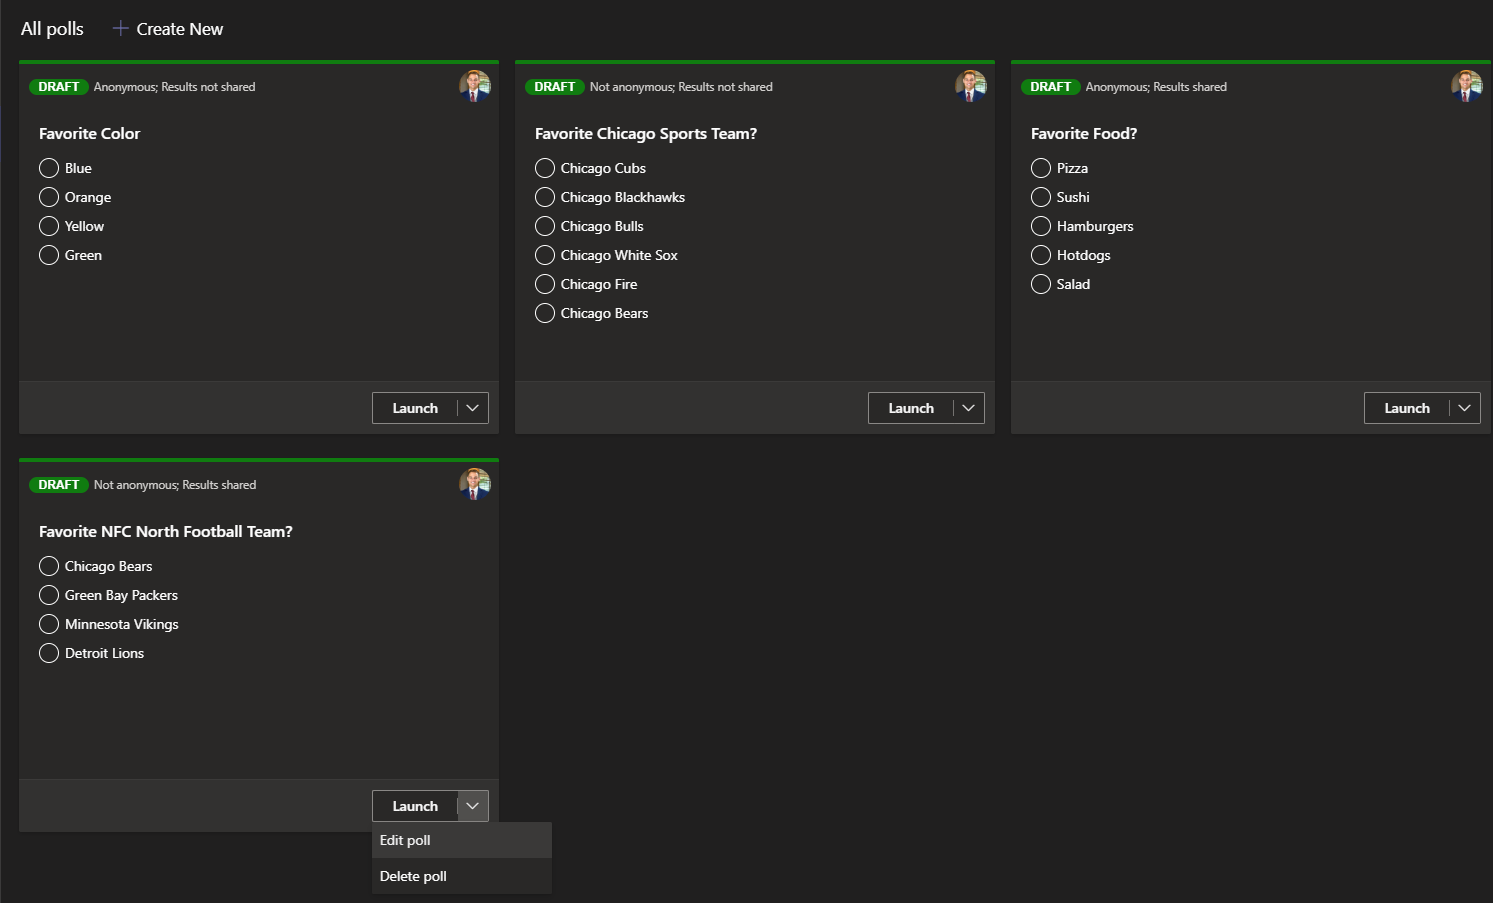
Some things to note when setting up your meeting. Within the Meeting Options make sure you set your permissions properly, as anyone that is a presenter in the meeting will be able to see/edit/launch/delete your poll. In the example below, you’ll notice that I have my Meeting Options set to Only Me as a presenter.
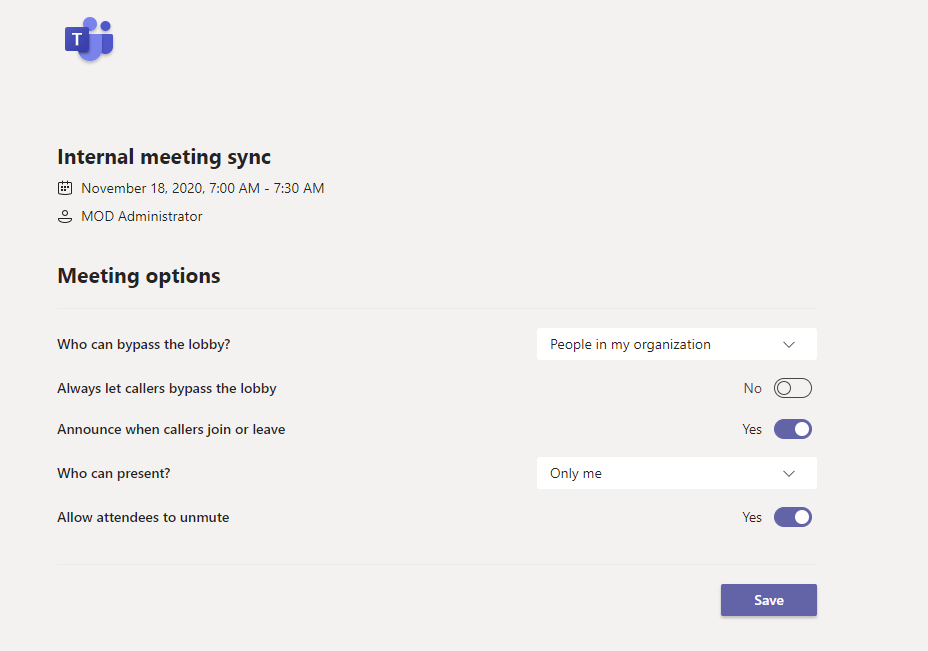
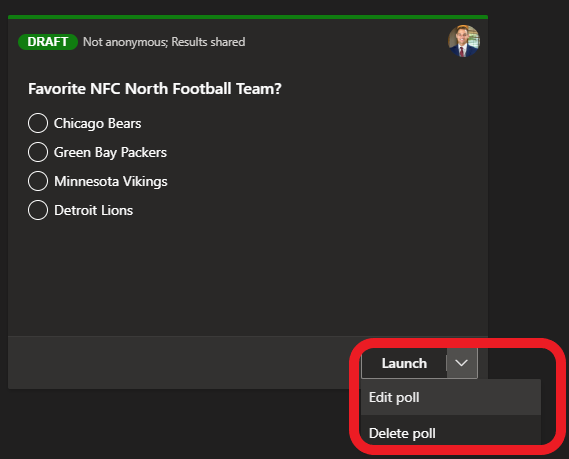
Once you have created your poll, you’ll see the Launch option and a drop-down which also gives you the ability to Edit your poll or Delete your poll. Since we’re happy with how the poll looks we’ll go ahead and select Launch.
The poll is now Live as indicated in red. If you have multiple polls you’ll also notice that the others show as Draft. 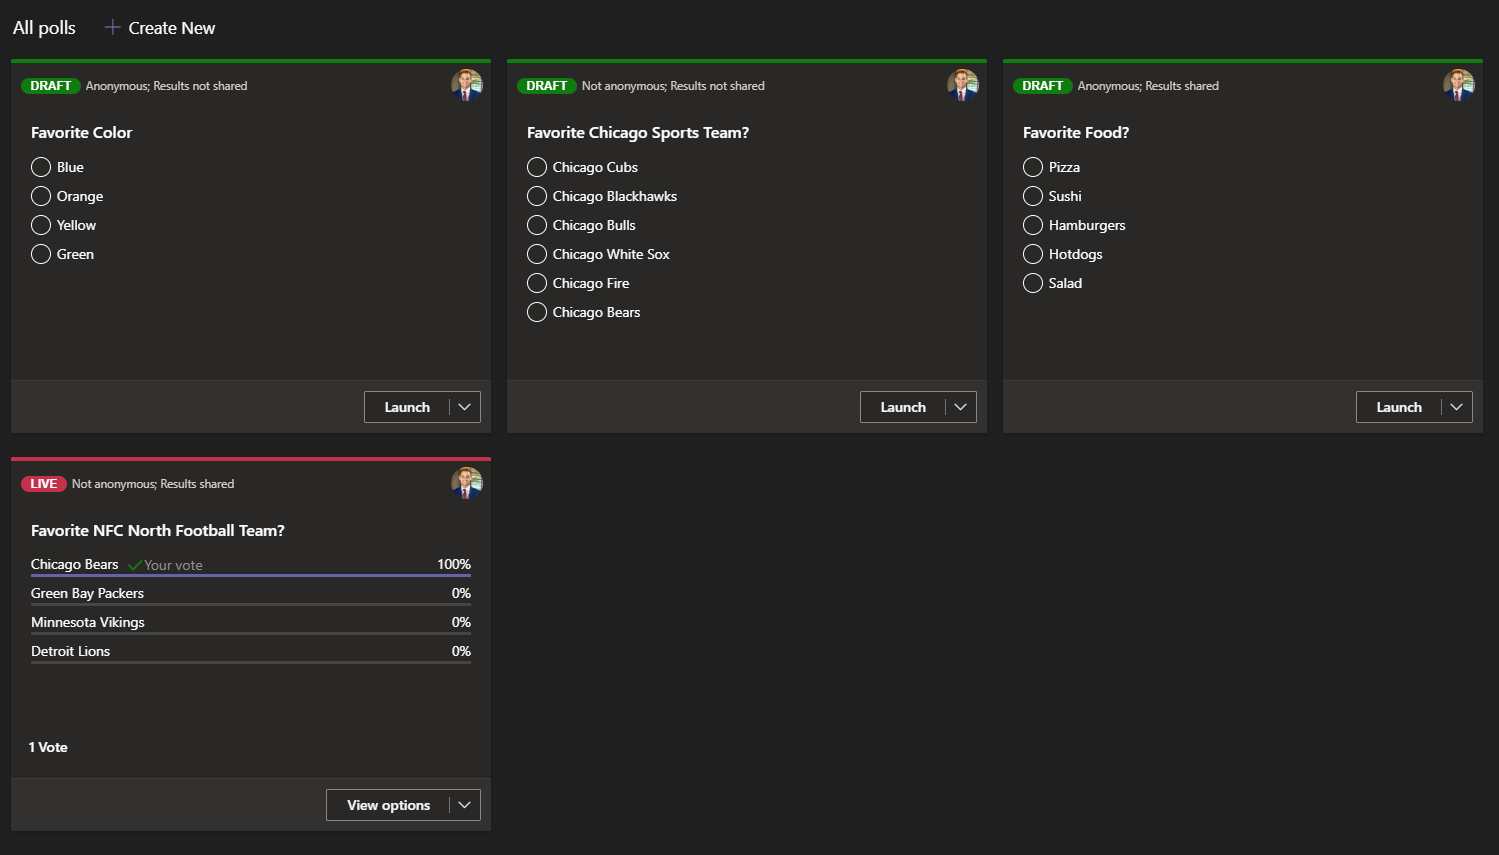
Now that the poll is live, let’s join the meeting and see what things look like from a presenter’s point of view.
Presenter POV
Once we’re in the meeting we should see a Forms icon in our meeting bar. If we select this, you’ll notice we can easily manage our meeting from directly in the meeting or we can choose to go back to the meeting invite where we added Polls as a tab and make our changes there.
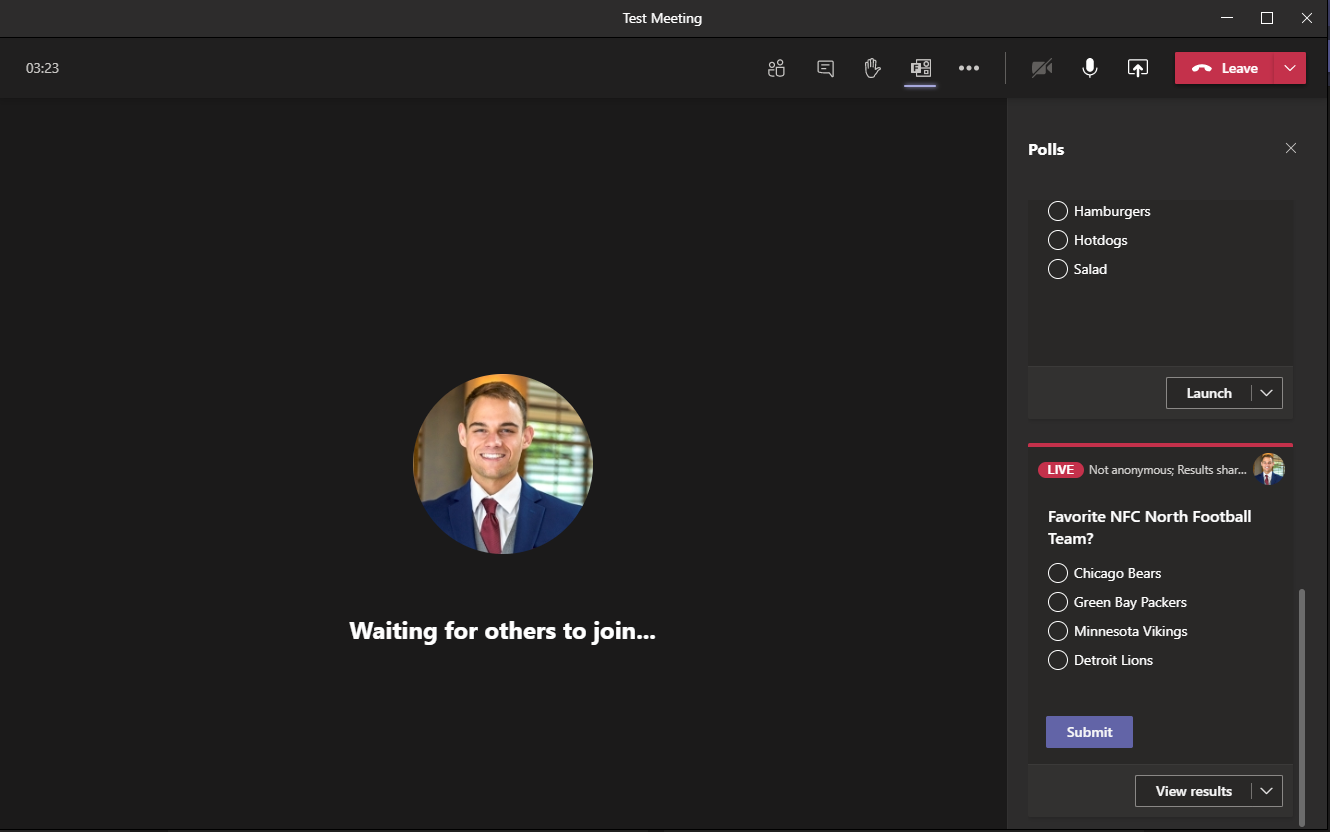
Now let’s see what things look like for an attendee of the meeting!
Attendee POV
When joining the meeting as an attendee we see the poll displayed on the right-hand side of the client in our chat where we’ll be able to vote for our favorite NFC football team (Go Bears)!
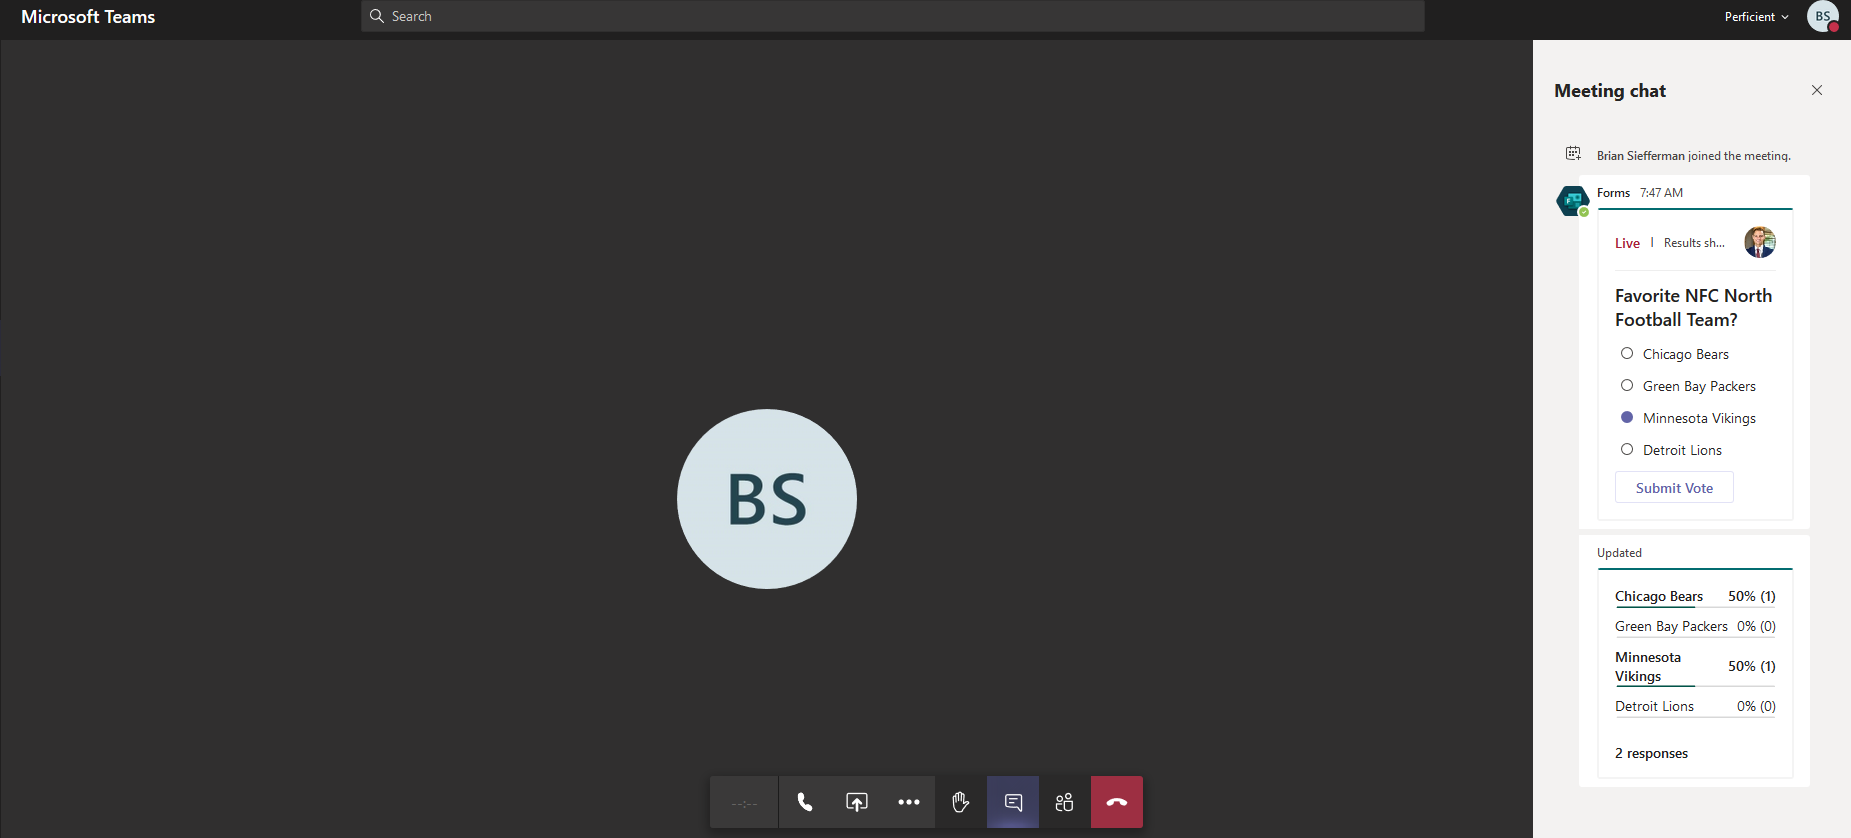
Step 4: Close the poll
As the presenter, once you’re ready to close the poll, select the drop-down for that poll and select Close Poll.
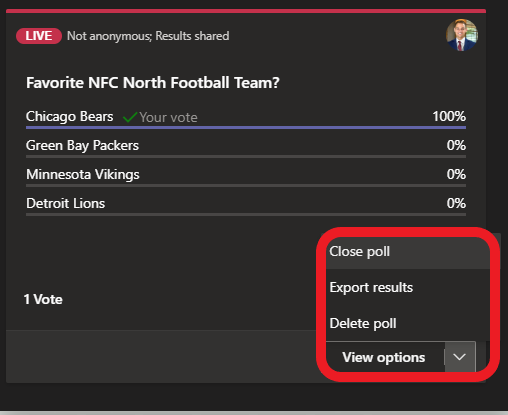
If you’d like to export the results of the poll to an Excel spreadsheet, you will have that option in the drop-down as well. If you decided to export the results they will be downloaded and placed in your Downloads folder. Within the Excel spreadsheet, you’ll notice that the title of the download will be the question posed in the poll and there will be 6 different columns:
- ID
- Start time
- Completion time
- Name
- Selected option (in this case mine was the Chicago Bears)

Once the poll has been closed you’ll notice the tag turns from red to gray and lists the status of the poll as Closed. However, if you decide that you would like to reopen that poll, you will have that option by selecting the drop-down of the poll and choosing Reopen poll.
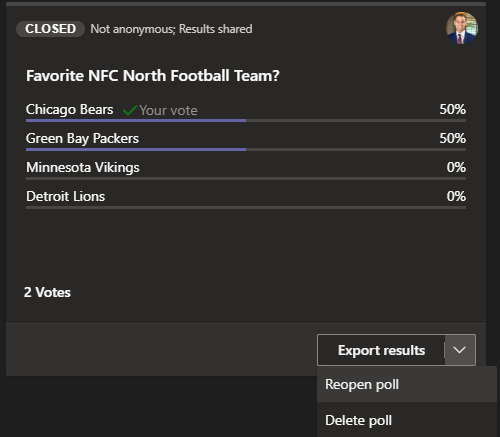
That wraps up how to use the new built-in polls option in Microsoft Teams! I hope you have found this helpful and I encourage you to start using this new helpful feature within your meetings!


