This is part of a blog series on migrating data from Oracle Databases into Oracle Autonomous Data Warehouse (ADW). This blog will discuss how to export Oracle Database Schemas using the SQL Developer.
Quick links to other posts in this series:
Summary Blog Post
- Export Data into Dump Files
- Option 1: Export DB Schemas Using SQL Developer (this post)
- Option 2: Export DB Schemas Using Data Pump Command
- Transfer Data Dump Files over to Oracle Cloud Object Storage
- Import Data Dump Files into ADW Using SQL Developer
In this blog post I demonstrate how to export Oracle Database schemas into dump files. These dump files can then be imported into another Oracle DB or Autonomous Data Warehouse (ADW). In this post, I use SQL Developer to run the Data Export Wizard.
In order to access the Data Pump export Wizard, first display the DBA window from the View menu. Add the connection to the source database to export from. Then under that connection, navigate down to Data Pump -> Export Jobs. Right click and select the Run Data Export Wizard.
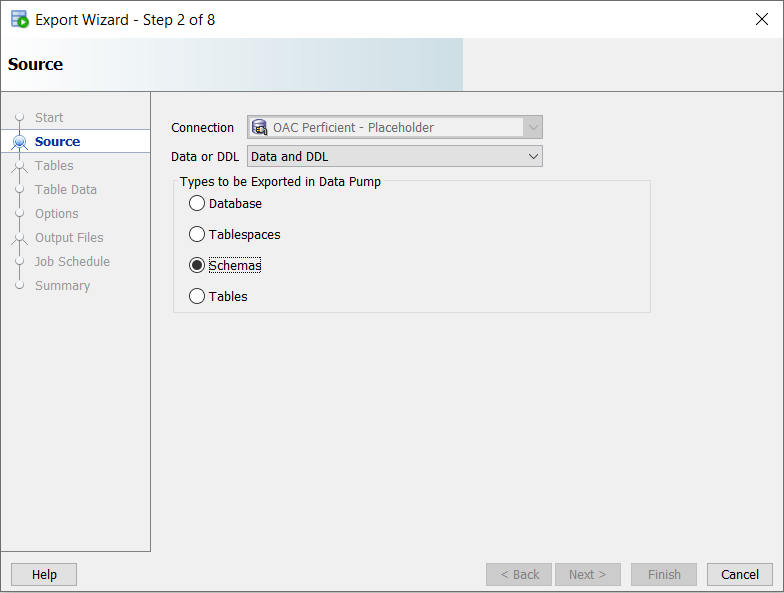
There are a few different types of data pump exports. In this example, I chose to do a Schema export. This allows me to merge several schemas from different source databases into the same target ADW.
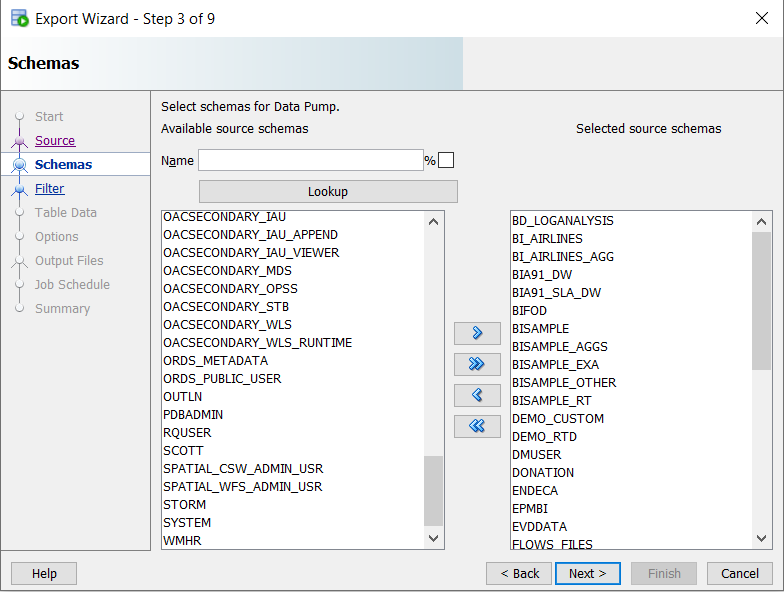
We can export one or multiple schemas at the same time by selecting them.
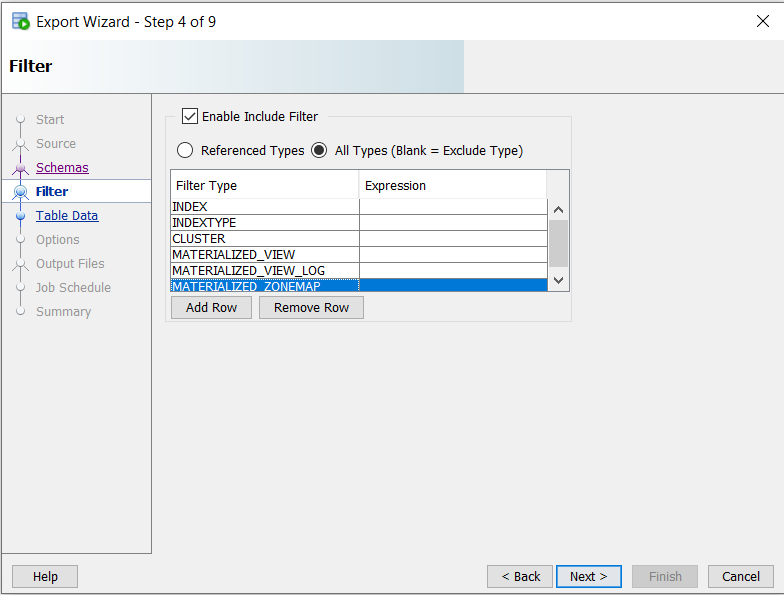
If the purpose of the export is to later import the data dump into ADW, it is recommended to exclude certain database objects that are not necessary on ADW. For example, performance is likely better without creating indexes on ADW, and that is why we exclude them from the export. The following type of objects are recommended to be excluded for ADW purposes: Index, Index Type, Cluster, Materialized View, Materialized View Log, Materialized Zonemap, and DB Link.
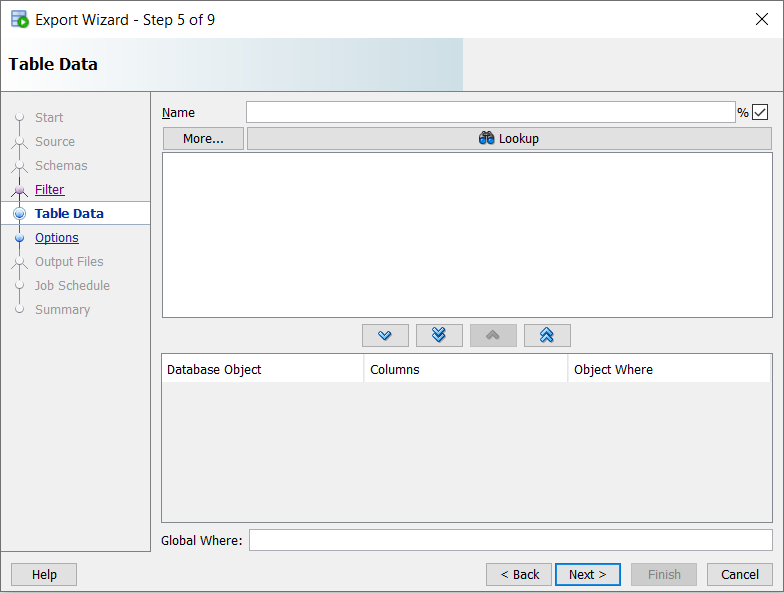
Note the VERSION dropdown in the following screen. If you are going to import later into a lower version Oracle DB, you want to set the version number to that of the target database. Since my aim here is to later import into ADW, I kept it to the default value of Compatible.
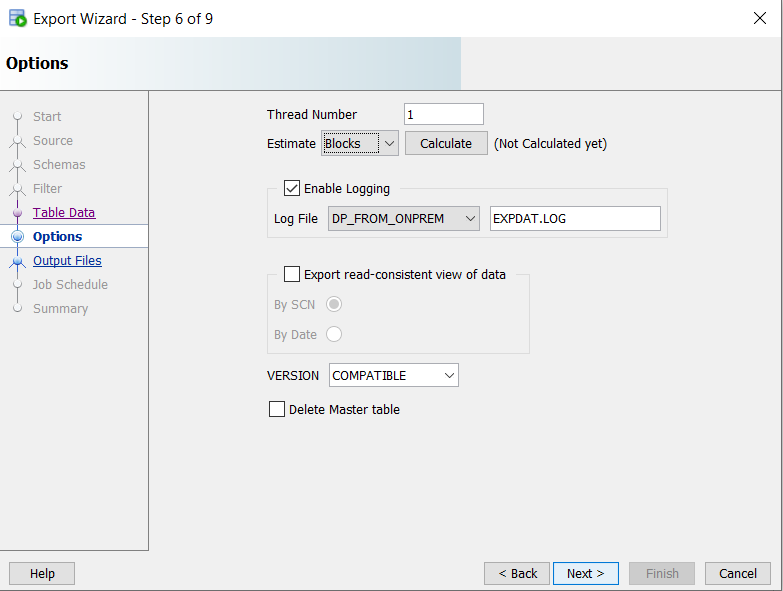
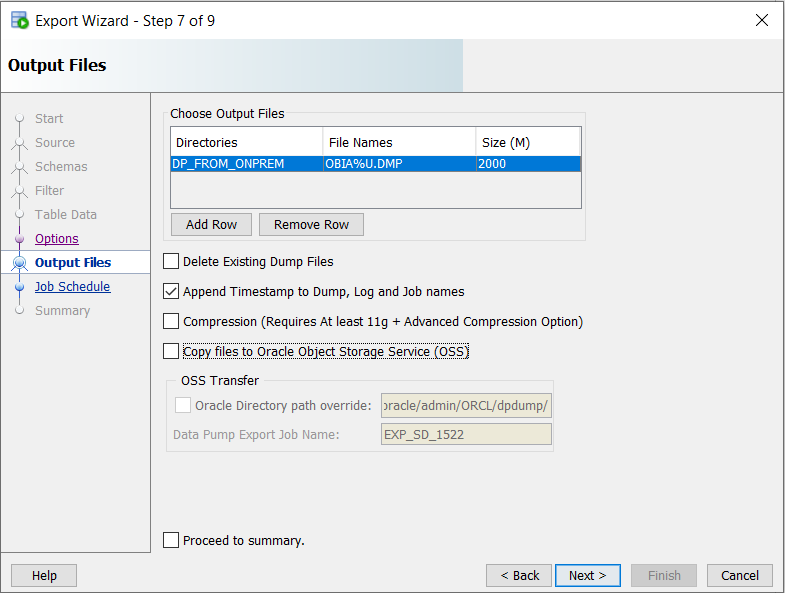
On the following screen, select the DIRECTORY that will contain the output dump files. This directory needs to be created before you continue, in case you don’t already have a directory setup with the proper permissions to export files to. Use the following SQL command to create a directory if you don’t already have one. You can run this using SQL Developer:
In the following example, the name of the DIRECTORY is DP_FROM_ONPREM:
CREATE DIRECTORY DP_FROM_ONPREM AS ‘/u01/app/oracle/admin/ORCL/dpdump/files’;
Notice that my File Name in the following screenshot ends with %U. This tells the wizard to use a numeric increment on the suffix of the file name, in case I end up with an export that consists of more than one file. This will happen if the export is large in size. You can control how large each of the export files can be. In my example, I set it to be ~2GB for each file.
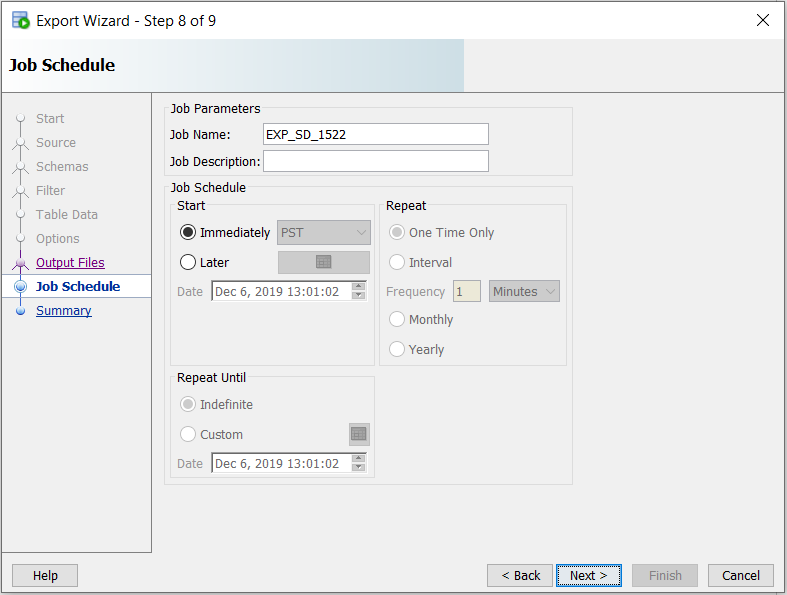
Once you finish the wizard, you will see a new export job added in the DBA window. When you click on the job it shows whether it is still executing or if it’s stopped. You can also see the log of the execution in the lower window. As the export is running, navigate to the directory that you set for the dump files and verify that they are created in there.


Great post. Great help!
One question – Do we need to keep the SQLDeveloper open when exporting data