
Welcome to the second post in my series on Sitecore Forms! In this article, we’ll dig into creating and adding custom actions.
As a first step, you can use the submit button for navigation, to submit the form, and/or to trigger submit actions. The next step is, of course, customization – you can create your own custom submit actions. For example, the submit action Save data added to the next button ensures that the data is saved to your database when a contact clicks Next to move on to the next page of the form.
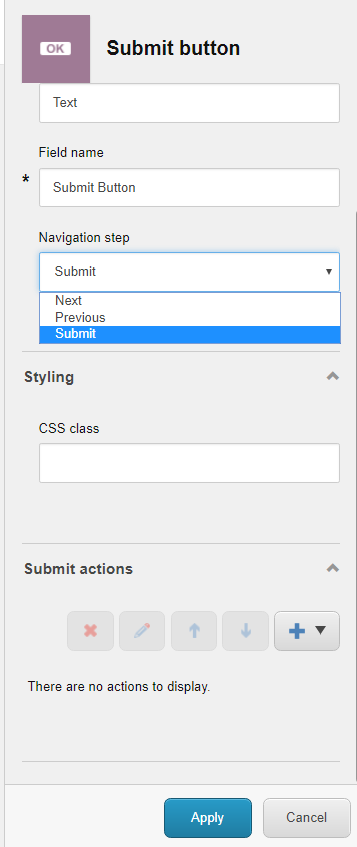

So how does it work and what does it mean for you? You can create a submit button that can perform multiple actions. For example, if you have a multipage form, you can add an action to each of the submit buttons to notify you via email when each page is submitted.
Let’s start by creating a custom class, and name it EmailMe. This newly created class has to inherit from SubmitActionBase<Parameters>.
Below, you can see an example of a code that was used for this task. It’s important to note that if you are using a string type parameter in the SubmitActionBase, you’ll need to use the protected override bool TryParse method. Whenever you click the submit button, you’ll get the error message that was set in the Error Message field of the custom submit action.
//Add Libraries necessary for the project
using Sitecore.ExperienceForms.Models;
using Sitecore.ExperienceForms.Processing;
using Sitecore.ExperienceForms.Processing.Actions;
using System.Linq;
namespace &lt;ProjectName&gt;.Models
{
//Executes a submit action for logging the form submit status.
public class EmailMe : SubmitActionBase&lt;string&gt;
{
//Initializes a new instance of the EmailMe class.
//submitActionData =&gt; The submit action data
public EmailMe(ISubmitActionData submitActionData) : base(submitActionData)
{
}
//Executes the action with the specified &lt;paramref name="data" /&gt;.
//&lt;param name="data"&gt;The data.&lt;/param&gt;
//&lt;param name="formSubmitContext"&gt;The form submit context.&lt;/param&gt;
//returns &lt;c&gt;true&lt;/c&gt; if the action is executed correctly; otherwise &lt;c&gt;false&lt;/c&gt;
protected override bool Execute(string data, FormSubmitContext formSubmitContext)
{
//The code that will be executed will go here
string Email = "Email";
Email = GetValue(formSubmitContext.Fields.FirstOrDefault(f =&gt; f.Name == "EmailMe"));
return true;
}
//Tries to convert the specified &lt;paramref name="value" /&gt; to an instance of the specified target type.
//&lt;param name="value"&gt;The value.&lt;/param&gt;
//&lt;param name="target"&gt;The target object.&lt;/param&gt;
//returns true if &lt;paramref name="value" /&gt; was converted successfully; otherwise, false.
protected override bool TryParse(string value, out string target)
{
target = string.Empty;
return true;
}
}
}
The class you create can be placed wherever you want in your project. If you are using SCORE, I suggest you place it with other Models.

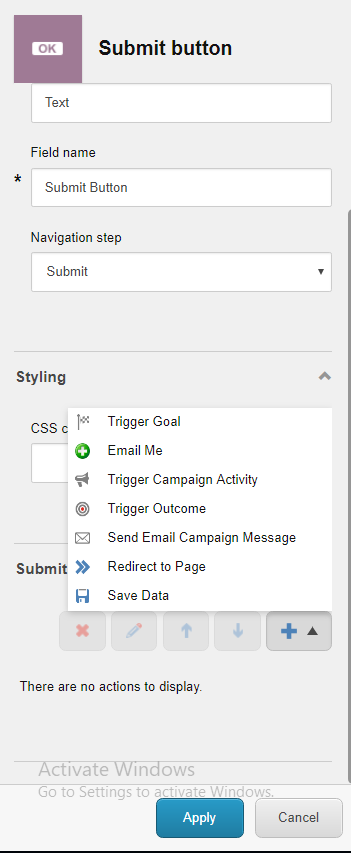
After adding the class build to your project – and assuming you’ve done everything correctly – once you go back to creating forms you will notice a new action under your submit actions.
You can also add a custom icon or custom validation (we’ll talk about that in another post!), but for now you can add a custom error message as a way to check to see if your form is working.
Hint: Once you add the form to your page and click the submit button, you will see the error message so you know you did something wrong.
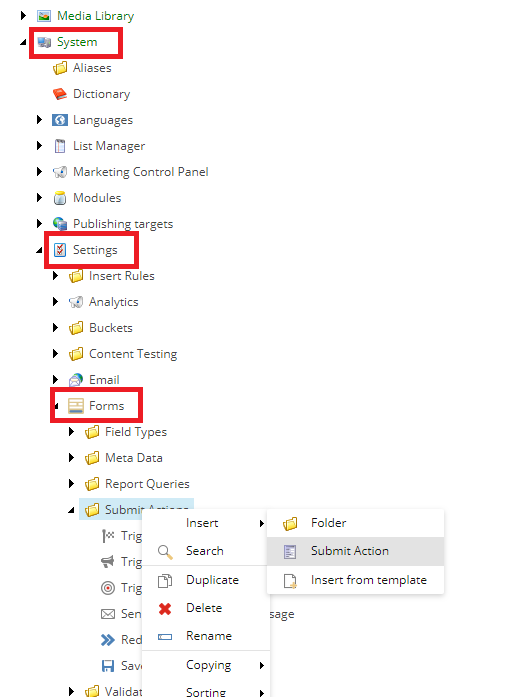
After this step, go to your Sitecore instance and navigate to System-> Settings-> Forms-> Submit Actions and add an action form submit action template.
Insert a model into the model, for example:<ProjectName>.Models.EmailMe.

Now go back to forms and try to create a new one. You’ll notice that your custom Submit Action has been made.
HINT: After adding your new class, build the project, add your submit action to your instance and publish it!
Sitecore 9 Forms offer a lot of opportunities for customization and I hope you’ve learned a few basic guidelines on how to use them.
Happy coding!
Dragana