
OVERVIEW OF APPLICATION DEPLOYMENT IN TIBCO BW6
The following is a step-by-step procedure to build and deploy the EAR file in TIBCO BW6.
Building the EAR in TIBCO STUDIO for Designer:
Steps to be followed:
- Open the “studio for Designer”. In the Application -> Package Unit, click on the “Overview” and select the option ‘Export application to an enterprise archive-> Export application for Deployment’
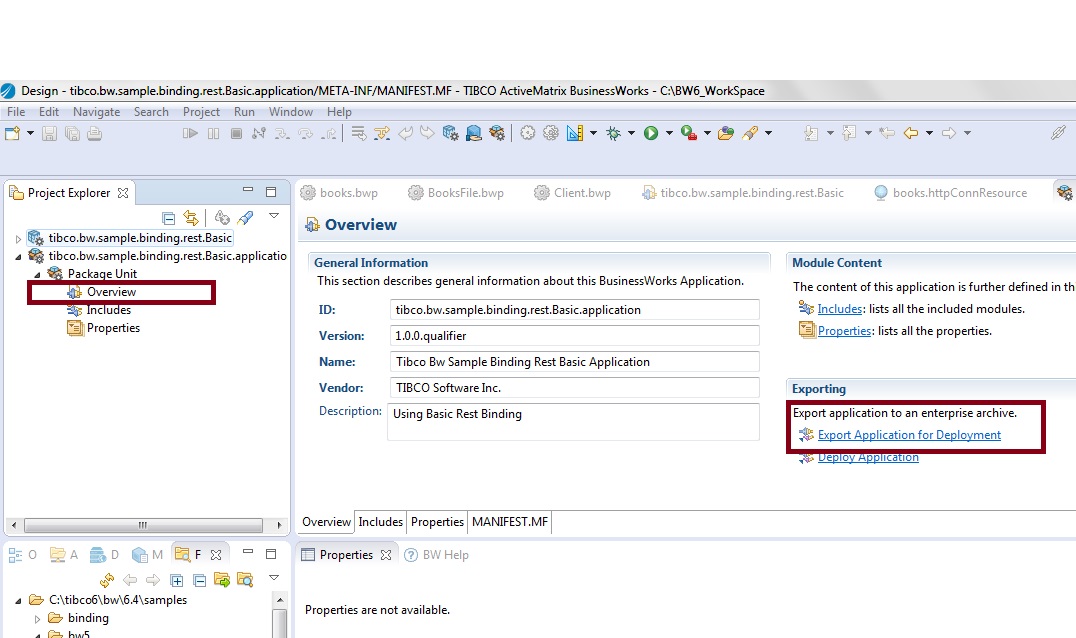
- Enter the “EAR location “and “EAR name”.

Login to TIBCO Enterprise Administrator
Start the ‘TIBCO Enterprise Administrator ‘from the ‘start’ menu or from the location “C:\tibco6\tea\2.3\bin\tea”

- Open the TEA in Browser
Type “localhost:8777” or the machine name like http://INDIA-ArunG:8777 in the browser and press enter
The screen appear as below,
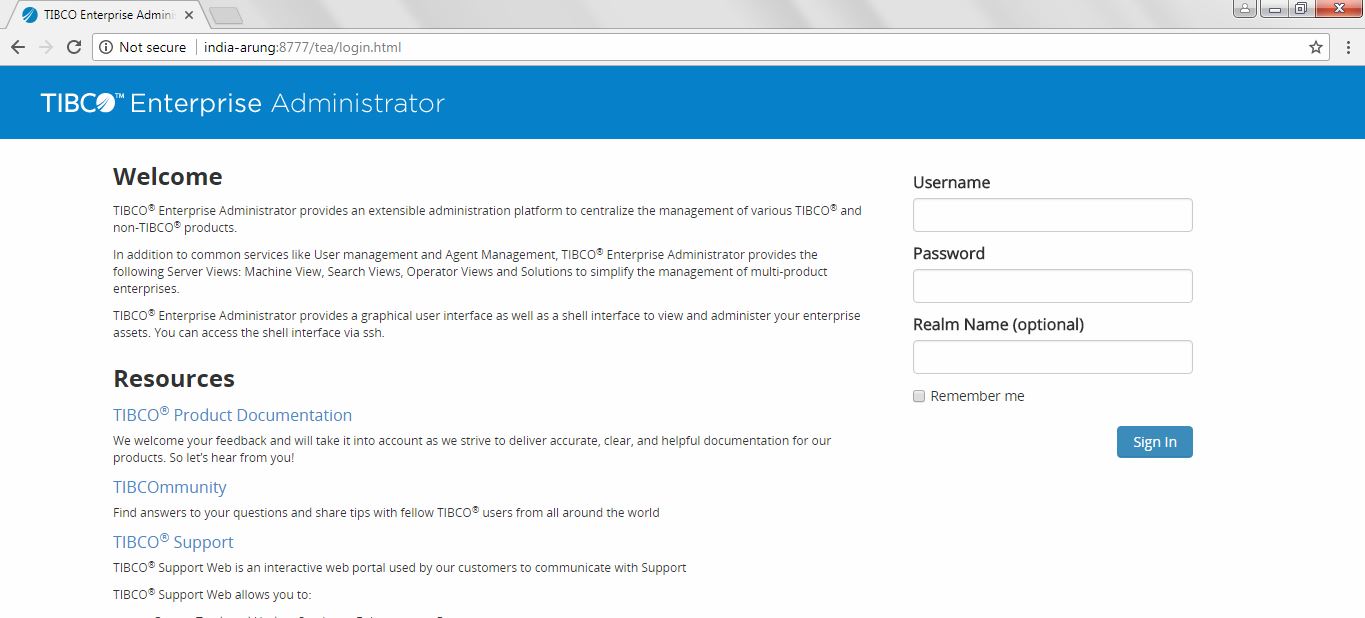
Default username and password for the TEA is “admin”
Start the BW Agent from command line
In the command window, enter into the directory “C:\tibco6\bw\6.4\config” and set the admin mode to “enterprise” in the file “BWAgent.INI” or set it in the command prompt “BW_HOME\bin>bwadmin mode enterprise”.

Change the directory to “C:\tibco6\bw\6.4\bin” and execute the BWAgent in that location.


Register the TEA Agent with BWAgent
In the BW admin command window, type the BW command,
“bwadmin registerteaagent http://localhost:8777 or machinename:portnumber”
this command will register the BW Agent with the TEA
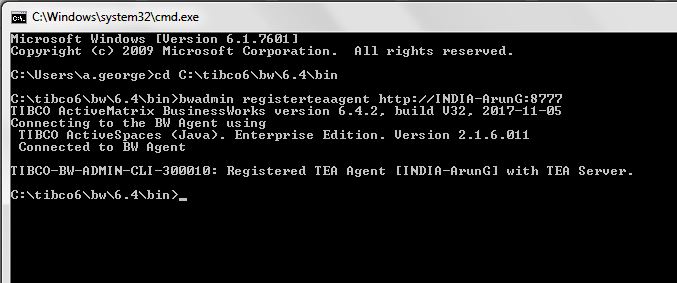
And Check the status in TIBCO Admin browser window.

Create the Domain
- Select the BusinessWorks product icon on the Admin UI home page.
- Select Create domain. In the Create domain dialog box, enter the domain name and Choose the agent registered with the TEA server from the Agent drop-down.

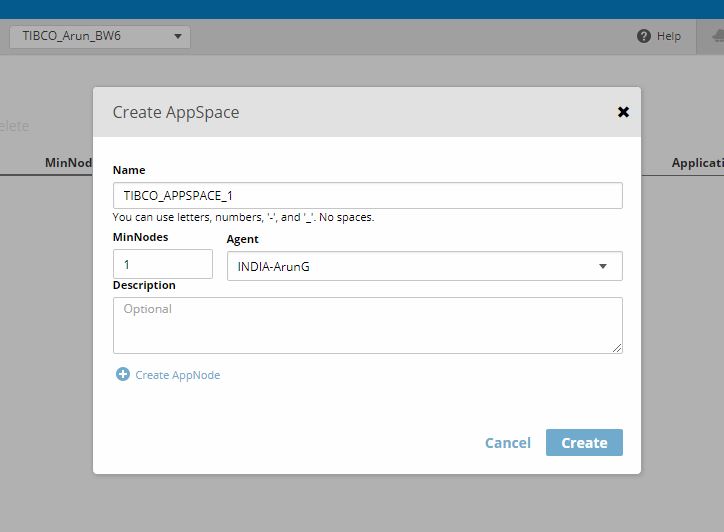
Create the AppSpace
- Enter into the domain you want and select the Appspace on the sidebar.
- Click on “create Appspace”.
- Enter the name, node and choose the Agent from the drop-down.
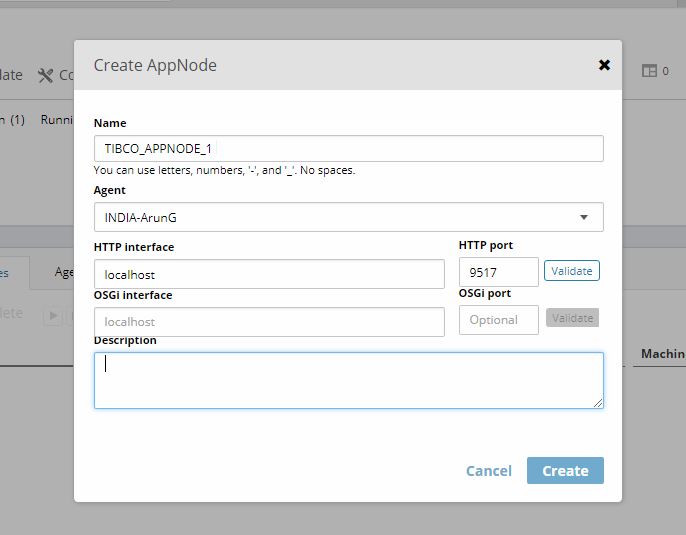
Create AppNode
Click the AppNode icon and select the create Appnode option.
In the dialog box “Appnode” dialog box,
- Enter the name , node and choose the Agent
- Type “localhost”in the http interface tab and choose the available port.
And start the Appspace.
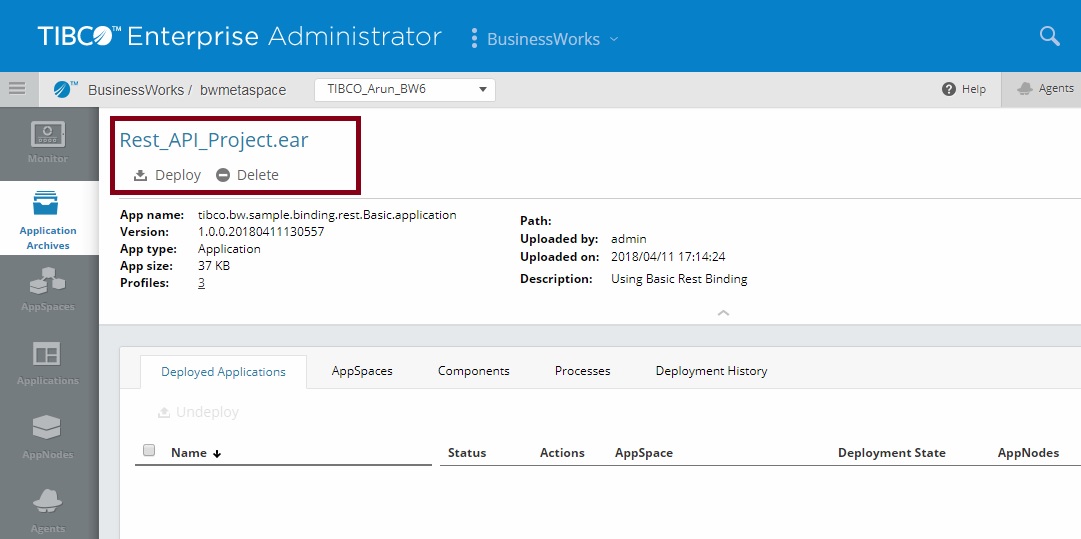
Upload the EAR in Tibco Enterprise Admin
In the Application Archives
- Click the “Upload”option and browse the EAR to be uploaded.
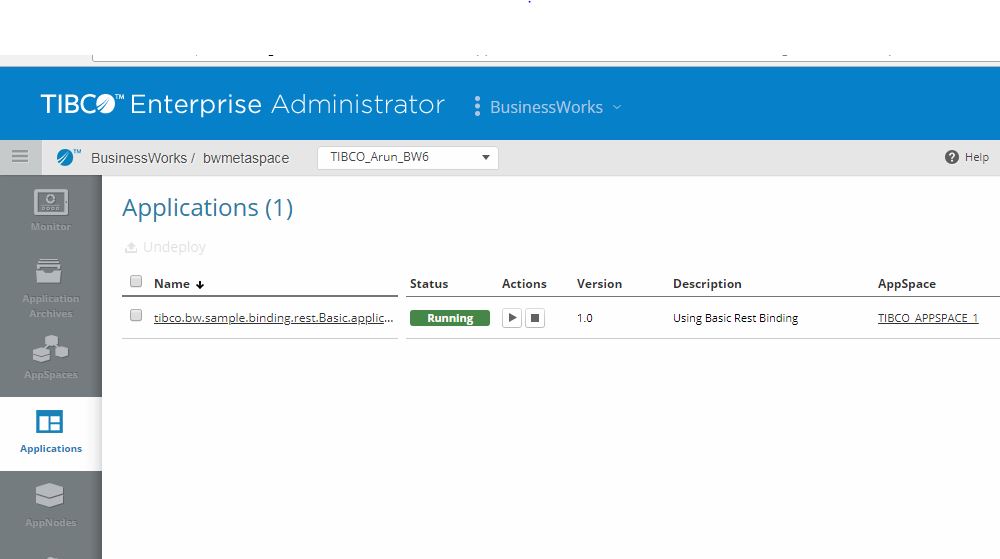
- Click on deploy and start the application.
The application which is running will appear as below
References :
Click to access TIB_BW_6.3.4_administration.pdf
Hi all,
Can you please help on below issue.
How to open ear file on Tibco bw6 studio. After deploy ear file.