In my previous post, How to Set Up Your Own VPN Server Using Amazon Web Services, we set up and configured an OpenVPN server using Amazon Web Services, and then we configured Windows and Linux machines to use the new VPN server. In this post, I’ll show you how to setup your Android phone to connect to that same VPN server. This configuration will let you safely use the internet from your phone when you are connected to an untrusted network.
We’ll setup our connection to the VPN with these basic steps:
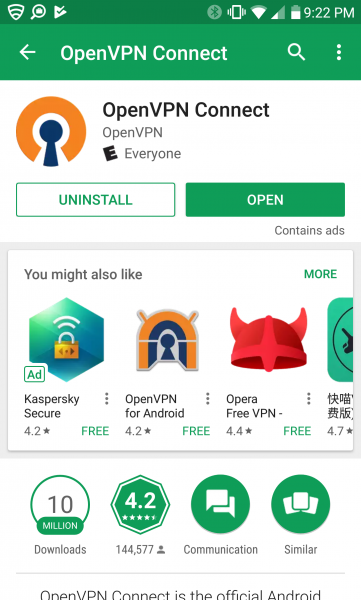
- On our Android phone, install the official OpenVPN Connect application from the Google Play Store
- On our Windows PC, create a new profile configuration file in a format that can be used by our Android client
- Move the new configuration file to our phone
- On our phone, open the OpenVPN Connect app and import the new configuration file
Let’s get started!
Install the OpenVPN Connect app
On your phone, open the Google Play Store app and search for “OpenVPN Connect”.
Click the Install button to begin the installation process.
The OpenVPN Connect app needs access to your internal storage in order to read the profile configuration file that we will move to your SD card or other internal storage. If you are comfortable with this access, then click the Accept button.
Now that we have successfully installed the OpenVPN Connect app, let’s go back to our Windows PC to setup our profile configuration file.
Create a Profile Configuration File
We’ll perform this step on our Windows PC. Recall from my previous post that we had edited a configuration file that specified the location of four different key files needed by the VPN client for communication with the server. Our new configuration file will be a near-copy of this original file, except we will embed the content of our four key files directly into this new file. This will give us a configuration file in “unified form” format, as described in this OpenVPN Android FAQ page.
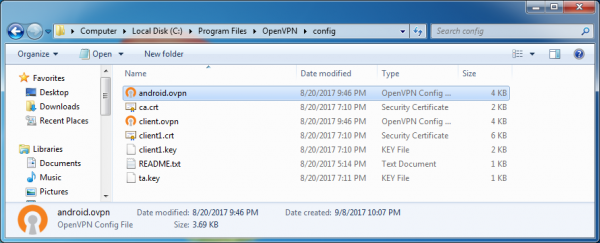
On our Windows PC, start by locating our working OpenVPN configuration file. In the following screenshot, our configuration file is named “client.ovpn”, and it is located in the c:\Program Files\OpenVPN\config directory. You can also see the four key files in that same directory.
Make a copy of the file, naming it something different like “android.ovpn”. In the following screenshot, I’ve made my copy, giving it the name “android.ovpn”.
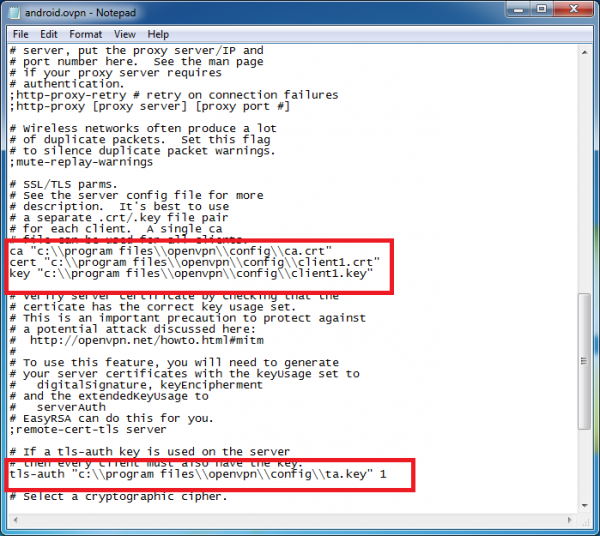
Now use the Notepad application to open the file for editing (be sure and use “Run as Administrator” to start Notepad, as our file is in system directory – you can do that by right-clicking on the Notepad shortcut, then choosing “Run as Administrator” from the popup menu). Once you have opened the android.ovpn file, scroll down to the location where we specify the key files.
Following the guidance in the OpenVPN Android FAQ page, we will replace each filename reference with the actual contents of that file. For example, the line containing:
ca “c:\\program files\\openvpn\\config\\ca.crt”
must be replaced with this:
<ca>
— actual file contents of the ca.crt file–
</ca>
Likewise, we will replace:
cert “c:\\program files\\openvpn\\config\\client1.crt”
with this:
<cert>
— actual file contents of the client1.crt file–
</cert>
and we will replace:
key “c:\\program files\\openvpn\\config\\client1.key”
with this:
<key>
— actual file contents of the client1.key file–
</key>
and replace:
tls-auth “c:\\program files\\openvpn\\config\\ta.key”
with this:
key-direction 1
<tls-auth>
— actual file contents of the ta.key file–
</tls-auth>
Note that for the tls-auth line we need to add the additional directive “key-direction 1”.
To grab the contents of the key files, use Notepad to open the key file, type “Control-A” to select all of the data, type “Control-C” to copy the selected text, then in the android.ovpn file type “Control-V” to paste it into the destination location.
In the following screenshot, you can see where I have performed these substitutions. The lines don’t appear to evenly break, but that is the nature of the original files. As long as you simply copy and paste, the data will be fine.
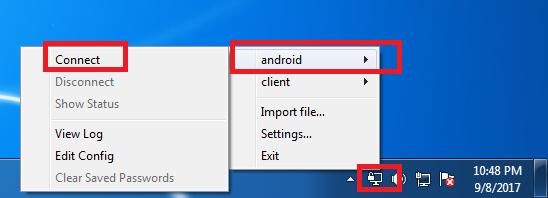
You can actually test your file on the Windows PC by using it to connect to the VPN Server. You use the same connection process as you used with your original ovpn file:
- Right-click on the OpenVPN icon seen in the system tray (bottom right of your desktop)
- Click on the profile that matches the filename you used for your new ovpn file (recall that I used “android.ovpn” as my new filename, so I will see “android” in the profile list)
- Click on Connect.
If there are no errors in your file, your VPN connection will connect and work as expected.
Now let’s continue by moving the file to our phone.
Move the Configuration File to the Phone
With Android, there are normally countless ways to transfer files from your PC to your phone. Choose any method that is convenient for you, but I decided to use the bluetooth file transfer method. This avoids accidental disclosure of the file (and the keys it contains) through email, shared cloud folders, etc. Another good transfer method is USB transfer, or better yet you could transfer the file directly to your SD card if it is removable and if your PC can write to SD cards.
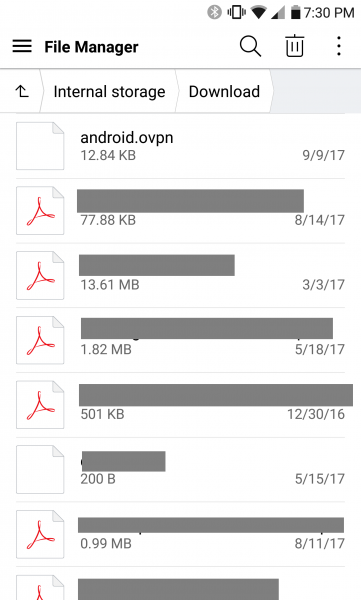
After pairing my phone and transmitting the file via bluetooth, I can see it in my phone’s internal storage download folder.
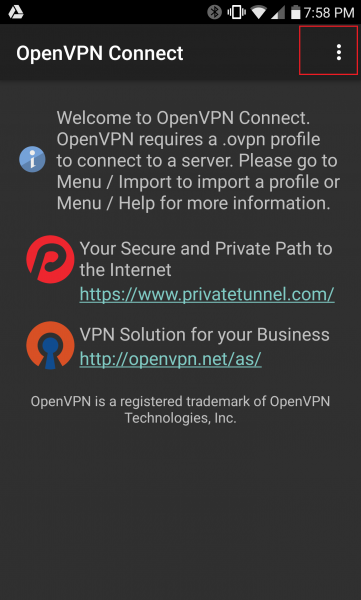
Now let’s open the OpenVPN Connect app.
Press the 3-dots icon in the upper right. This will expose the next menu.
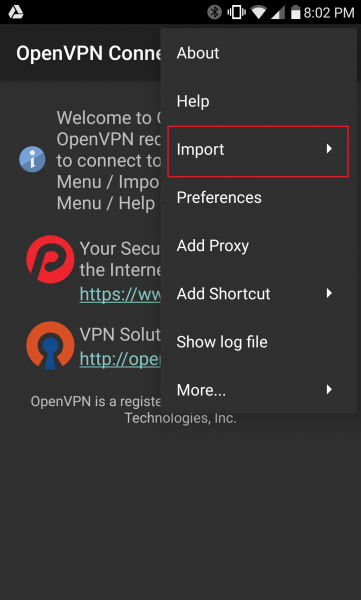
Choose “Import”, then “Import Profile from SD card”
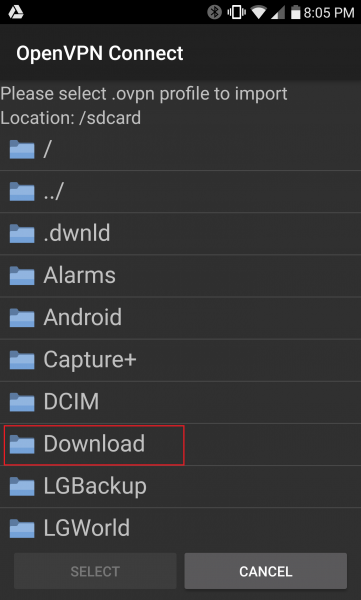
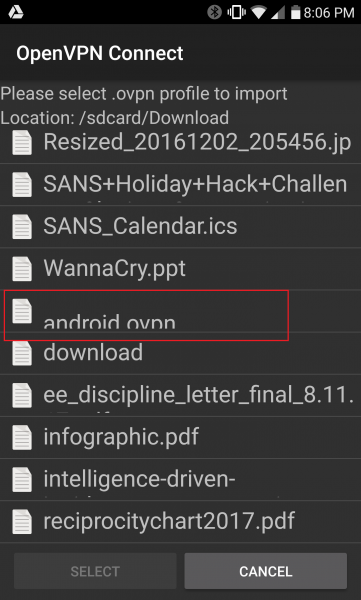
I’ll open the Download folder, as that is where the android.ovpn file is located after the Bluetooth file transfer.
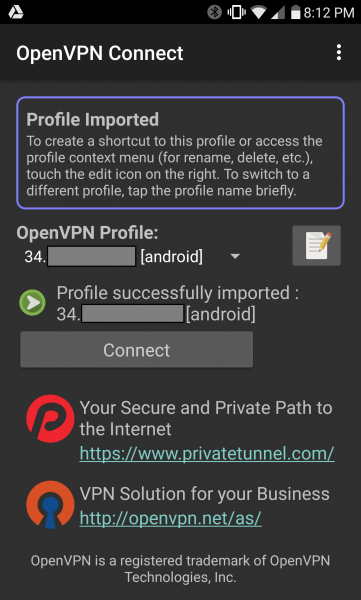
Choose the “android.ovpn” file, then press the “Select” button.
Now press the “Connect” button.
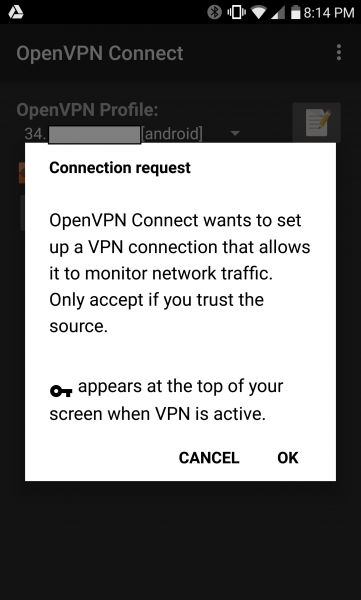
Android gives us a warning that our app will be monitoring network traffic. Let’s continue by pressing OK.
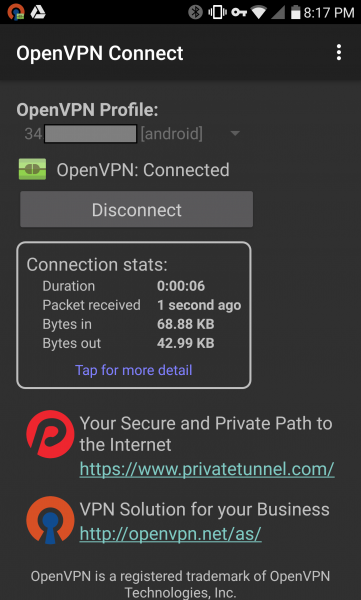
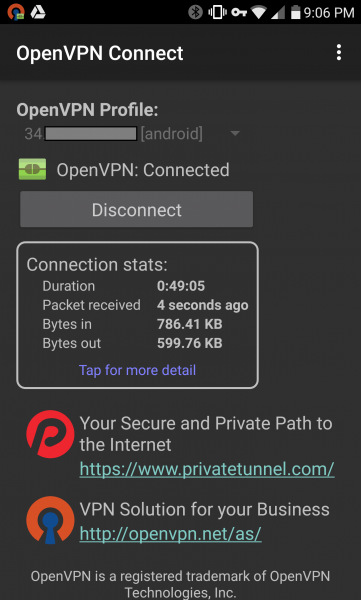
The app indicates that we have successfully connected. Now let’s perform the usual test where we visit the www.dnsleaktest.com website.
So far so good. The reported IP address indicates that our traffic is originating from our AWS VPN server. Continue by pressing the “Standard test” button.
The results of the test confirms that our VPN is working and no DNS leakage is occurring. Now we have one final task to make sure we can use our VPN from anywhere.
I’ve just run the test while my phone is connected to the same wifi that my other machines are connected to. Remember that I originally configured the AWS Security Group to only allow access from my own IP. This means that if I left my house and began accessing the internet through my cellular network, I would end up with a different external IP address and wouldn’t be able to connect to my AWS VPN. Likewise, if I visited my local coffee shop and joined its wifi network, I would have yet another external IP address and still couldn’t connect to my VPN. We briefly touched on this in my previous post, but let’s fix this now.
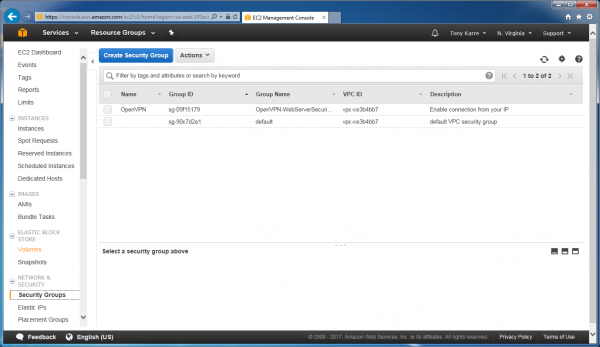
Start by logging in to the AWS management console, navigating to the EC2 Dashboard, then choosing Security Groups.
Select our OpenVPN security group from the list, click the Actions button, then choose “edit inbound rules” from the actions list.
As seen in the screenshot above, for the “Custom UDP” rule in the list (first item seen in the list above), change the source to “anywhere”. Then click Save.
Our Security Group will now allow inbound VPN connections from anywhere. This makes it important that you don’t accidentally share the keys or configuration files for the VPN server – you don’t want unknown users connecting to it. Also make sure that you don’t change the SSH rule – you still only want to access that from your home IP.
Now let’s test our phone VPN connection again, doing the following:
- Close our current VPN connection (by clicking Disconnect in the OpenVPN Connect app).
- Disconnect from wifi, allowing the phone to establish a new internet connection through the cellular network.
- Reconnect to the VPN (this will show we can connect from other network locations)
- Perform a final confirmation test with the www.dnsleaktest.com site.
Let’s get started. Open the OpenVPN Connect app:
Press the Disconnect button.
Now turn off the phone wifi, and allow it to reconnect to the cellular network.
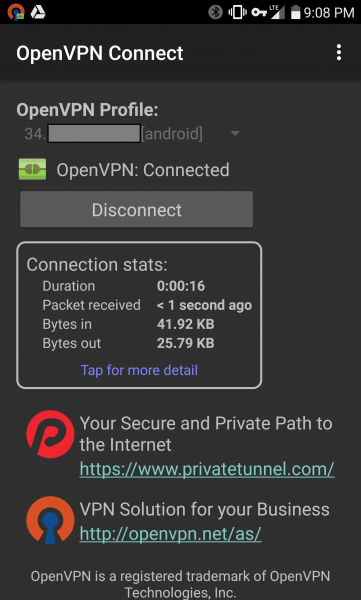
Once we are back on the cellular network, press the Connect button in the OpenVPN Connect app.
Testing with the www.dnsleaktest.com website confirms that we still have a good, non-leaking, VPN connection.
Now we can connect to the VPN from any location.


