
This article covers the implementation of the IN clause using DBAdapter in Oracle Service Bus. Normally the IN clause is used to filter the records from database based on multiple values given as input. For example, consider a CustomerDetails table that has the following records:
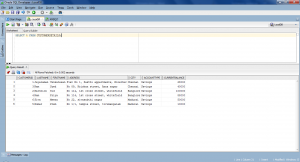
Suppose you want to display the customer’s detail whose city is ‘Chennai’ or ‘Banglore.’ This can be achieved by using the IN clause as follows:
SELECT CUSTOMERID, LASTNAME, FIRSTNAME, ADDRESS, CITY, ACCOUNTTYPE, CURRENTBALANCE FROM CUSTOMERDETAILS WHERE city in (‘Chennai’, ‘Banglore’)
When you execute the above query in SQL prompt/SQL developer, it will display the records with city equal to Chennai or Banglore as expected. But if you use the same query in Database Adapter in OSB to create a business service, it will not work as expected, because Database adapter will not accept multiple values as input for a single element, to resolve this we need to write a subquery as follows
SELECT CUSTOMERID, LASTNAME, FIRSTNAME, ADDRESS, CITY, ACCOUNTTYPE, CURRENTBALANCE FROM CUSTOMERDETAILS WHERE CITY IN (WITH VALUELIST AS (SELECT ? val FROM dual) SELECT SUBSTR(val, (decode(LEVEL, 1, 0, instr(val, ‘,’ , 1, LEVEL -1)) + 1), (decode(instr(val, ‘,’ , 1, LEVEL) -1, -1, LENGTH(val), instr(val, ‘,’ , 1, LEVEL) -1)) – (decode(LEVEL, 1, 0, instr(val, ‘,’ , 1, LEVEL -1)) + 1) + 1) a FROM VALUELIST CONNECT BY LEVEL <= (SELECT(LENGTH(val) -LENGTH(REPLACE(val, ‘,’ , NULL))) FROM VALUELIST) + 1)
In the above query ‘,’ is used as delimiter you can use any special character as delimiter to separate the values. If you are new to OSB, you can follow the below steps to create a DBAdapter.
Creating Business Service using Database Adapter
Create a Service Bus application and project in JDeveloper.
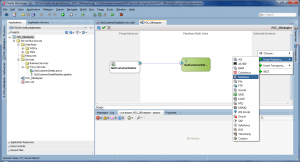
- Right click on the External Services -> Insert Adapters -> Database
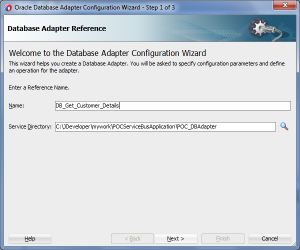
- Enter the Business Service name; by default the service directory would be your project. Click Next to continue.
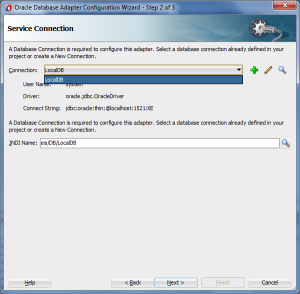
- If you have already configured the database connection in your jDeveloper, select the database connection in the Connection drop down list and then hit Next.
- If database connection is not yet configured then, click on the Insert Icon to create a new database connection

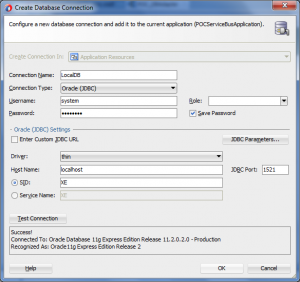
- In the Create Database Connection dialog boxyou have to configure the Connection Name, Connection Type, Hostname, Port, SID/Service Name with your database Username and Password.
- Click on the Test Connection button to verify the connection details and hit Ok.
- Browse and select the JNDI Name from the server and click Next.

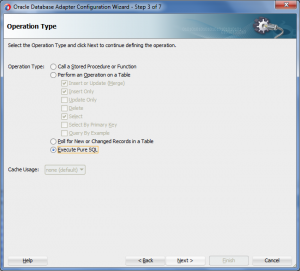
- Select Execute Pure SQL as Operation Type and click Next.
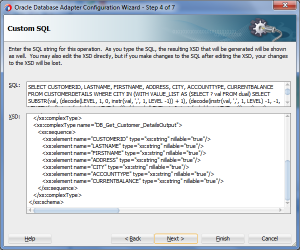
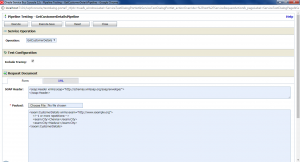
- Enter the query in the SQL box, it will automatically generate a XSD based on the query, here you can verify the input and output elements. Leave the default settings as it is and click Finish.

Now you can see the Business service in the External Services lane and a Resources folder will be generated under the project folder with two WSDLs, JCA file and XSD for the database connection.
Creating WSDL based Proxy Service
- Let’s create a simple request which contains only City name and response schema with all other customer details.
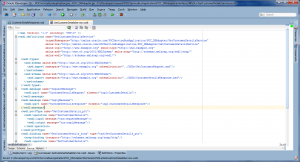
- Create a WSDL based on the request and response schema.
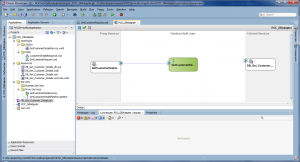
- Now WSDL is ready, let’s create a proxy, right click on the Proxy Services lane and select Insert Transports -> HTTP.
- Enter the Service Name and make sure to select Generate Pipeline check box.

- In the Service Type dialog box, select WSDL.
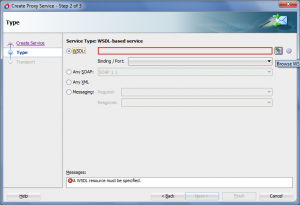
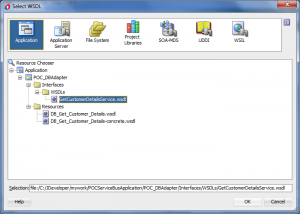
- Browse and select the WSDL which we have created based on the request and response schemas.
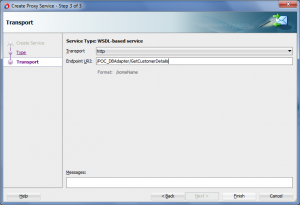
- Enter the Endpoint URI and click Finish.
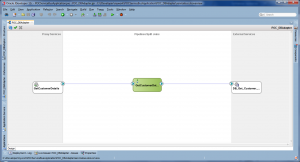
- Now you can see the connection between the proxy and pipeline.
Configuring Pipeline
Before configuring the business service in the pipeline, let’s create a XSLT for transforming the input from WSDL format to database format.
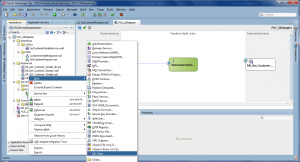
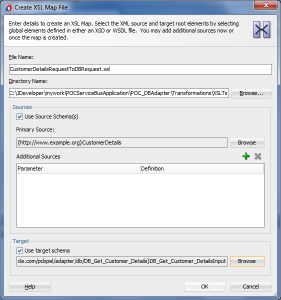
- Right click on your project and select New -> XSL Map
- Browse and select the WSDL schema request as Source and database schema as Target then click Ok.
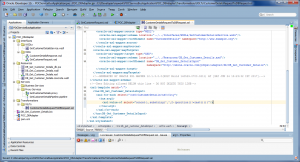
- Use for-each loop to concatenate the City names with ‘,’ as delimiter
- In the pipeline add a Replace action and configure the XSL.
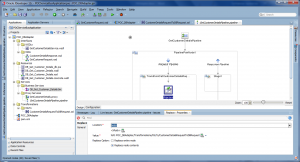
- Add a ServiceCallout action and configure the business service.

- Now create another xsl to transform the response from database format to WSDL format and configure the xsl using Replace action in the pipeline.
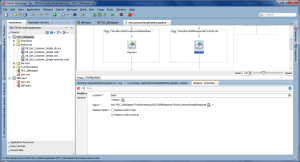
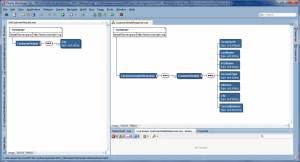
Finally you will be able to see the wired connection between the business service and pipeline.
Deploy the project to OSB console and test it, by passing multiple city names.
Here we got the expected response. You can compare the results with database records.
