If you check the Message Center in the Office 365 admin portal, Microsoft announced that the Pulse service is no longer available as a free service but as an exclusive service for Skype for Business Broadcast Meetings. Microsoft Pulse allows for interactive voting, surveys, and polls to be conducted during a meeting for attendee interaction. This interaction keeps the attendee engaged and allows the meeting administrators live information on the audience reaction. When creating a Skype Broadcast Meeting, there is a new option to include the Microsoft Pulse app in the meeting. Let’s take a quick look on how to create a Microsoft Pulse and how to add it to a Skype Broadcast Meeting.
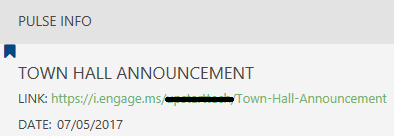
First, navigate out to https://login.engage.ms. If you don’t have an existing account, go ahead and register for one. Once registered, log in and the main admin portal will appear: Click on “Create Live Pulse” and enter the event details information. Make note of the custom URL created, we will need this information later to use with the Skype Broadcast Meeting configuration:

The first option is to configure a quick poll to gather information about the audience’s demographics, things like age, gender, education level, etc. When selecting an existing demographic, it becomes editable to change the name and options for the audience to answer. In our case, we are not interested in the demographics, so this step was skipped.
The next page presents options for live polling or what the participants will be rating or voting on. This could be questions such as if they agree with the speaker or topic being discussed. Once the question is established, we need to choose how the audience can react. This includes voting by points, smiley faces, thumbs up/down, or using a slider. For our town hall, I’m asking the audience to react to the company announcements and allowing them to vote on a 5 point scale using smiley faces.
 The next option is to create a poll. This is a single question to ask the audience and seems to be limited to four responses. In our case, we skipped this as the next option is to create a survey in order to ask multiple questions with the option to have more than four answers. For our survey, we want to know what department the attendee works in and how long they have worked here (this probably could have been covered using the demographics option but I needed some example questions for a survey!):
After the Pulse is created, you will be returned to the configuration page for the newly created Pulse. Here you can view the link to the Pulse, be able to preview it, and view voting, poll, and survey responses. For now, we need the URL to the Pulse in order to add it to our Broadcast Meeting:

Next, log into your Skype Broadcast Meeting account at https://broadcast.skype.com. From here, open an existing meeting to edit or create a new Broadcast Meeting. Once the meeting has been created, scroll down to “Attendee page settings” and select “Customize”. Here there is an option to include Audience Participation Apps, and they can be placed in either the right panel or lower panel. Click the plus sign next to either one, and a window will appear to select the app. Select the Microsoft Pulse app:

Next you will need to enter the Pulse ID and Account information. This can be gathered from the Pulse URL (remember when I said we needed it later!). Once this information is entered, click “Done” at the top of the page:

Now it’s time to start the broadcast. When an attendee joins the broadcast, the Pulse is not automatically started. The Pulse administrator has the option to start the voting or when to send the survey out to the participants. This gives a level of control so surveys, voting, and polls can be started and ended during the broadcast appropriately. To allow the audience to start voting, in the Pulse admin portal, click on “Activate voting” for the Pulse:

In order to allow voting in the survey, click on “Send” for the poll in the Pulse admin portal:

Now our audience has access to vote every 5 seconds and participate in the survey during the broadcast:

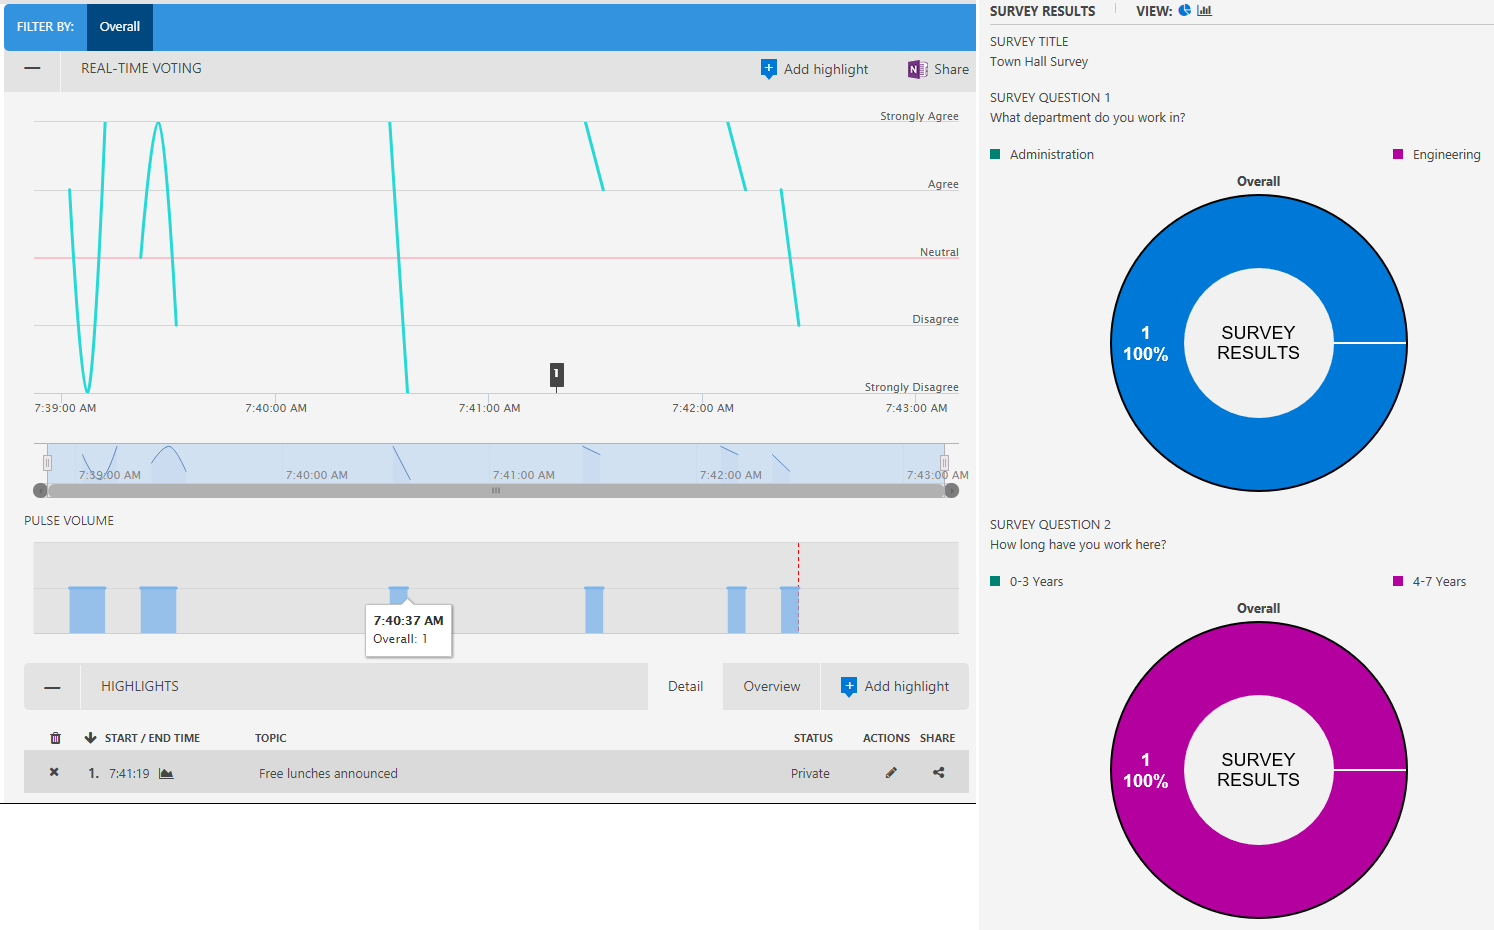
The administrator can also view the live voting results and add highlights to the timeline to mark when certain announcements were made in order to correlate audience reaction to them. The results of surveys and polls are also available:
 And there you have it! This was only a basic overview of Pulse and its integration into Skype Broadcast Meetings. If you have an active Office 365 subscription, create your Pulse account and start checking it out. There is a bit of a learning curve so get familiar with it before including it in your future Skype meetings.
Did you find this article helpful? Leave a comment below or follow me on Twitter (@JeffWBrown) for more information on Skype for Business.

Thanks for sharing the very informative article.
Thanks Jeff. Very useful post. Good job.
Useful article. Thanks for sharing.
Thanks Jeff Very useful Post
Thanks for sharing most valuable information.
I must say that post is great for new user like me who want to learn something about education portal.
You’ve redacted the account name on some of the pictures but not on others. Might want to change that.
I Like your post thanks for sharing this Article
Thanks for Your Valuable Response.
Thanks Jeff for your valuable information its very useful