We have a client that is going through the early stages of developing renderings for their Sitecore solution. Naturally, they have a ton of questions as they are learning as they go – which is great. One of the questions I received from them was how to change the default icon and thumbnail for their new components. I also had a similar conversation about author experience with another developer leading into the same topic.
Since I’ve been asked twice in a relatively short succession – time for a short blog post.
So to set up the example I created a new controller rendering from an existing rendering from an instance of Launch Sitecore.
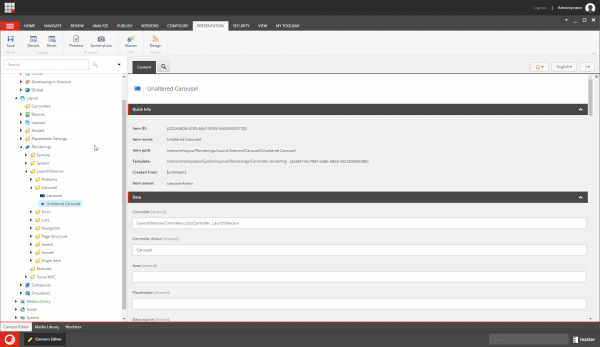
For the new rendering, I just populated the Controller, Controller Action, Datasource Location, and Datasource Template from the original. You can see that the default icon of this is the infamous blue rectangle and no thumbnail exists.

To change this:
1) Make sure your Sitecore content editor View options include Standard fields.

2) Next we go to the rendering itself. Expand the Appearance section. There are two fields you care about here, Icon and Thumbnail. The original question was about adding thumbnails, but since you are here anyway, let us follow the preferred practice of using uniquely related icons to have your rendering stand out in the content editor as well.
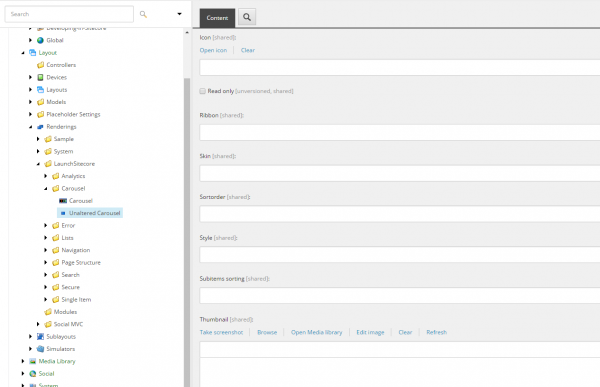
3) Select a new icon….. (Want to insert custom icons? Ask me twice and another Sitecore Reminder blog post may be born.)
![]()
![]()
4) For the thumbnail, you have a few options. Take Screenshot/Browse/Media Library/Sitecore Image Editor/Clear and Refresh.
Clear and Refresh do as they say. They will clear your thumbnail entry and refresh the image based on a change.
The Browse option displays the Select Media dialog allowing you to select and/or upload images to utilize for thumbnails.
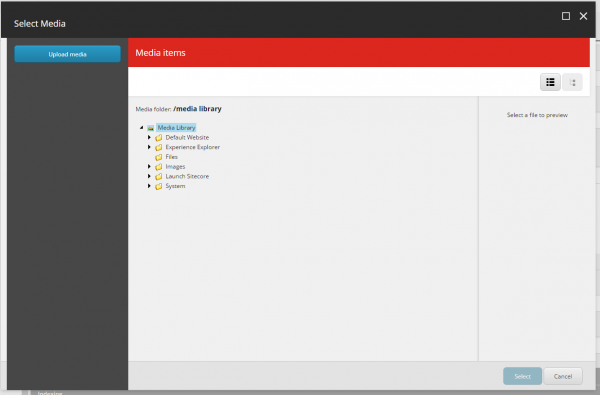
The Open Media library option will redirect the content editor to go to the media library content item representing the image to change any fields for the item.
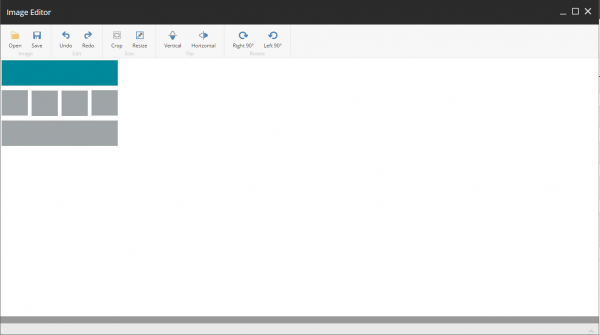
Edit Image displays an image editor dialog to perform some basic graphical edits on the image and to save it back to the media library item.
The best option is to Take screenshot.
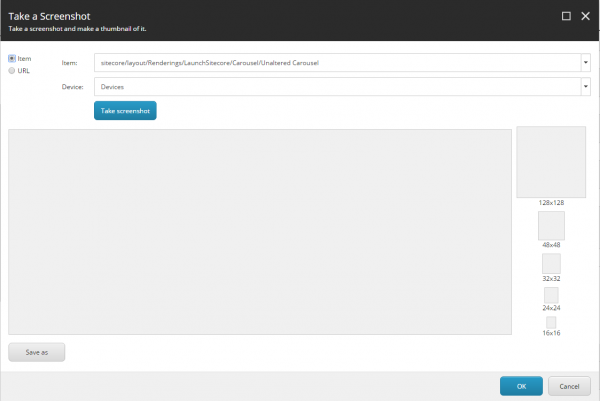
This allows you to do a preview rendering for a specific device for a Sitecore item in the content tree. Just select the item and device. You will want to select an item in which the rendering is attached and will render output. Or you can enter a URL as well.
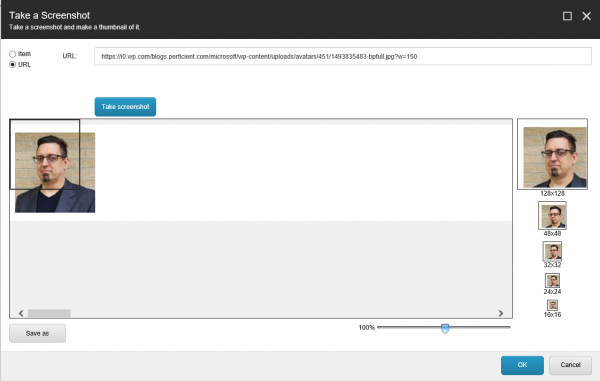
After you select the portion for your thumbnail and click OK, you will see Sitecore places your captured image in media library/system/////<name>. Each of the asterisk represent the first four characters of the item ID.
**NOTE: Currently there is a known bug in Sitecore versions 8.2 Update-2 and Update-3 that you will need a fix for. Submit a ticket to Sitecore support and reference Patch 146497 in your ticket.
5) If you use Sitecore Rocks, which is highly recommended, you have all the same options.
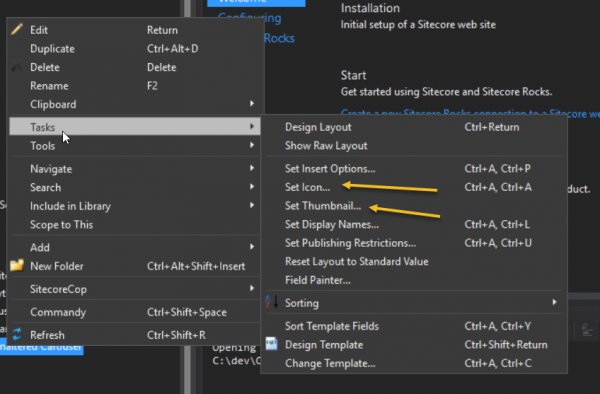
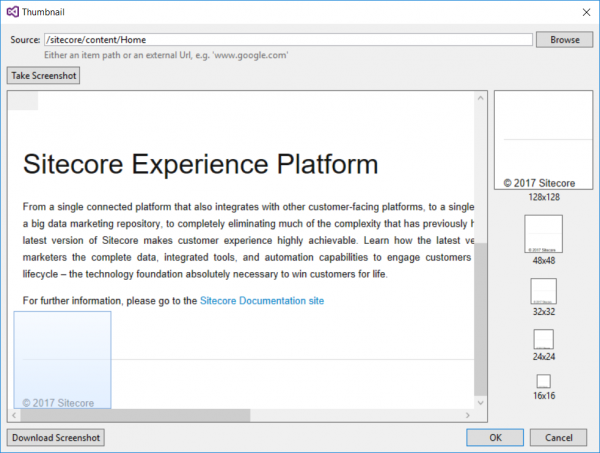
While this is not as robust as the controls within the Sitecore content editor with scaling the size of the image for selection, it may suffice for your needs without having to leave your IDE.
So why do this?
Allowing your editors to better identify their renderings, whether using the Content Editor or the Experience Editor, allows for more efficient content management. When your content authors can quickly visualize their components. Spatial ability is the understanding and memory recall of relations among objects. In the case of our content authors, it is much the processing of how parts interact with an entire machine, being able to quickly make the association through use of logical reasoning, memory retrieval, and easy functional switch while putting together content.
Simply, it makes our author’s lives easier and more productive.
