Optimizely Graph lets you fetch content and sync data from other Optimizely products. For content search, this lets you create custom search tools that transform user input into a GraphQL query and then process the results into a search results page.
Why use Graph for Content Search?
The benefits of a Optimizely Graph-based search service include:
- Faster search results.
- Better error handling.
- More flexibility over search logic.
- Cross-application and cross-platform search capability.
Let’s explore the steps to make this work using the Alloy project. First, obtain the Content graph keys/secret from Optimizely.
Implementation: This involves two steps.
#1: Server side setup and Querying
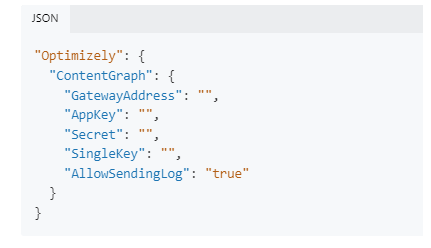
- Add the content graph keys and secret in the appSettings.json
- Install the
Optimizely.ContentGraph.Cmspackage, and note that the Content Delivery API must also be installed as a prerequisite for the graph to function- Highlighted in red are the required packages. Highlighted in green is the initialization of the Content Delivery API and Graph in
IServiceCollection. Additional configuration options are available as needed.
- Highlighted in red are the required packages. Highlighted in green is the initialization of the Content Delivery API and Graph in

- After executing the code, you should see the Optimizely Graph option in the CMS.
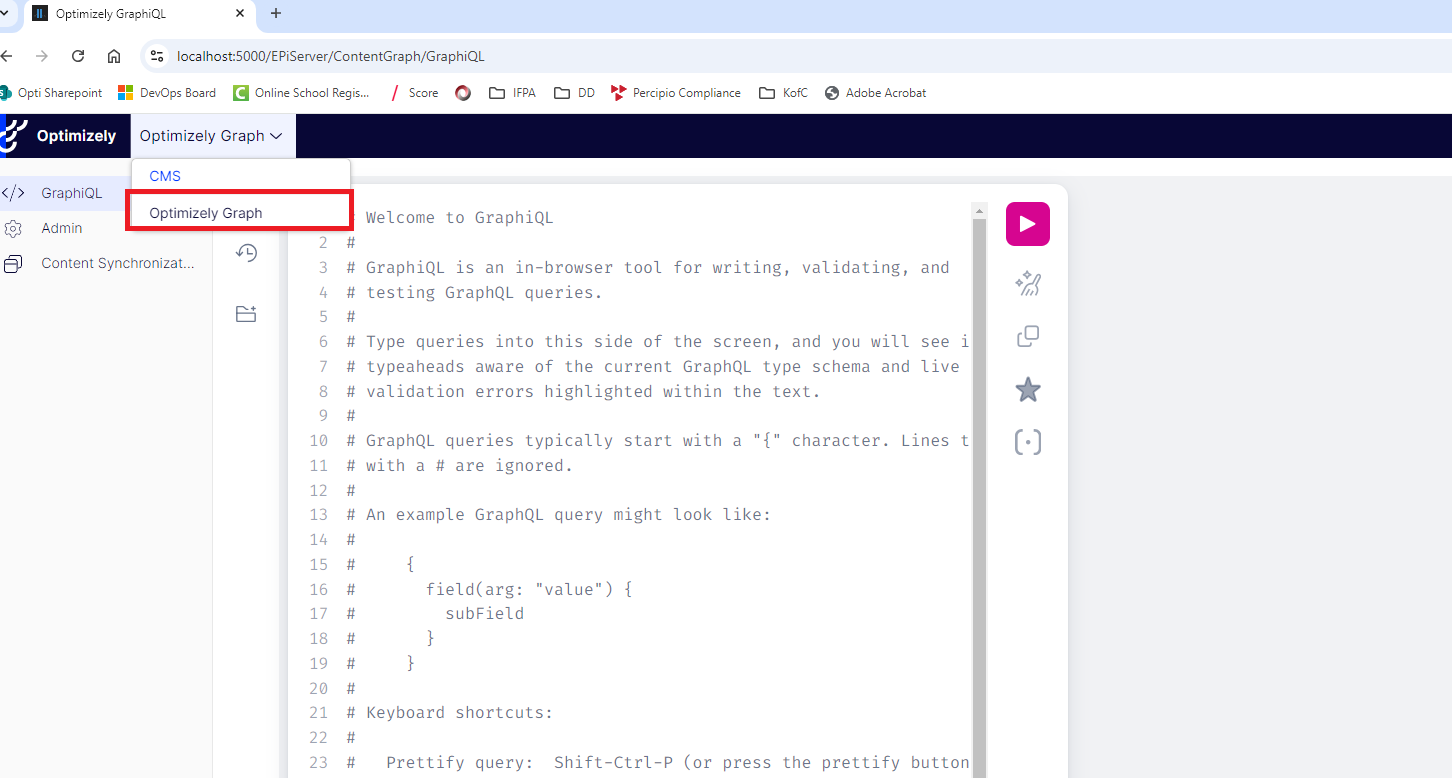
- Run the Indexing job from the Content Synchronization option. Once completed, all indexed content types will be visible.
- The screen below shows the job status, and you can explore the indexed content by clicking the Details link. Highlighted in green are the indexed content types available for querying.
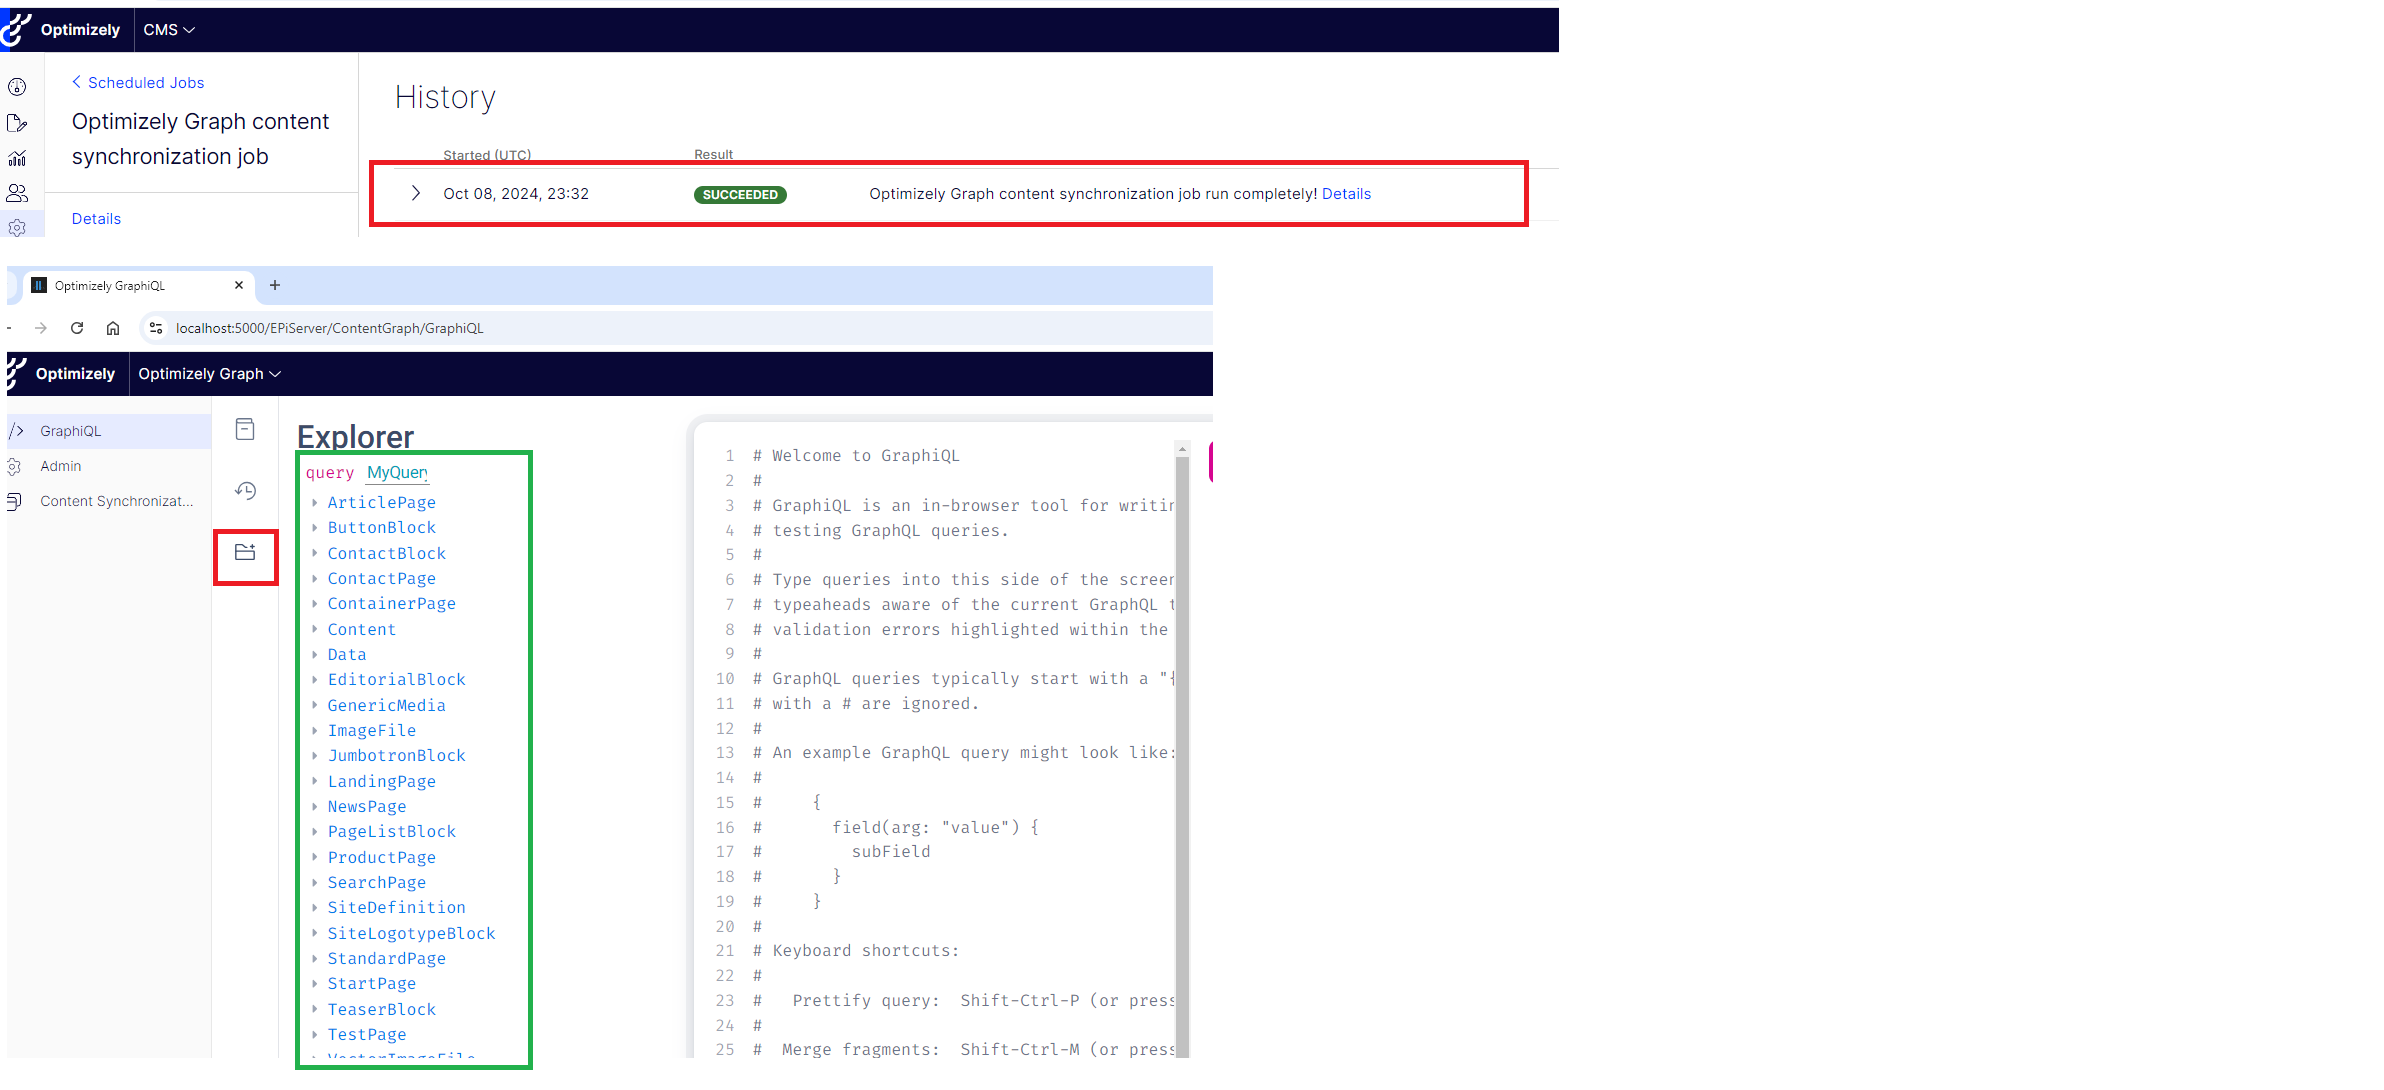
- With this, you should be able to query content in the GraphQL playground by selecting any page content types
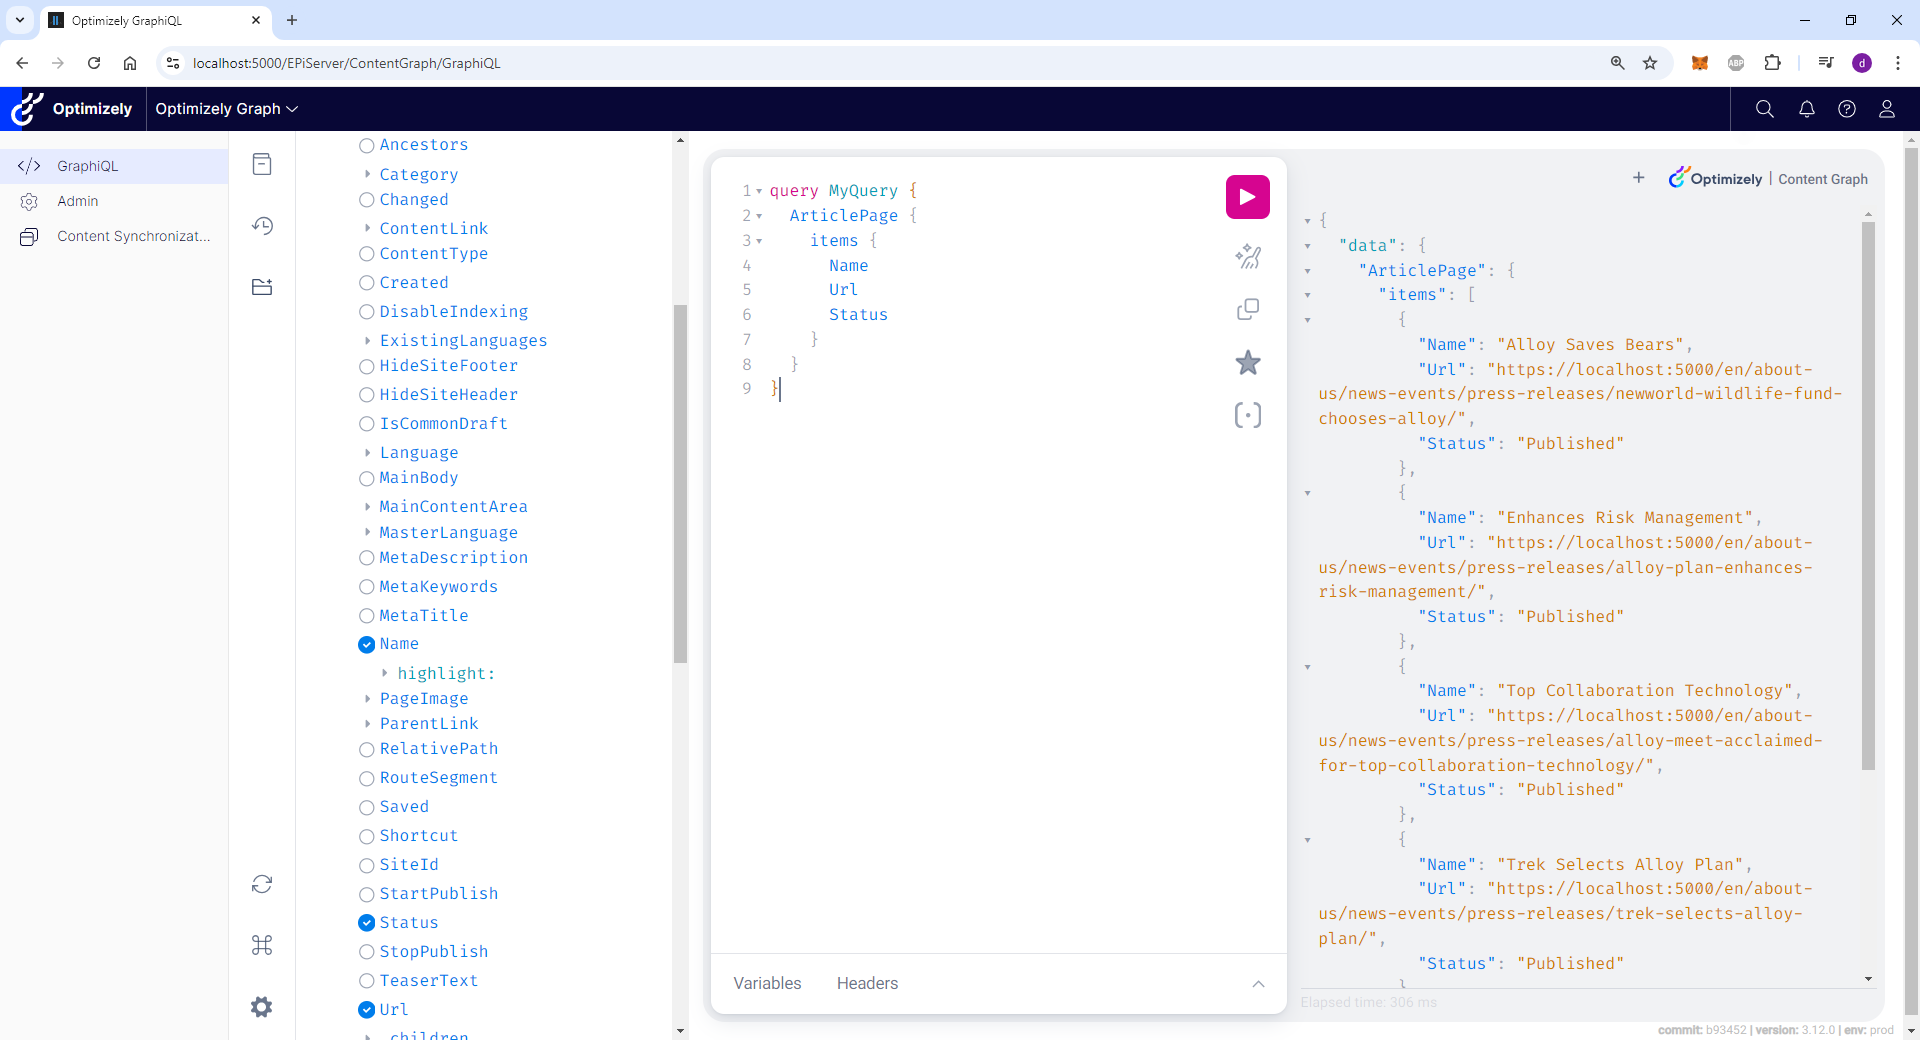
#2. Client side setup and Querying
Now that the server-side querying is ready, let’s configure the client side to query from the application code.
- Install the following packages:
StrawberryShake.ServerStrawberryShake.Transport.Http.

- We also need to install
StrawberryShake.Toolson the machine- dotnet tool install StrawberryShake.Tools -g
- Next, we’ll create a sample GraphQL query to generate a proxy/schema. Copy the same query from the server-side setup into a
.graphqlfile. Create aQueriesfolder and place the query file inside it.
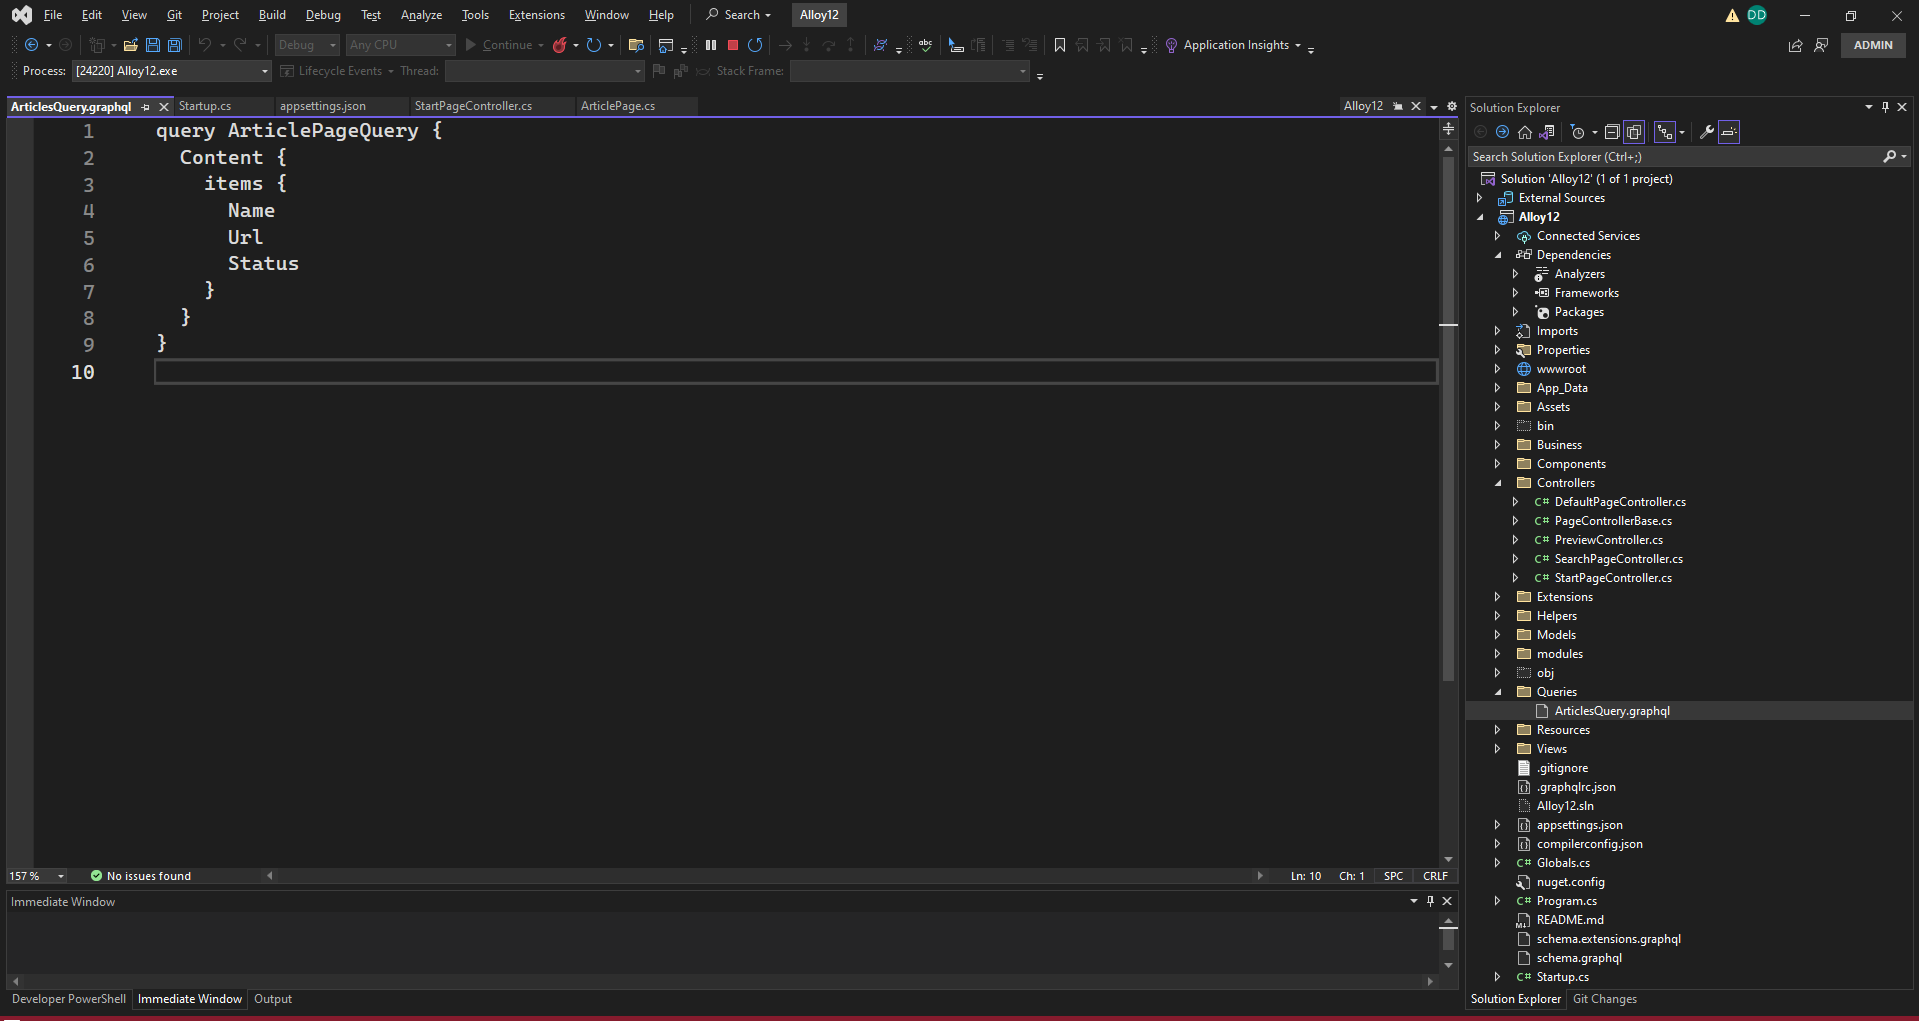
- Navigate to the current project folder in the terminal and run the following command, replacing the
OptimizelyGraphSingleKeyValuewith the key received from Optimizely (as shown in the appSettings step):- dotnet-graphql init https://cg.optimizely.com/content/v2?auth={OptimizelyGraphSingleKeyValue} -n AlloyGraphClient

- This will generate three files for the GraphQL schema, as highlighted below..
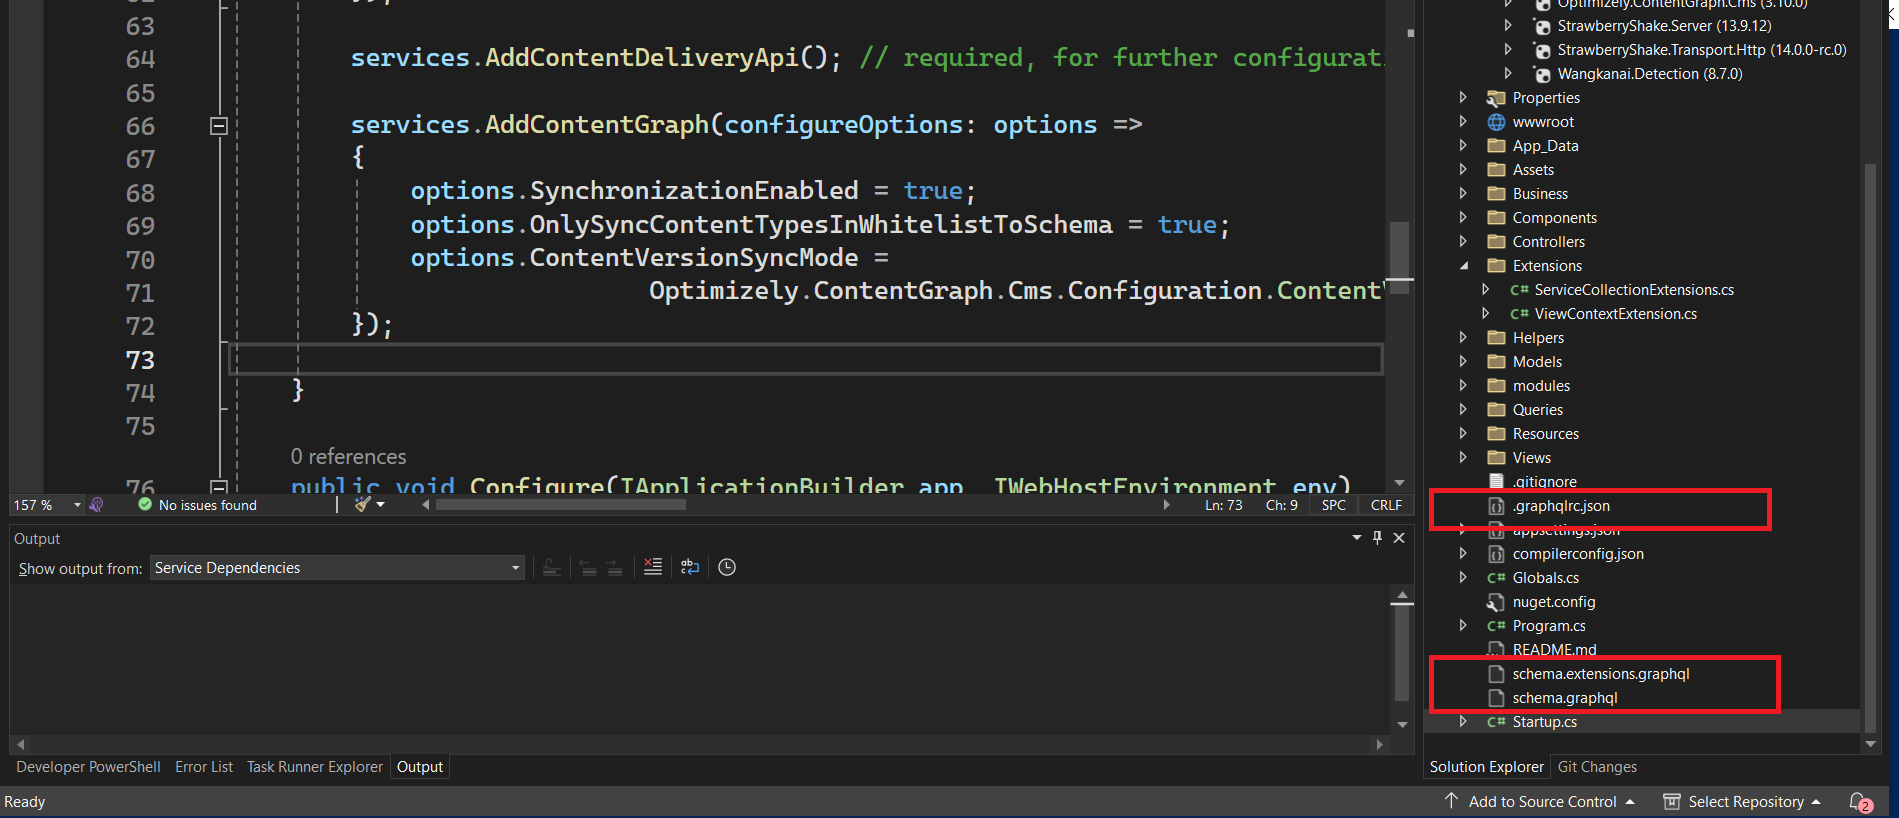
- The previous step also creates the StrawberryShake Client in the solution, which will be used for querying. The client name will match the namespace provided earlier. Since we used
-n AlloyGraphClient, the generated client will beAddAlloyGraphClient- Configure the base address to use the Optimizely Single Key value from the graph settings.

- This completes the setup, and we should now be able to use this client for querying in code. The client generates an interface following a similar naming pattern; here, it will be
IAlloyGraphClient- Inject this interface into the
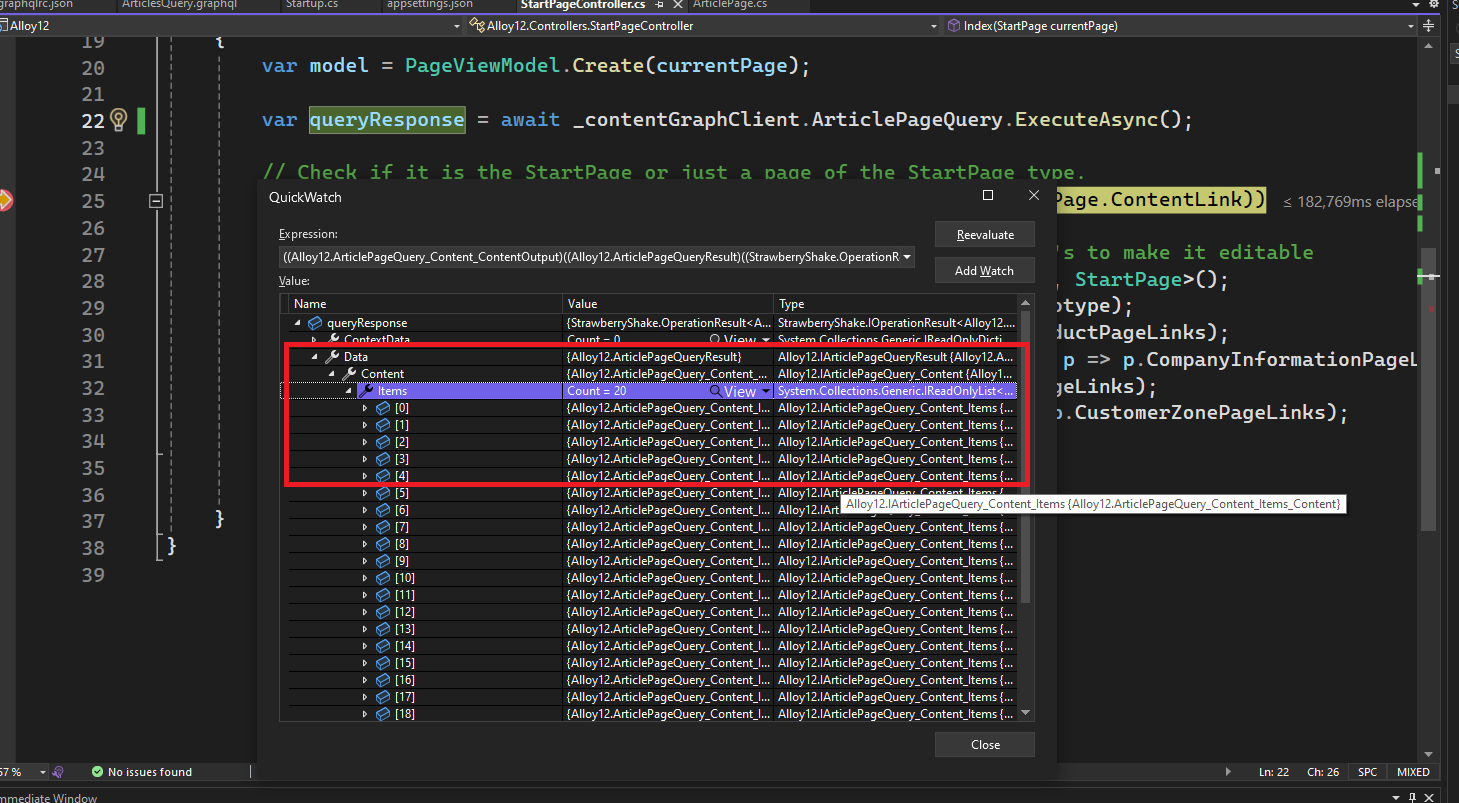
StartPageControllerand verify the results
- Inject this interface into the
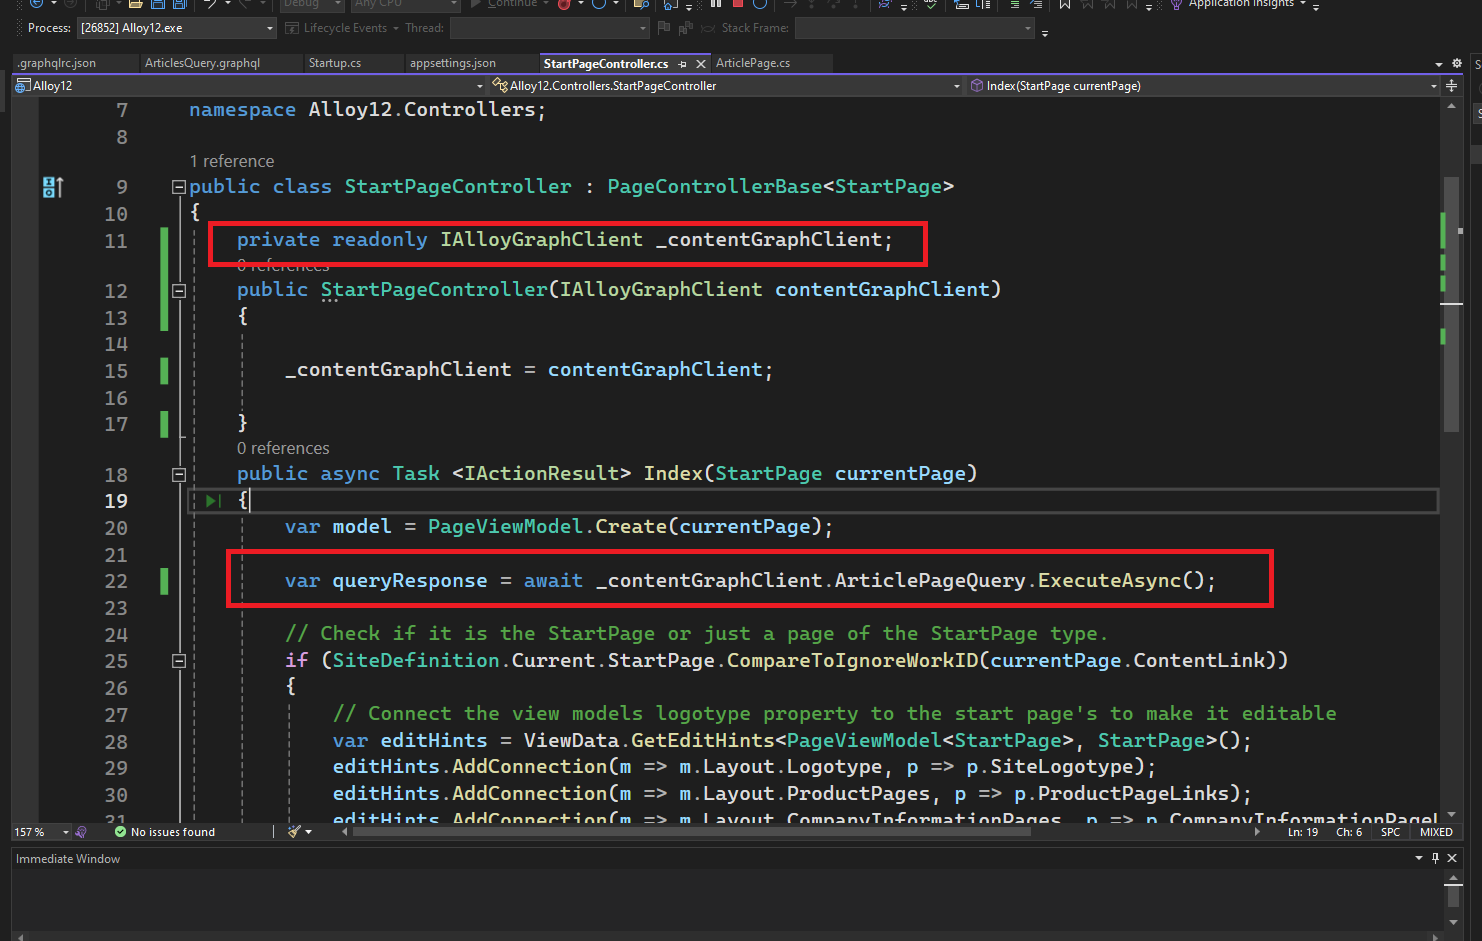
-
- As we can see, the data is being returned according to the query. This is now ready to be mapped and displayed in the Views.
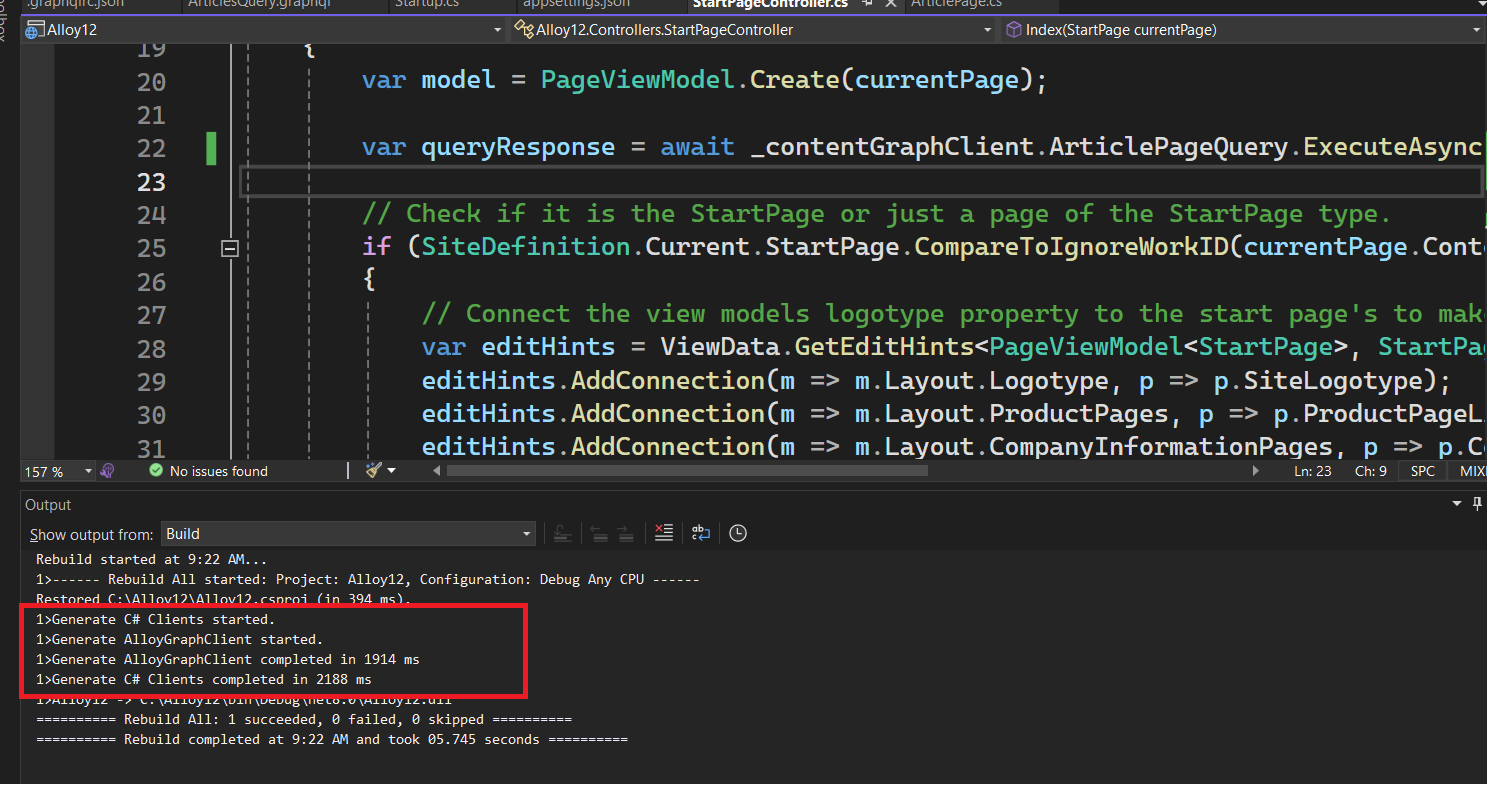
- GraphQL supports a full range of features, including querying and filtering. It’s easy to verify queries in the playground and apply those changes to the
.graphqlquery file. If you make any additions or modifications to the query, ensure that the latest schema is downloaded when you rebuild the code- Following update will show up on build for the new schema update to the code.
