In my previous blog, Unlocking Advanced Personalization in Sitecore XM Cloud with Sitecore Personalize, I explored how the integration between Sitecore XM Cloud and Sitecore Personalize unlocks advanced personalization capabilities – enabling cross-channel decisioning, custom audiences, and real-time variants. In that post I explained the architecture, the run-time flow, and why the default embedded personalization in XM Cloud may not suffice for developers looking to implement deep, business-specific personalization logic.
In this follow-up, we will dig deeper and focus on how to extend personalization in XM Cloud by creating custom conditions in Sitecore Personalize. We will walk through the step-by-step process: defining a use case, writing condition logic, testing and publishing it, and then applying it to a real experience. By the end of this blog, you will be equipped to build your own developer-written conditions that marketers can reuse in their audience builder – taking personalization beyond the out-of-box and into true business-driven differentiation.
What Are Conditions in Sitecore Personalize and Why Custom Conditions Matter
- Out-of-the-box conditions- prebuilt by Sitecore (geolocation, device type, visit behavior, etc.).
- Custom conditions – where you define your own logic, often using JavaScript (or assisted by AI if you enable the Code Assistant), to handle business/custom data and decisioning.
How Conditions Work – The Mental Model
- You define input parameters (if any) – these become configurable by authors when applying the condition.
- You write logic (in JavaScript) that reads visitor/session/guest data (or external data if you fetch it), evaluates your business rule, and returns a boolean (true/false) or a structured object depending on the expectation.
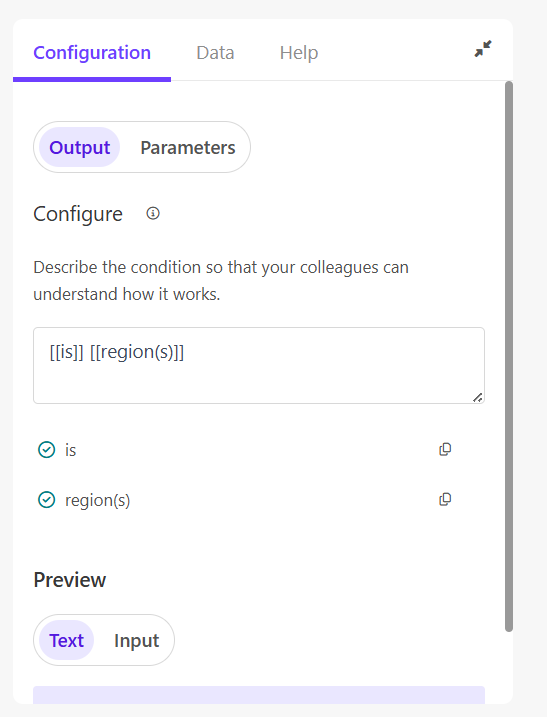
- You define a friendly output – a human-readable sentence (with placeholders for input parameters) that authors see when selecting the condition for an experience or experiment.
- Once you save and publish the condition, it’s available alongside other conditions (out-of-the-box or custom) in the conditions library, and can be applied by marketers without coding.
Because Personalize and SitecoreAI are connected already, all the custom conditions created here are automatically available in the Page Builder – so authors can use it in experiences without needing developer deployments.
How to Create a Custom Condition – Step by Step


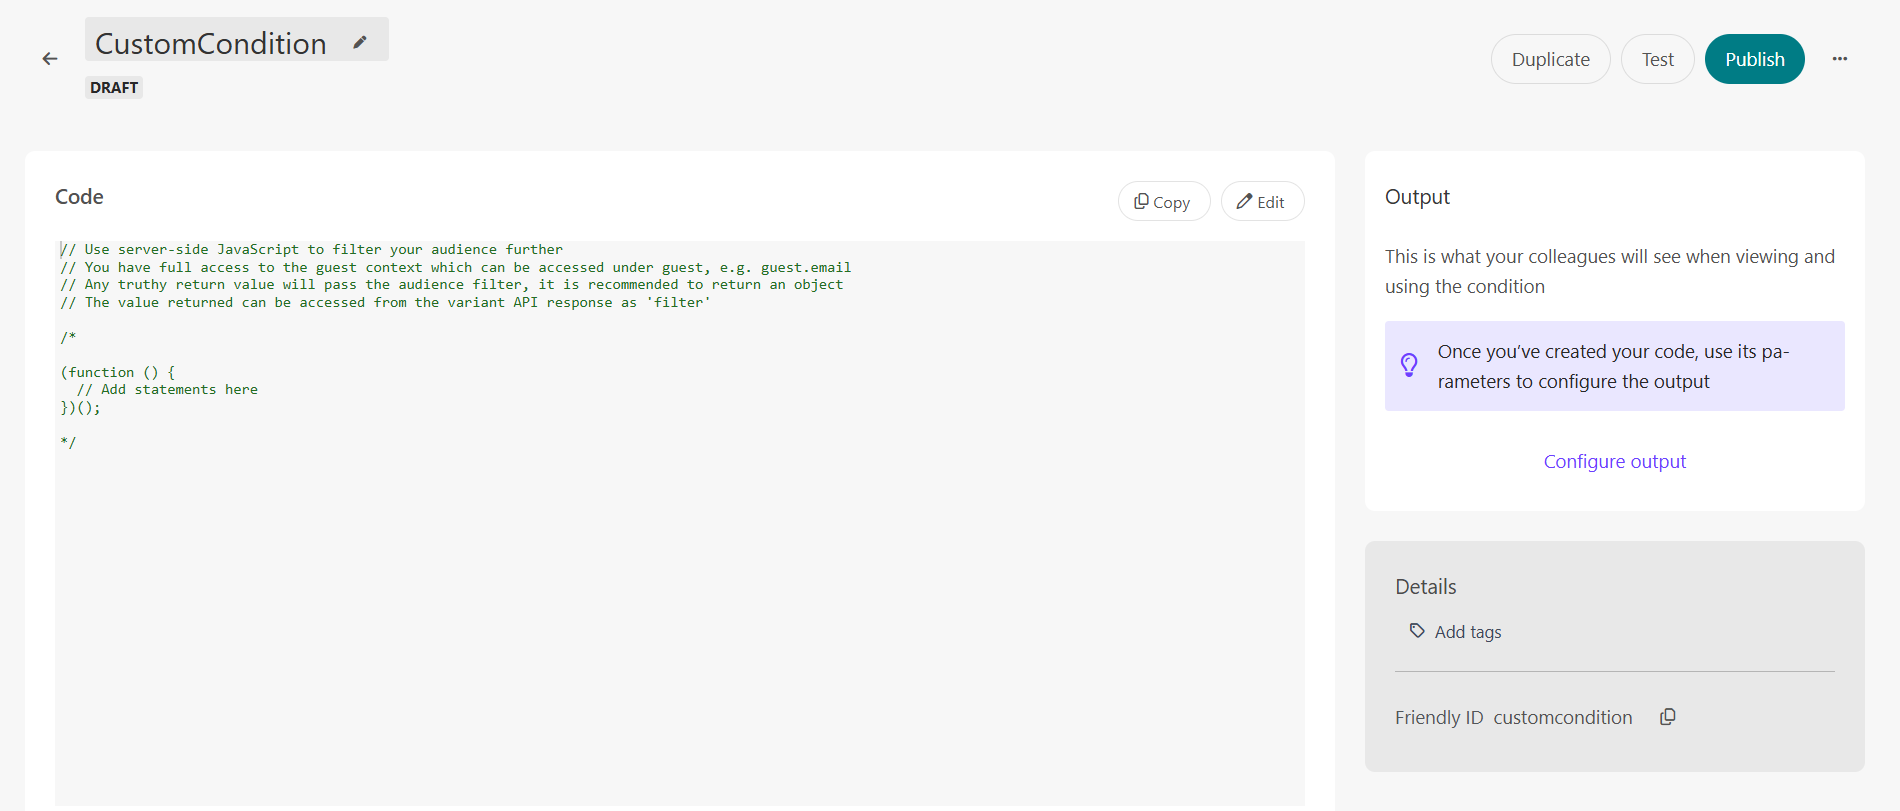
4. Open the code editor (click Edit). The code must be written in JavaScript.

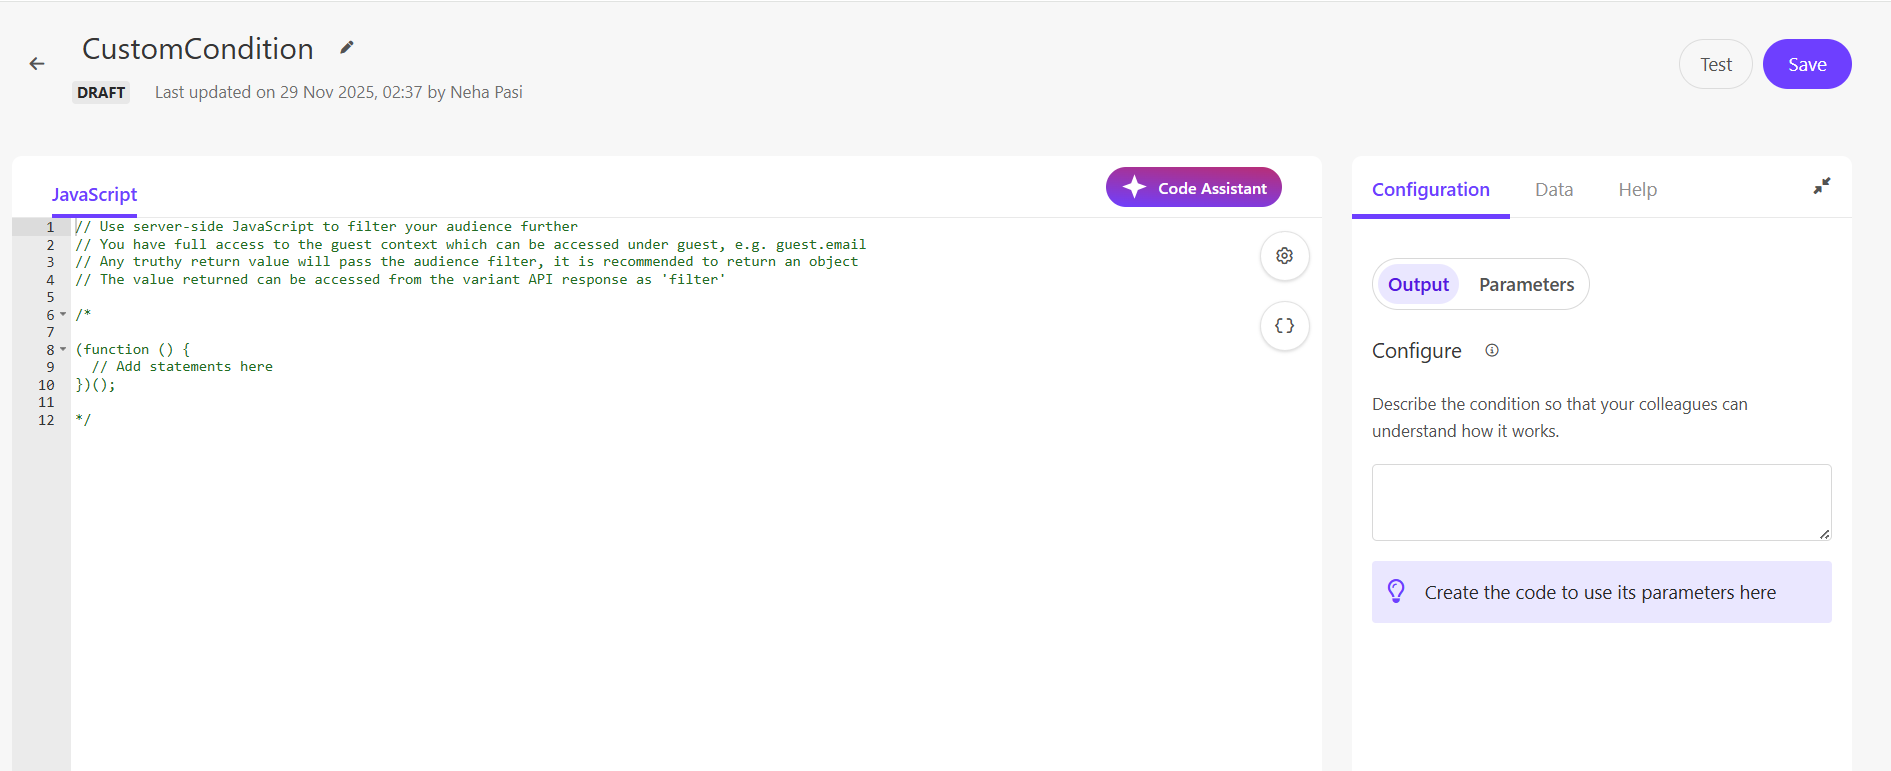
6.Write the logic to compute condition result. Use local variables, avoid global object modifications, namespace shared logic if reusing across conditions to avoid conflicts.
To find the guest reference ID:
- Open the Sitecore AI-integrated webpage in your browser.
- Inspect the page and navigate to Application → Cookies.
- In your site’s cookies, look for a cookie named
sc_<id>_personalize.
This value is your guest reference ID and can be used to verify that the logic works as expected.
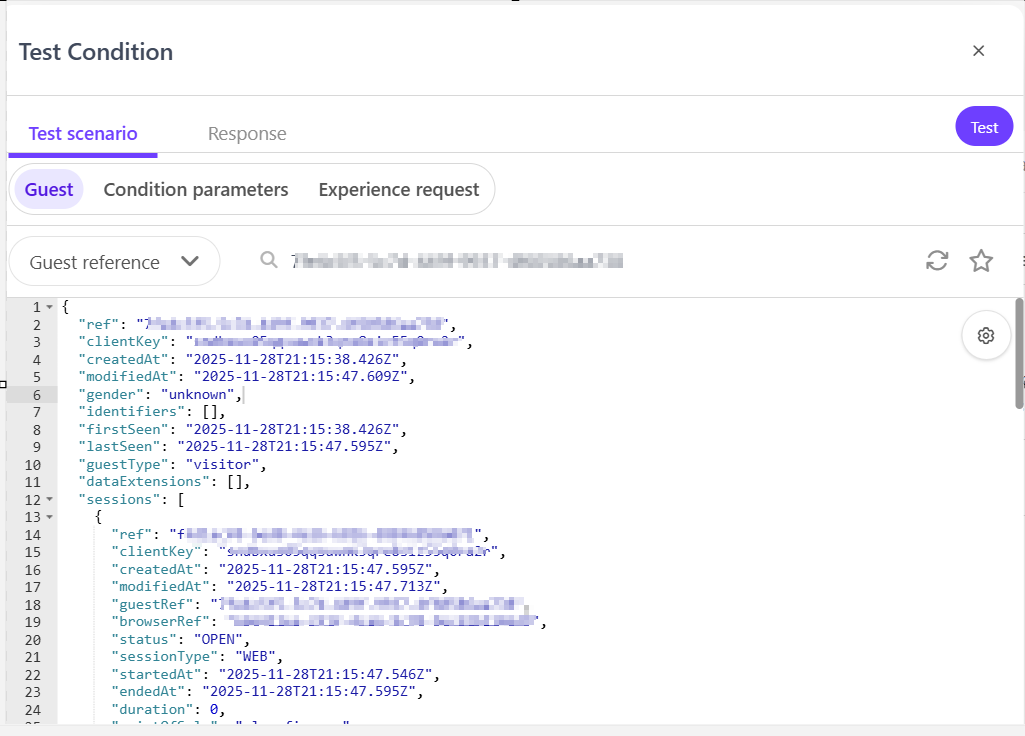
Added a Guest Reference
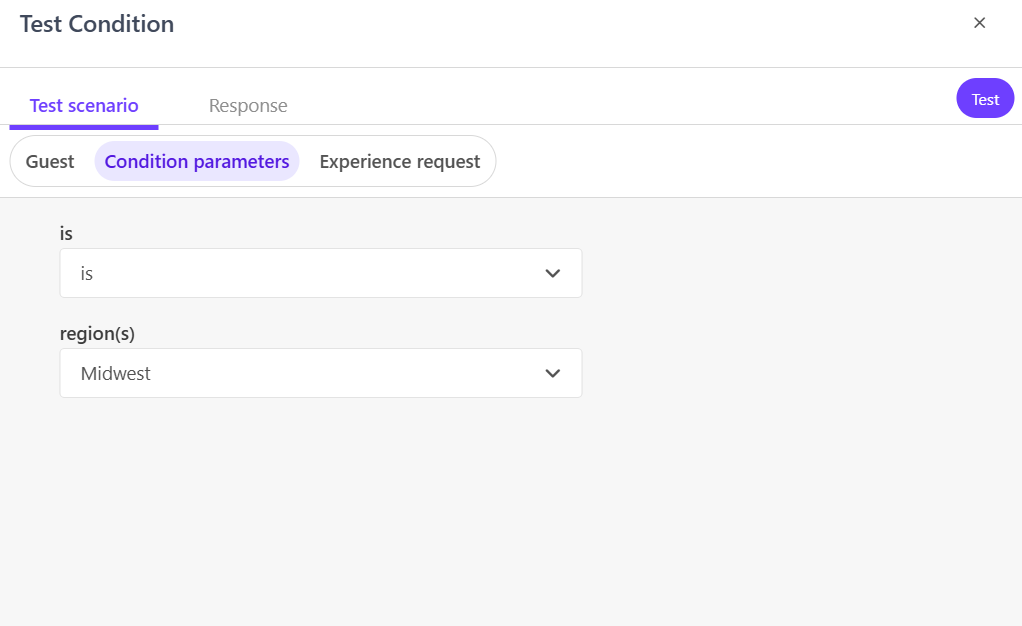
Add Conditional Parameters
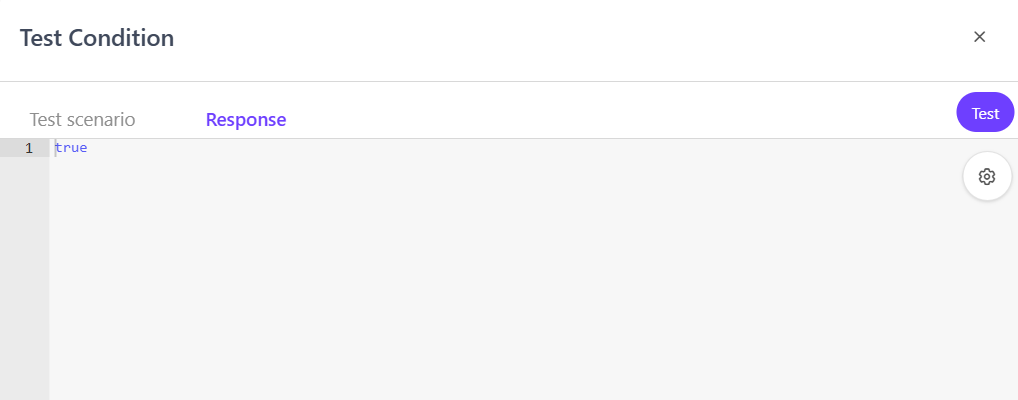
Test Response
If your organization has enabled the Code Assistant via Sitecore Stream, you can even bypass manual JS – just describe what you need in plain English, and the assistant generates code for you. But always review/test it.
Wrapping Up
Custom conditions are one of those features that quietly but significantly elevate the personalization strategy for any XM Cloud + Personalize implementation, they bridge the gap between what the platform provides and what your business actually needs. They let you capture the nuances of your business rules and make them reusable, testable, and accessible to content authors without additional development cycles.
Think of them as building blocks: once you define the logic correctly, authors can mix and match them to create highly targeted experiences – all without touching code. And thats exactly where the strength of the platform lies.
This wraps up the last part of my personalization series, but I hope it’s also the beginning of you exploring personalization in a more thoughtful and structured way. If you have been relying only on out-of-the-box rules, try creating your first custom condition – the clarity and control it brings is genuinely worth it.

Great insights! This post does an excellent job explaining how to extend personalization in Sitecore XM Cloud with custom conditions. Personalization is such a powerful way to enhance user engagement, and it’s exciting to see practical examples of how it can be implemented effectively.