Optimizely Configured Commerce provides a unique way of managing emails. This allows administrators to configure and manage the email templates and settings used for automated email communications with users. This feature is essential for ensuring consistent branding, and operational efficiency in a B2B e-commerce environment. And most importantly, those emails are setup automatically and should not require many updates.
However, in some scenarios, you might need more customizations when working with emails. This article will provide more insights about Optimizely Configured Commerce’s Emails that have not been covered in the documentation. You will get some ideas on how to deeply customize the Email Templates and also, send emails using the B2B framework from Optimizely.
Prerequisites
Before jumping into customization, you need to have fundamental understandings about Email Administration in Configured Commerce.
- This will help you know more about the process flow for how emails are sent: https://docs.developers.optimizely.com/configured-commerce/v1.5.45-b2b-sdk/docs/defining-working-with-and-troubleshooting-email-lists-and-templates
- You also need to be able to work with Email Templates in admin console effectively: https://docs.developers.optimizely.com/configured-commerce/v1.5.45-b2b-sdk/docs/creating-and-editing-email-templates
How to send email with Optimizely Configured Commerce
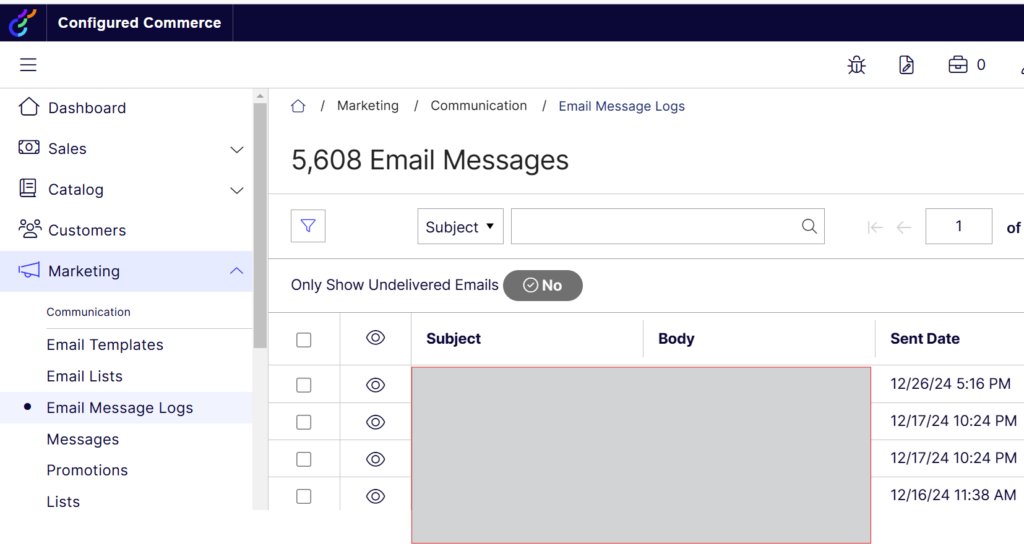
In Optimizely Configured Commerce, emails are sent automatically when a certain event occurs on a webpage (for example, order confirmation email is sent when submitting an order). However, some actions are not associated with sending mails. If you want to do that, like sending a notification email to the new registrant, you have to put some code inside your custom handlers, or Web API Controllers. Using .NET SmtpClient is a good choice, but in the scope of this article, I would suggest utilizing the EmailService inside the B2B framework that we’re using. The reason is you can benefit from the Email Administration feature that is integrated to Configured Commerce, from managing email templates to monitoring the email message logs, etc. Every mail sending through the EmailService will be kept track of inside this screen:

As being said, here’s how you can send the email any time with B2B Email Service (along with explanation):
// getting email template from IEmailTemplateUtilities (you need to inject this interface in your controller)
var emailTemplate = emailTemplateUtilities.GetOrCreateByName("MyCustomEmailTemplate");

// retrieving the content manager from the email template
var emailTemplateContentManager = emailTemplate.ContentManager;

// using IContentManagerUtilities to get the current version of the email body (you also need to inject this interface in your controller)
var htmlBody = contentManagerUtilities.CurrentContent(emailTemplateContentManager).Html;

// now create the email model to store the dynamic data. It's basically an ExpandoObject
dynamic emailModel = new ExpandoObject();
emailModel.Name = "John Doe";

// Parsing the template. For example, the placeholder [[Model.Name]] in the html body will be replaced with the actual data of emailModel, which is "John Doe".
// You need to inject the IEmailService before using it
string strEmailBody = emailService.Value.ParseTemplate(htmlBody, emailModel);

// Send the email with Configured Commerce's IEmailService
var sendEmailParameter = new SendEmailParameter();
sendEmailParameter.ToAddresses = new List<string>(){ "john.doe@test.com" };
sendEmailParameter.FromAddress = "defaultemail@test.com";
sendEmailParameter.Subject = "Welcome to our site";
sendEmailParameter.Body = strEmailBody;
try
{
    emailService.Value.SendEmail(sendEmailParameter, unitOfWork);
}
catch (Exception e)
{
    // Error handling
}
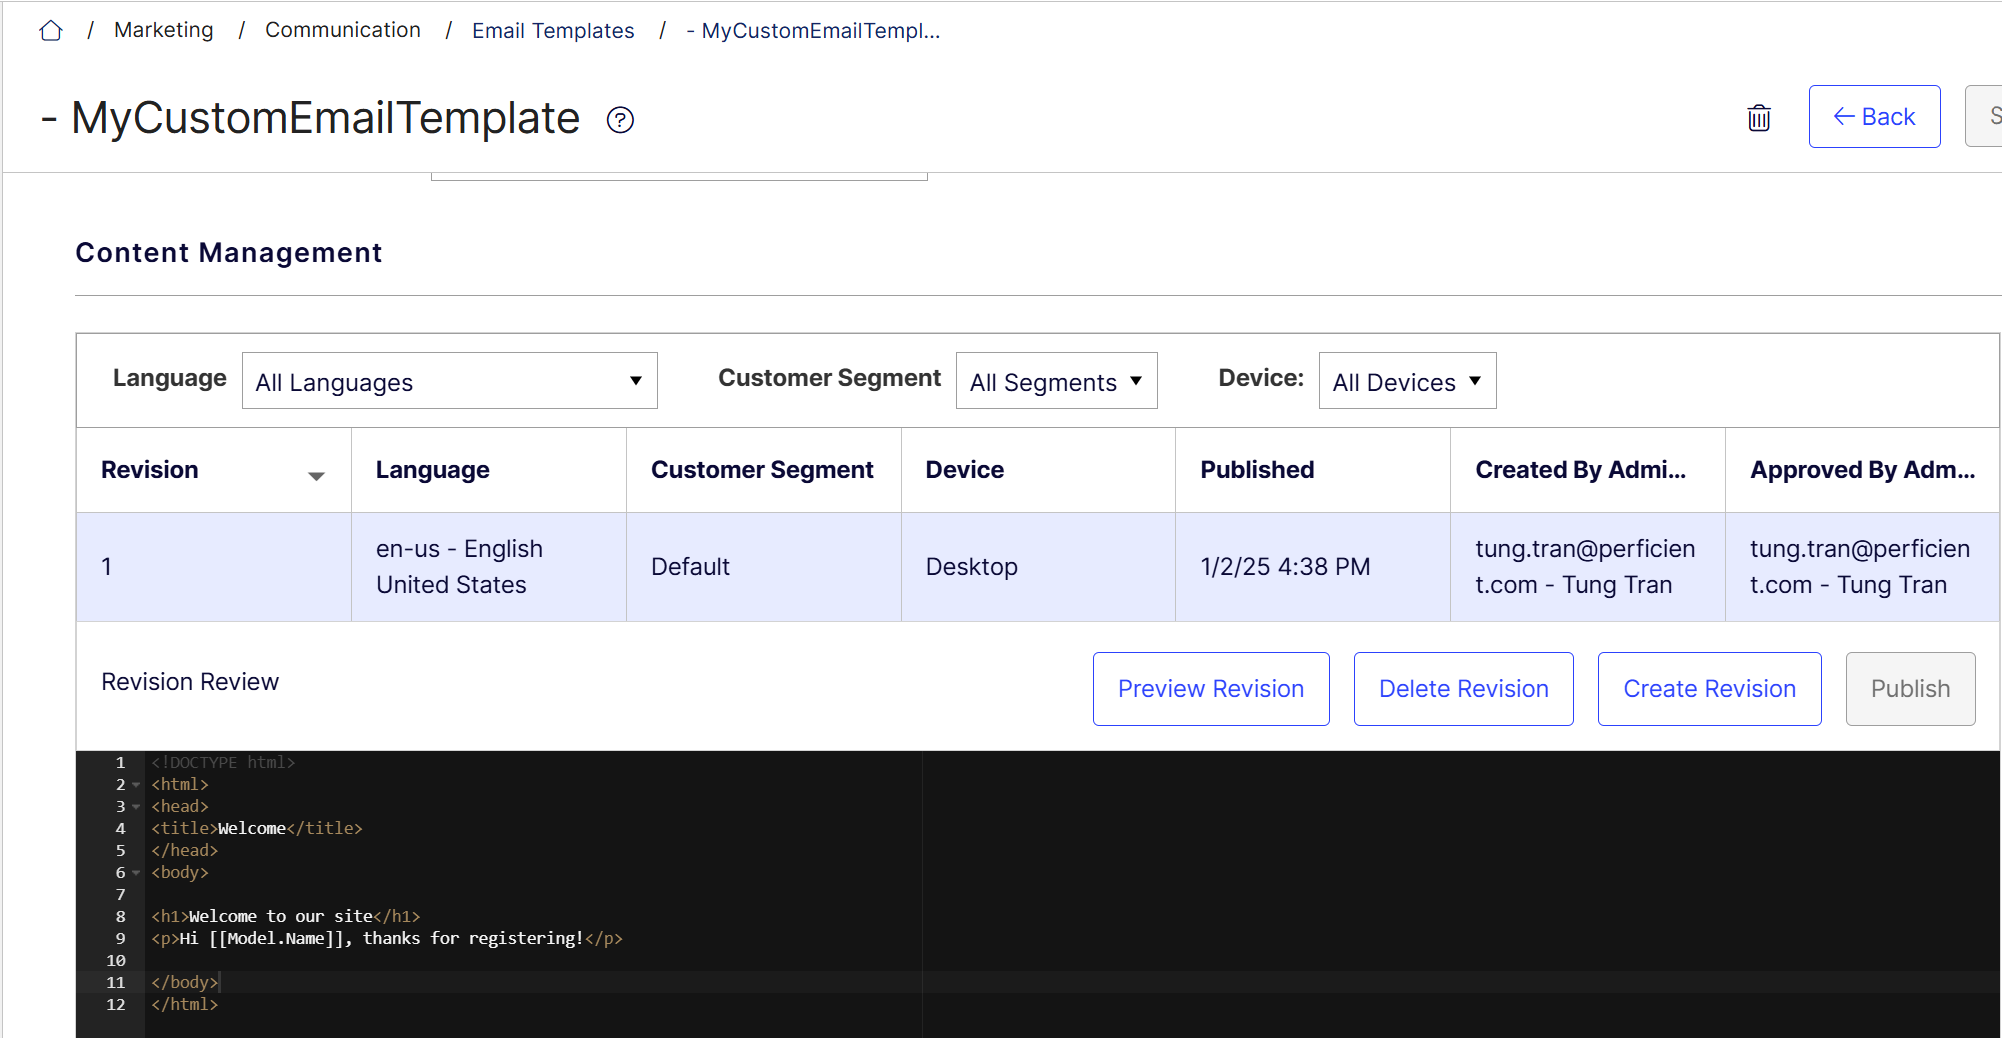
You can create a new template or edit an existing one. The IEmailService will send successfully as long as it is able to find the template name, and the placeholders match with the structure of your Email Model ExpandoObject:

Customize Email Templates
DotLiquid is used to render the views of all email templates. However, seems like it’s not the standard DotLiquid syntax. The syntax has not been documented, this is what I found while inspecting the default templates:
Placeholder Syntax
The templating engine uses this syntax [[Model.PropertyName]] to render dynamic data from the Model. Since the Model is an ExpandoObject so you’re free to define any property inside. Also, there’re bunch of built-in variables for existing templates, please refer here: https://support.optimizely.com/hc/en-us/articles/4413199986957-HTML-variables-for-email-templates
If-Else Statement
Use this logic block when you want to render something conditionally.
If:
[% if Model.MyProperty != null and Model.MyProperty != "" -%]
    <p>[[Model.MyProperty]]</p>
[% endif -%]
If-Else:
<strong>
    [% if Model.FirstName!= null and Model.FirstName!= "" -%] [[Model.FirstName]] [% else -%] [[Model.LastName]] [% endif -%]
</strong>
Iteration
Use this block to loop through a list:
[% for orderGroup in Model.OrderGroups -%]
    <div>
          <p>[[orderGroup.Heading]]</p>
    </div>
[% endfor -%]
Note: As of now (Jan 2025), the templating engine hasn’t supported nested loop yet.
Site Messages
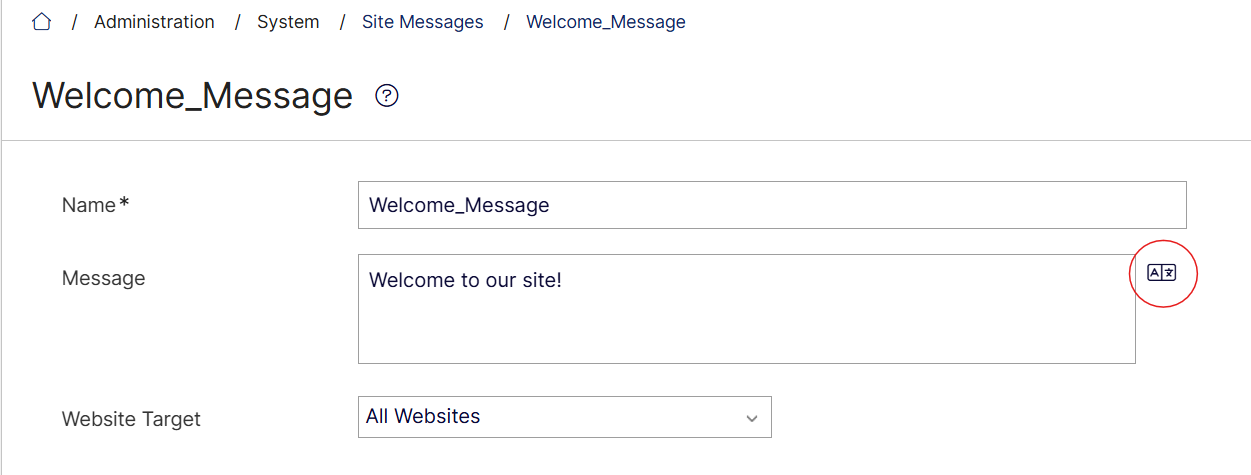
You can even use Site Messages in your templates. For example:
<span>[% siteMessage 'Welcome_Message' %]:</span>
The cool thing about it is, Site Messages can be localizable. So based on SiteContext.Current.LanguageDto (from Insite.Core.Context), it can detect the current language and translate the message automatically for you.

I hope this information will be helpful when you need to work on Email Administration in Optimizely Configured Commerce. Happy coding!

