Converting CSV to Excel streamlines data manipulation and analysis, bridging the simplicity of CSV’s plain text structure with Excel’s powerful spreadsheet functionalities. This conversion ensures a seamless transition from comma-separated records to organized rows and columns, enhancing data accessibility and interpretation. Whether for data analysis, visualization, or collaboration, Excel’s versatile format accommodates diverse needs, offering features like formulas, charts, and conditional formatting.
- Converted the CSV file with leading zero’s unchanged when changed to an Excel file.
- Multiple CSV files are automatically converted to Excel files using code built in a loop.
By converting multiple CSV files to an Excel file using VBA code.
VBA CODE:
Sub Csv_to_Excel()
'
' Csv_to_Excel
Dim Pathname As String
Dim Filename As String
Dim WOextn As String
Dim Nam As String

Pathname = "<Specify the Souce Path>"
Filename = Dir(Pathname)

Do While Filename <> ""
    WOextn = Left(Filename, InStr(1, Filename, ".") - 1)
    Nam = Pathname & "" & Filename
    Debug.Print Nam
    Workbooks.Add
    ActiveWorkbook.Queries.Add Name:=WOextn, Formula:= _
        "let" & Chr(13) & "" & Chr(10) & "    Source = Csv.Document(File.Contents(" & Chr(34) & Nam & Chr(34) & "),[Delimiter="","", Columns=25, Encoding=1252, QuoteStyle=QuoteStyle.None])," & Chr(13) & "" & Chr(10) & "    #""Promoted Headers"" = Table.PromoteHeaders(Source, [PromoteAllScalars=true])" & Chr(13) & "" & Chr(10) & "in" & Chr(13) & "" & Chr(10) & "    #""Promoted Headers"""
    ActiveWorkbook.Worksheets.Add
    With ActiveSheet.ListObjects.Add(SourceType:=0, Source:= _
        "OLEDB;Provider=Microsoft.Mashup.OleDb.1;Data Source=$Workbook$;Location=" & WOextn & ";Extended Properties=""""" _
        , Destination:=Range("$A$1")).QueryTable
        .CommandType = xlCmdSql
        .CommandText = Array("SELECT * FROM [" & WOextn & "]")
        .RowNumbers = False
        .FillAdjacentFormulas = False
        .PreserveFormatting = True
        .RefreshOnFileOpen = False
        .BackgroundQuery = True
        .RefreshStyle = xlInsertDeleteCells
        .SavePassword = False
        .SaveData = True
        .AdjustColumnWidth = True
        .RefreshPeriod = 0
        .PreserveColumnInfo = True
        Debug.Print WOextn
        .ListObject.DisplayName = WOextn
        .Refresh BackgroundQuery:=False
    End With
    Application.CommandBars("Queries and Connections").Visible = False
    Range("C8").Select
    ActiveSheet.Name = WOextn
    ActiveWorkbook.SaveAs Filename:="<Specify the target path>" & WOextn & ".xlsx"
    ActiveWorkbook.Close
    Filename = Dir()
Loop
End Sub
Step By Step Procedure to Run the VBA code:
Step 1: Open a new Excel sheet.
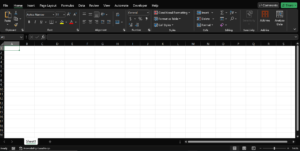
Step 2: Go to the Developer tab ribbon option.
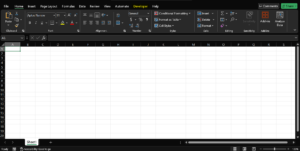
Step 3: Select the Visual Basic option in the Developer Tab.
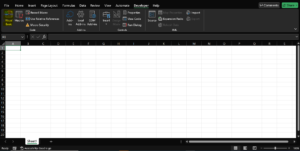
Step 4: Selecting the Visual Basic option opens a new window.
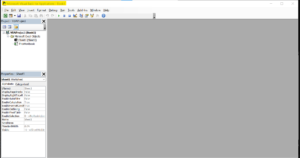
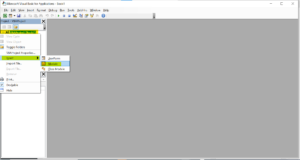
Step 5: On the Project tab, right-click the VBA project. Click Module after choosing the Insert option.
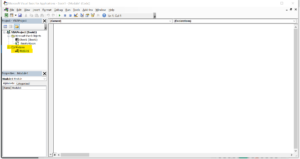
Step 6: The module option will show in the Project tab under the VBA Project, and the right-side code space will open.
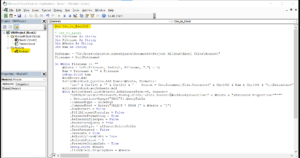
Step 7: Paste the VBA code in the code space.
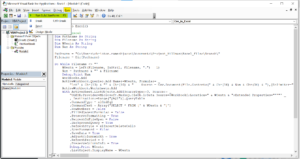
Step 8: Select Run or press F5 to run the code from here manually.
All of the CSV files that are in the designated folder have been successfully converted into Excel files and loaded into the target folder once the VBA code has been executed.
