
Optimizing Fonts
Explaining How to Optimize Fonts in a Next.js Application
//Path: src/app/Card/page.js
import { Poppins } from "next/font/google";
const poppins = Poppins({
subsets: ["latin"],
weight: ['100', '200', '300', '400', '500', '600', '700', '800', '900']
});
const page = () => {
return (
<>
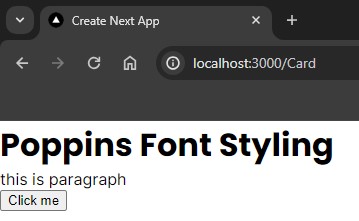
<h1 className={poppins.className}>Poppins Font Styling</h1>
<p>this is paragraph</p>
<button>Click me</button>
</>
)
}
export default page
- I import the Poppins font through Next.js’s next/font/google module from Google Fonts.
- Configure the font: Create a variable Poppins and assign it the configuration for the Poppins font, including subsets and weights.
- Lastly, Apply the Poppins font styling to the <h1> element using the className generated by poppins.className.
 With this setup, Next.js automatically handles the font embedding during the build process, optimizing font loading for your Next.js application.
Image Optimization
Next.js leverages the next/image component to provide automatic image optimization that is out of the box. This component optimizes images for various devices and screen sizes, delivering the most appropriate image format and size based on the device’s capabilities.
How do you use the next/image component for image optimization within a Next.js application?
- We must import the Image component from the next/image module.
- This component is specifically designed for image optimization in Next.js applications.
- The image is specified by providing the path (src) to the image file and an alt attribute for accessibility.
- Additionally, the width and height attributes define the dimensions at which the image should be displayed.
- Overall, this code demonstrates how to render an optimized image within a React component in a concise manner.
//Path: src/app/Card/page.js
import { Poppins } from "next/font/google";
import Image from 'next/image';
const poppins = Poppins({
subsets: ["latin"],
weight: ['100', '200', '300', '400', '500', '600', '700', '800', '900']
});
const page = () => {
return (
<>
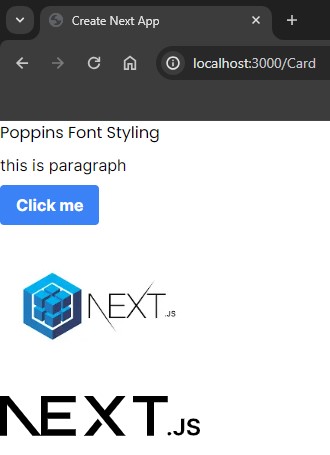
<h1 className={`${poppins.className} text-base`}>Poppins Font Styling</h1>
<p className="py-2">this is paragraph</p>
<button className="bg-blue-500 text-white font-bold py-2 px-4 rounded">Click me</button>
<Image
src="/nextjs.png"
alt="Description of the image"
width={200}
height={400}
className="py-2"
/>
<Image
src="../next.svg"
alt="Description of the image"
width={200}
height={400}
className="py-2"
/>
</>
)
}
export default page

Output
Lazy Loading Images in Next.js
Here’s an example of how you can implement “lazy loading” and responsive images in a Next.js application:
import Image from 'next/image';

const LazyLoadedImage = () => {
  return (
    <div>
      {/* Lazy-loaded image*/}
      <Image
        src="./next.svg"
        alt="Description of the image"
        width={200}
        height={300}
        layout="responsive"
        loading="lazy" // Enable lazy loading
      />
        <img
        src="/vercel.svg"
        alt="Description of the image"
        width={800}
        height={600}
        loading="lazy" // Enable lazy loading
      />
    </div>
  );
};

export default LazyLoadedImage;
- I import the Image component from next/image.
- Inside the component, I render an image using the Image component.
- I specify the image’s source (src), alt text (alt), width, and height.
- The loading=”lazy” prop enables lazy loading for the image. This tells the browser to defer loading the image until it’s about to enter the viewport.
When the user scrolls down the page, and the image is close to being visible, the browser loads it, improving performance and user experience.
Note: You can use the <img> tag in Next.js just like in any other React application or HTML file. However, if you want to take advantage of Next.js’s built-in image optimization features, it’s recommended to use the next/image component for better performance and automatic optimization.
Conclusion
In conclusion, optimizing fonts and images in a Next.js application involves importing and configuring fonts with Next.js’s ‘next/font/google’ module for automatic font embedding and utilizing the ‘next/image’ component for automatic image optimization. Lazy loading images further improve performance and user experience. These techniques collectively enhance the appearance and loading speed of Next.js applications, ensuring a smoother browsing experience.