Tailwind is a CSS framework that contains utility classes so that you don’t have to write CSS from scratch. It allows you to create and customize your design in a unique way.
So, if you have designed websites before, you must know that CSS is required for styling a website.
To learn Tailwind, you need to know the basics of HTML and CSS and how HTML can be linked with CSS.
Let’s have a look at the advantages of Tailwind CSS:
- Used to style a web page.
- Lower-level framework as compared to Bootstrap.
- Provides utility classes that are low-level and have granular control over Components.
- More Flexible.
- Highly Customizable
Why do we use Tailwind CSS?
- CSS doesn’t grow with your HTML.
- No need of reinventing the class name.
- No risk of breaking existing components or Templates.
- It won’t slow down our site.
- It won’t increase the size of the production bundle.
- We can add different classes for different devices in the same element.
- The component will become independent.
We can use Tailwind CSS in two ways, as follows:
- Using Tailwind CDN
- Installation viva npm
1. Using Tailwind CDN
We can use Tailwind Play CDN to use Tailwind CSS very easily, but we cannot use it on a production level. However, you can use Play CDN at the time of development on a local level.

<script src=”https://cdn.tailwindcss.com”></script>
Note: You need to have Node JS on your system to execute the Tailwind Project.
2: Installation viva npm
Let’s create a new folder named Tailwind Starter on Visual Studio Code and run the below-mentioned command in the terminal: npm init -y
Hit enter, and then the package.json file will be created. After that, hit npm install -D tailwindcss
It’ll download and install Tailwind CSS dev dependency, and you will see node module folder has been created.
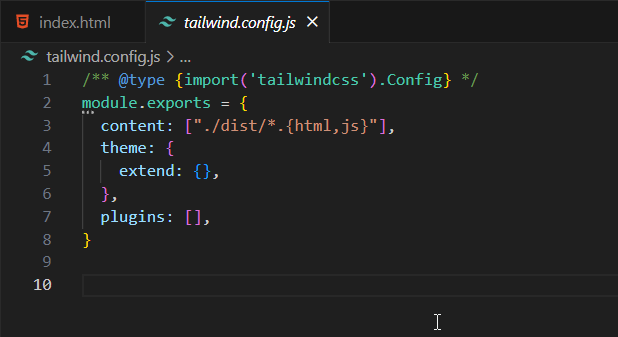
Now we need to create a tailwind.config.js file; for this, hit npx tailwindcss init
It’ll create tailwind.config.js, in which you need to specify the path for the HTML file, so we must create a folder dist and, inside that, create index.html. In there, you can write your HTML code.

content: [“. /dist/*. {html, js}”]
dist: Folder name
Then we must create an input.css file in the src folder and add tailwind directives inside this file.
@tailwind base;
@tailwind components;
@tailwind utilities;
Once done hit this command:
npx tailwindcss -i ./src/input.css -o ./dist/output.css –watch
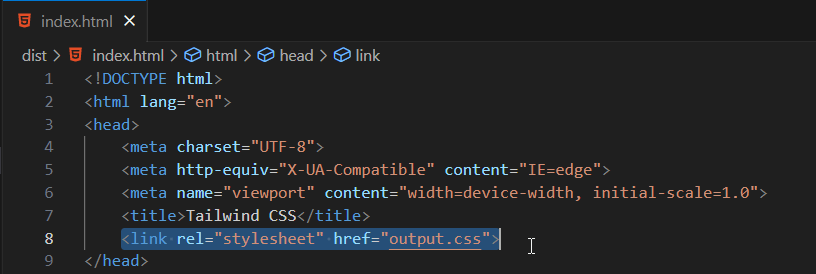
this command compiles input.css and creates an output.css file. Then we need to Import output.css in html file. i.e.,
<link rel=”stylesheet” href=”output.css”>

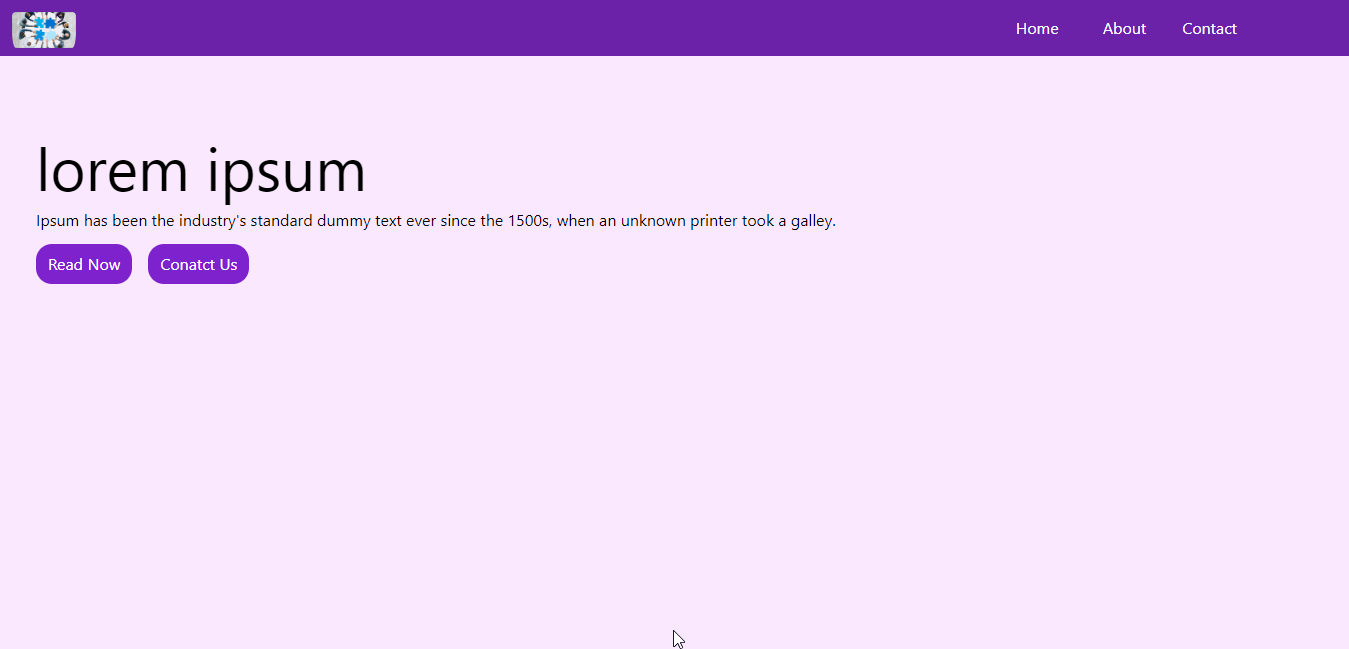
Now, right-click on index.html and then click on open with live server to check the output on the local server.
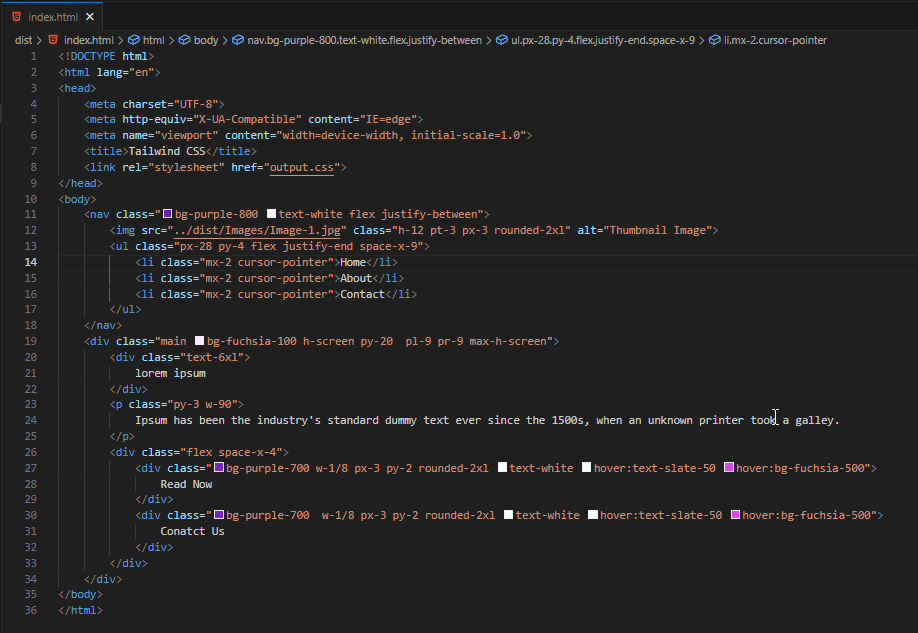
Index.html

Additional Tips:
- Hovering on a particular class will show the properties of that class.
- You can Install Tailwind CSS IntelliSense extension on VS code as it will help with suggestions of class names. You simply must type a keyword, and it will suggest the required classes.
 Output:
Conclusion:
Tailwind CSS is a powerful CSS framework that offers a wide range of utility classes for styling web pages. By using Tailwind CSS, you can leverage its advantages, such as scalability, reusability, and component independence. Whether you choose to use the Tailwind CDN or install it on your system, Tailwind CSS provides a flexible and customizable solution for all your CSS needs.


Great post! I am satarting to learn tailwind and it has been very useful! thank you.