In my previous post (XM Cloud Deployments: Static site deployment using Vercel CLI), I created a Sitecore XM Cloud deploy script to use the Vercel CLI. In this next challenge, I will be looking at doing the same in Netlify.
A little background:
Netlify and Vercel are two major competitors in the JamStack space. Both services are cloudbased platforms that offer Server Side Rendering (SSR) and Static Site Generation (SSG) hosting which has gained recent popularity. One can see close feature parity between the two platforms, which make them tough choices when deciding which JamStack platform to choose.
To get started, please make sure that you have access to:
-
An instance of Sitecore XM Cloud (see XM Cloud)
-
A GitHub repository containing the source code of your XM Cloud instance (you may use this repo to start https://github.com/D0cNet/XMCloud-POC)
-
A free account in Netlify UI (https://app.netlify.com/)
Netlify UI deployment
Connect to XM Cloud environment
Let’s make a note of our chosen environment ID that contains the site we are going to deploy.
Next, we need to figure out the environment variables that we will use to deploy our site in Netlify. For this, we will need:
-
GRAPH_QL_ENDPOINT
-
– XM Cloud edge URL(i.e. https://edge.sitecorecloud.io/api/graph/v1)
-
-
JSS_APP_NAME
-
– the Site name in Sitecore
-
-
PUBLIC_URL
-
Value of this is will be the generated URL when you setup your site in Netlify below
-
-
SITECORE_API_KEY
-
Speaking of how to generate the access token (New-EdgeToken.ps1 script found in the repo above)
-
Create Netlify Account
Creating an account in Netlify is straightforward, and for this POC, I created a free account. Once the account is created, go ahead and create a site and select the option “Import an existing project”.
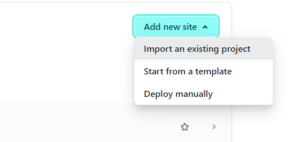
Select the GitHub repo for you XM Cloud instance you want to connect to. With this option we setup a CI/CD relationship:
-
Netlify will pull the latest of that branch, when you trigger a deploy in Netlify or in the CLI.
-
Deploys are triggered in Netlify from Github whenever changes are made to the selected branch
Build Settings
The build setting instructs Netlify what commands to issue when conducting the build.
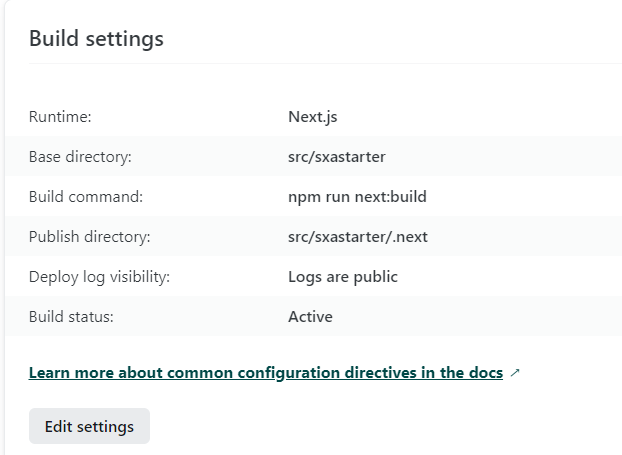
Environment variables
Next we will have to create the environment variables noted above
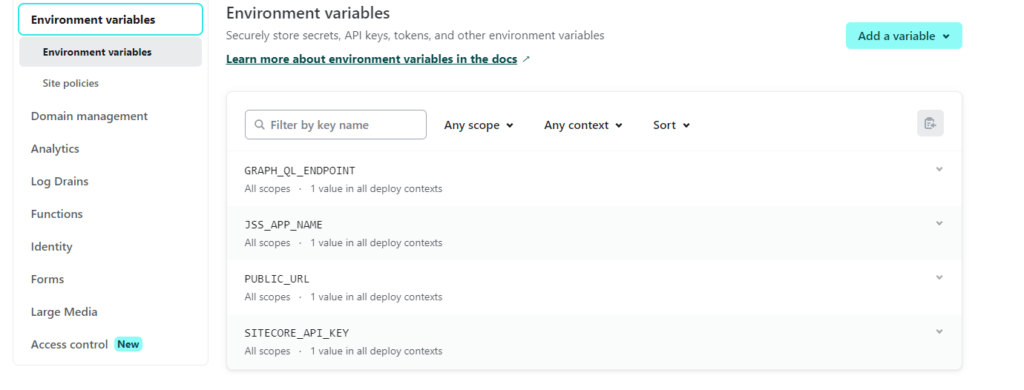
*Since this is a free account I am not able to set the scopes/contexts these variables.
Once all is setup you will now have generated URL similar to <sitename>.netlify.app, in my case https://sxastarter.netlify.app/.
This is also what we will use as our PUBLIC_URL variable
At this point, all things should be in place to “Trigger deploy” found under the deploy menu.
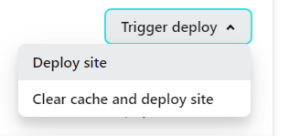
If successful you should see a deploy log similar to to the following.

If there were any issues, the log would report failed and a complete stacktrace of the error, which i find quite useful.
Local Deployment
For local deployment we will be doing most of our work in the static site folder, i.e. /src/sxastarter.
What basically happens here is that we will be using the Netlify CLI to manually build the local folder and assets, then push that build up to the Netlify cloud account for deployment.
-
Install Netlify CLi by running this at command line
npm install -g netlify-cli - netlify-
Connect to our account in netlify by running (you will be asked a few questions about your Netlify account, i.e. sites to use ..etc)
ntl initornetlify init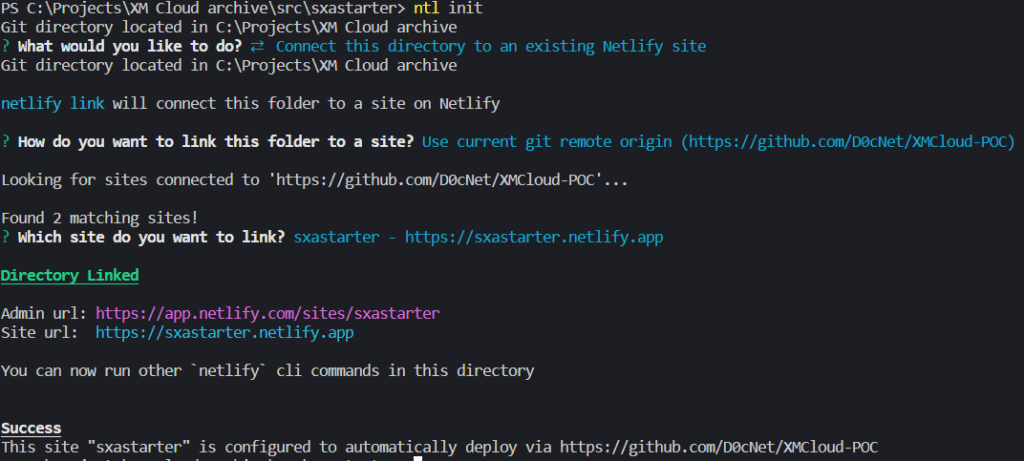
-
Build local folder and assets, which requires the same settings as mentioned above in the build settings on the Netlify website (you will maybe asked about what build command to use and the deployed folder, in my case it was
npm run next:buildand.nextrespectively.Build and deploy to Netlify accountntl deploy --build --prodornetlify deploy --build --prod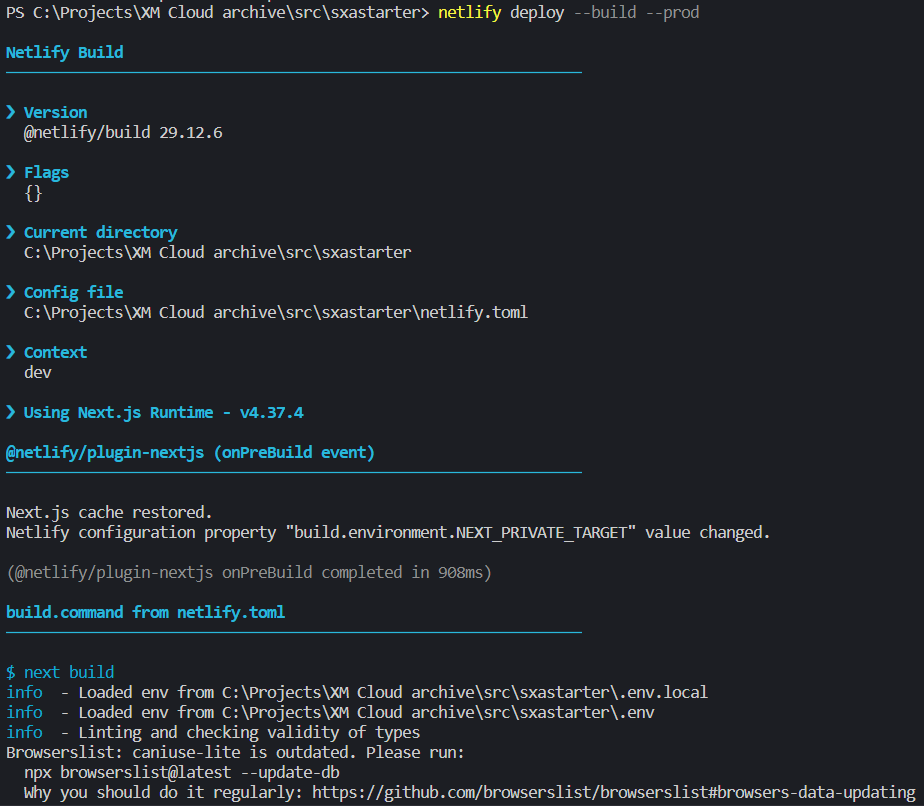
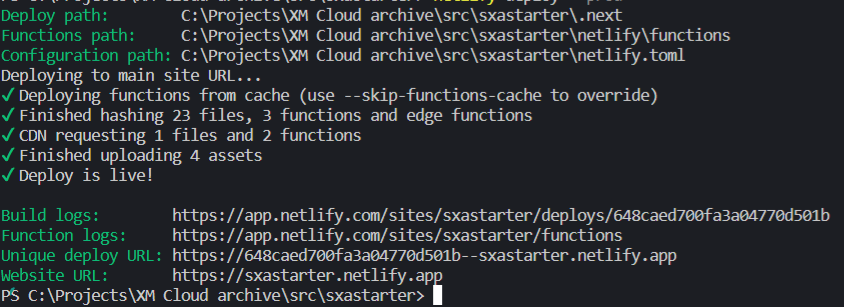
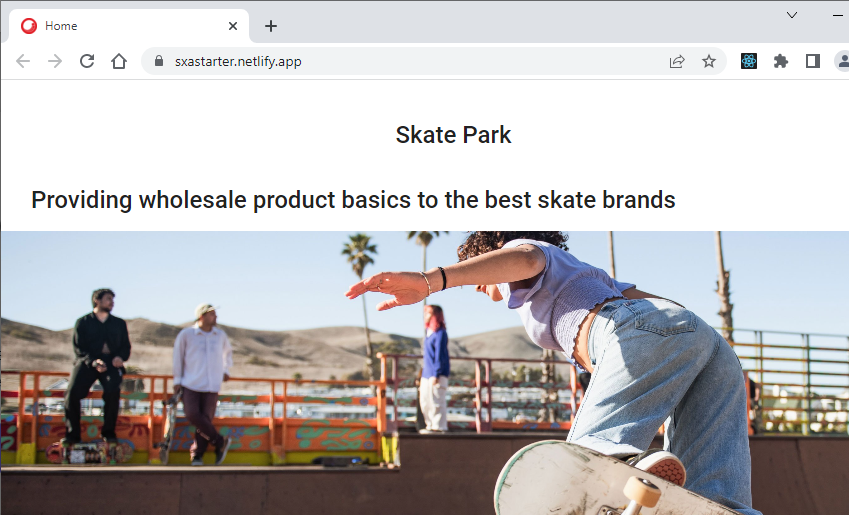
Now you should be able to view your deployed website on the Netlify generated URL
A script for this type of deployment may look like this
$netlifyTOken="xxxxxxxxxxxxxxxx"

# Check if the Netlify CLI is installed
if (-not (Get-Command netlify -ErrorAction SilentlyContinue)) {
    # Install the Vercel CLI using npm
    npm install -g netlify-cli
}


# Deploy the project using the Netlify CLI
netlify deploy --build --prod  --auth $netlifyTOken
Note: the $netlifyTOken can be created in the Netlify UI in the instance you need to authenticate
Hopefully this was a useful walkthrough of creating local and cloud deploys in Netlify. As mentioned above, this was similar to my previous work with Vercel and it was pretty straight forward, given the feature parity between both platforms. Next I will be tackling XM Cloud deployment on the Amplify platform, till then, stay curious!
