Dataflows is all about self-service data preparation inside a Power BI. Before Power BI Desktop gives you these awesome tools like power query which lets you do lightweight ETL operations on your data inside a Power BI Desktop. The challenge with this is you tended to bypass the normal ETL processes that your organization may have, so that other users couldn’t take advantage of all of the work.
Dataflows allow you to have that ETL operation in a centralized manner that other people can take advantages. ETL is now a first-class citizen inside a Power BI and its self-service capable. So, this is self-service data warehousing for Power BI. Power BI dataflows have entered public preview which means you can now take advantage of this awesome feature.
This is self-service data preparation inside Power BI. Before we had a power query inside a Power BI. This was a powerful combination you can still use that today. It does amazing things but one thing that it did was it allowed you to bypass any type of ETL processes that your organization had in place and sometimes that can be a problem. While it made it easy to do this from a self-service perspective inside of Power BI Desktop. What it didn’t allow you to do is to allow other people to take advantage of those ETL steps that you created as well.
Power BI Dataflows: This is self-service data warehousing. This is ETL as a first-class citizen inside a Power BI. This means you can create a dataflow and provide those ETL steps inside of the dataflow itself and allow other people to take advantage of that work.
Let’s dig into Power BI and see what this looks like. You can see here that I have a regular workspace inside of Power BI and I’ve got the normal tabs of dashboards reports workbooks and datasets. There is a new tab called Dataflows (Preview) because it’s in public preview. If we go ahead and select that tab. We will see that I don’t have any dataflows currently created.
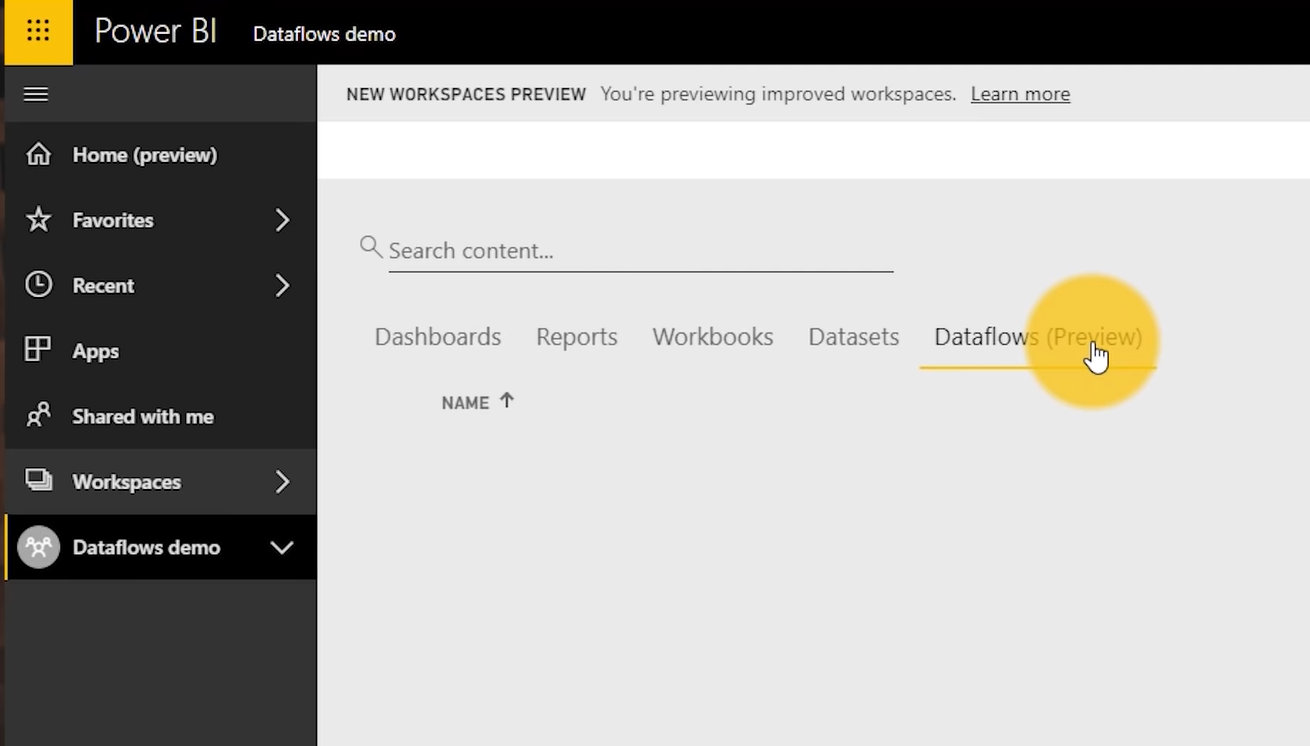
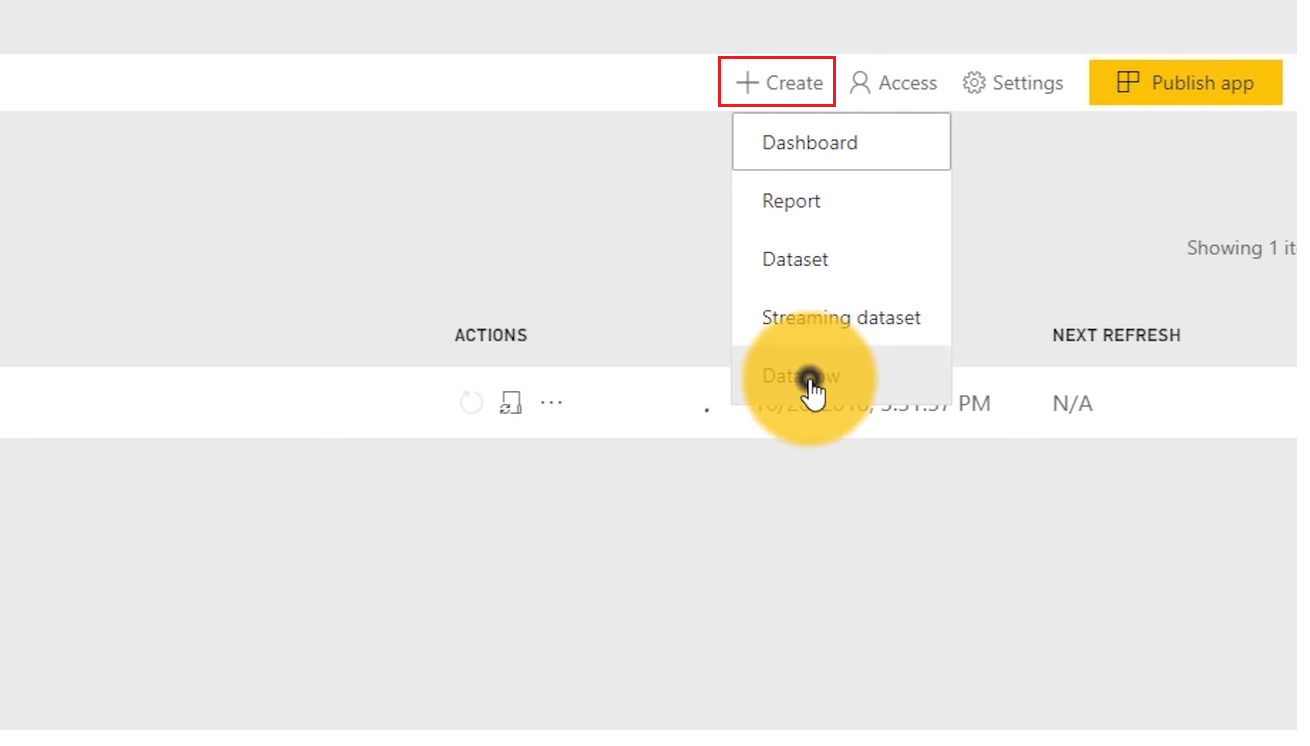
So, let’s go up to the top and we will create one. For that Select Create and then Select Dataflow.
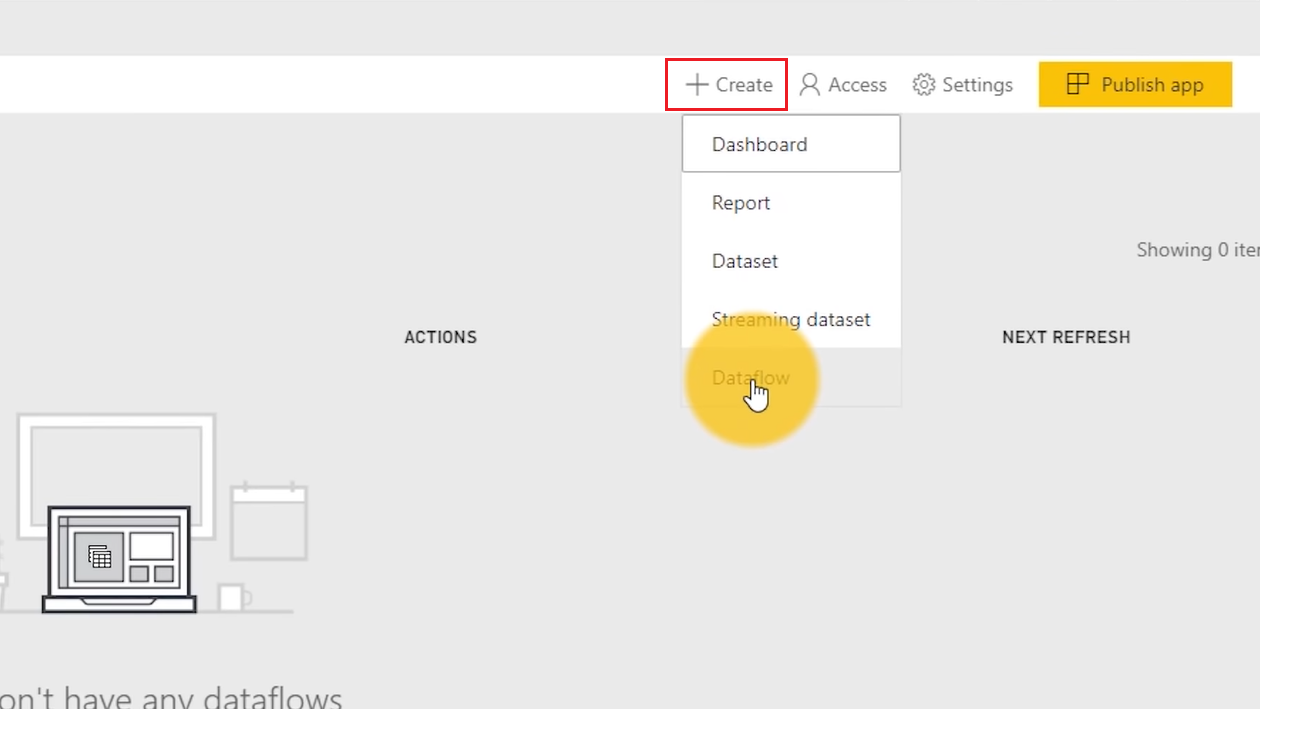
This will take me to a screen where I can define entities within my dataflows.
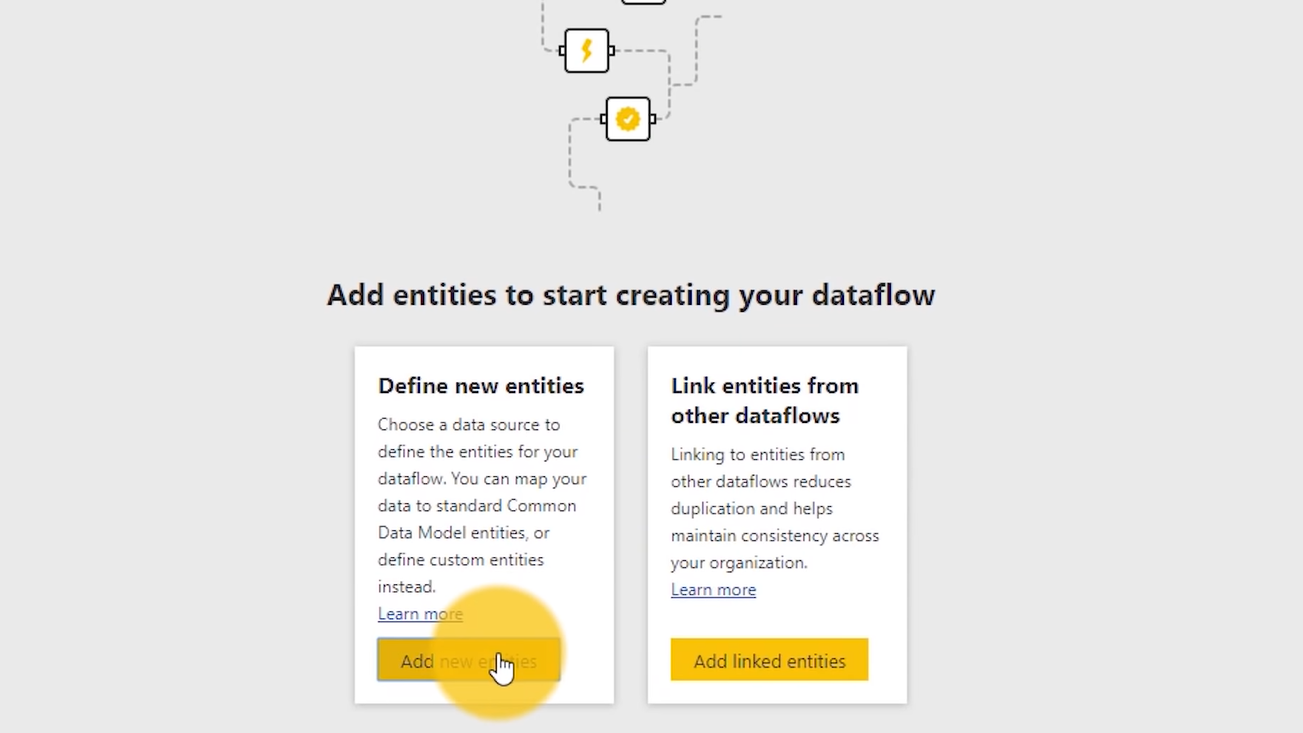
Everything’s broken down into entities and these will basically think of these as a table. So, there’s going to be data underneath these entities that map to it.
Let’s create a new entity. The cool thing about dataflow is that when I go to create that entity. You will see a new experience here on the web but it’s not so new. This is a power query on the web which is awesome. We’re going to grab some dataflow dynamics and the way I can do that is through Common Data Service for Apps. let’s select that.
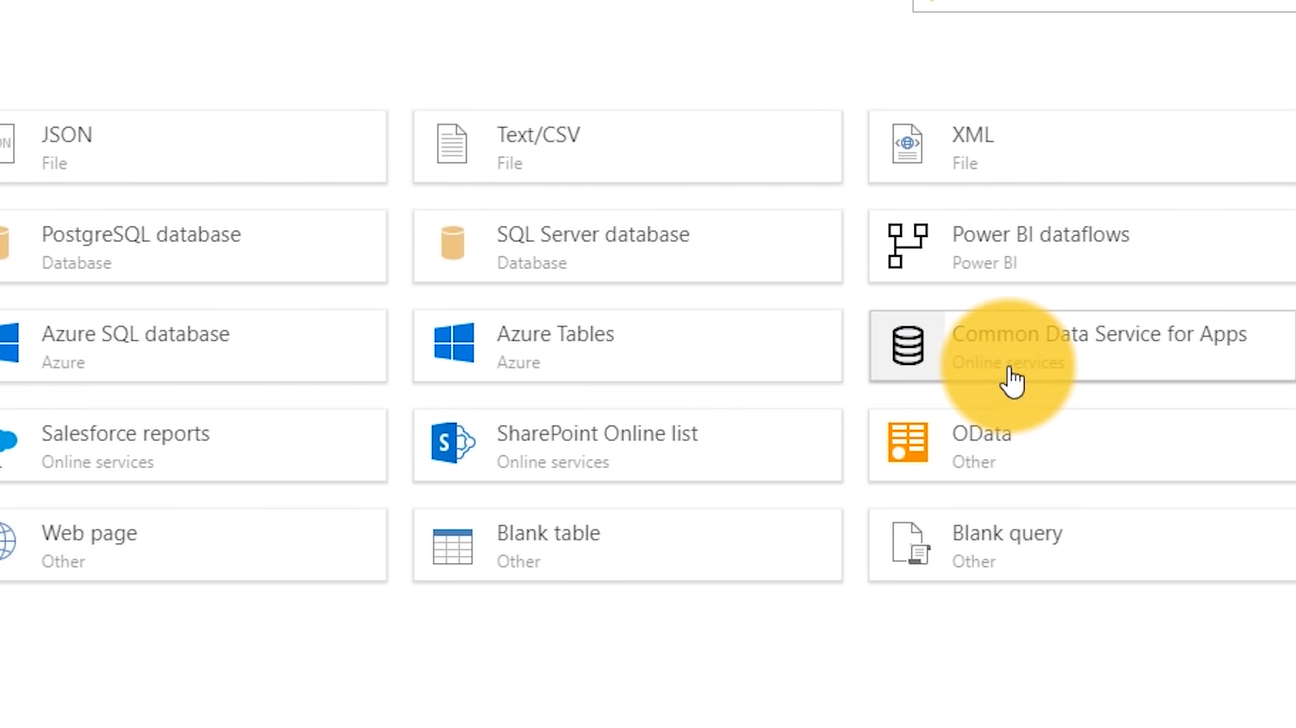
We will give it a server URL.
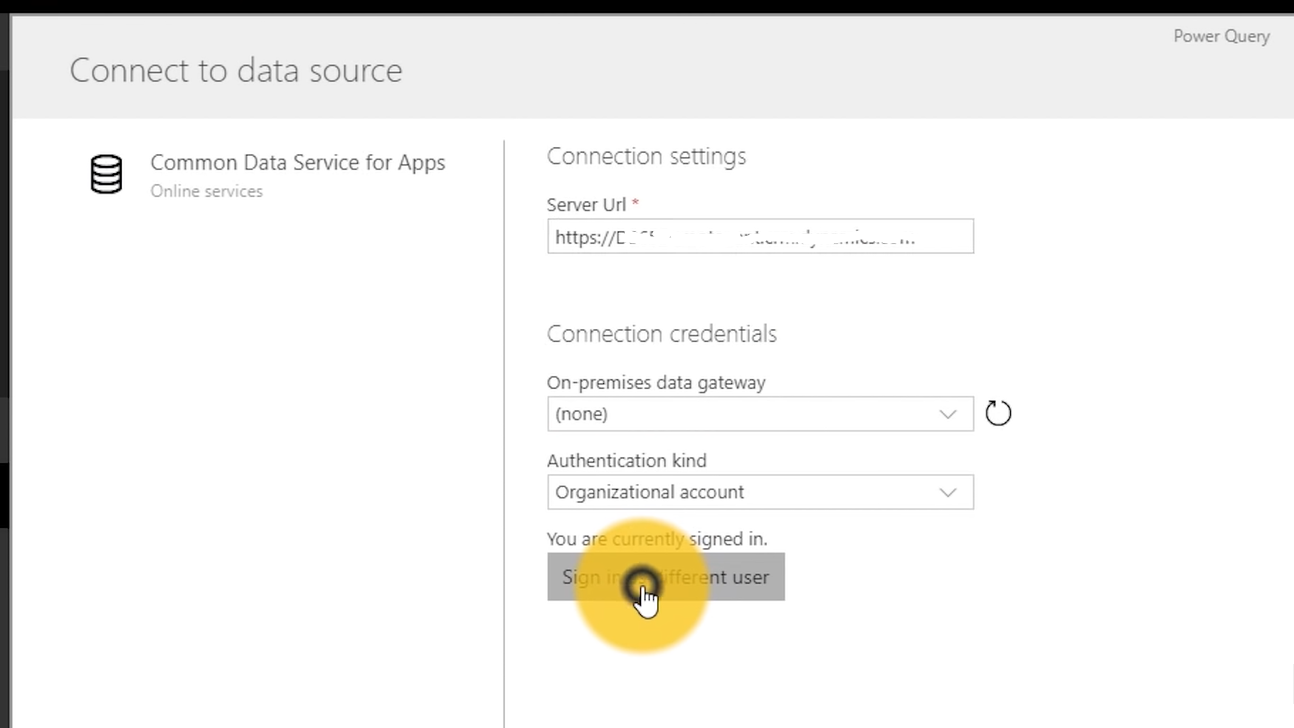
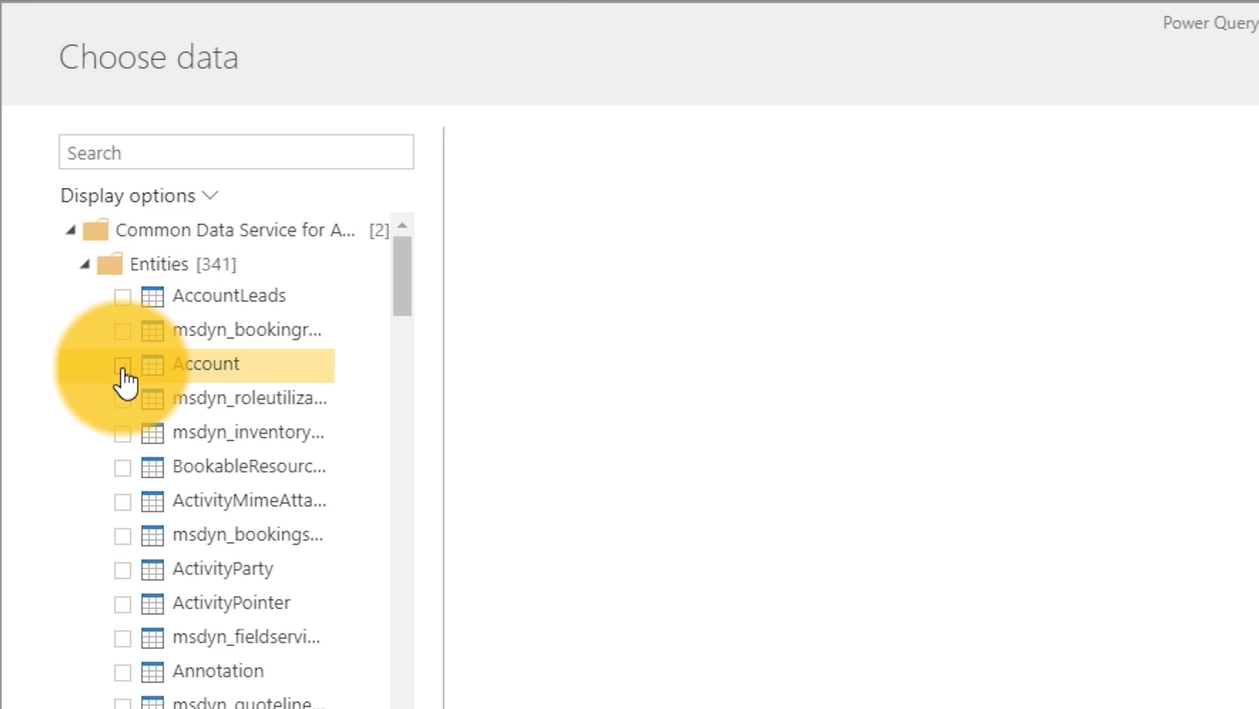
We will go ahead and sign in. Once we’re signed in, we can go and hit next, and then we can see existing entities inside of the common data service or application. Let me go and expand that real quick and I will just grab a simple item here called Account and Sales Order. I’ve got these. let’s go and hit Next.
Then here’s where I get that awesome experience from power query where I can shape the data. I can pull it and I can do all sorts of transformations on it. This is coming from an actual entity inside of the common data service or app. I don’t really have to do a whole lot here because it’s already there.
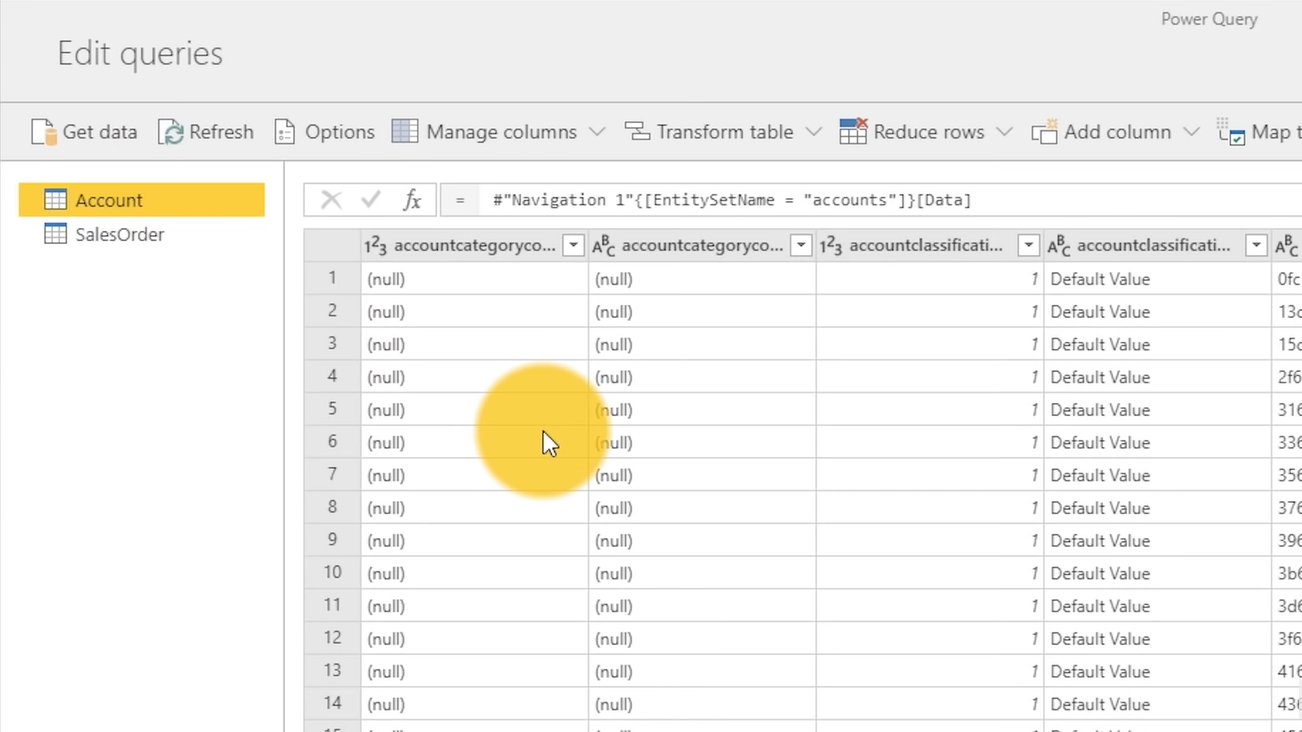
One thing I will do is I’ll Map to Standard,
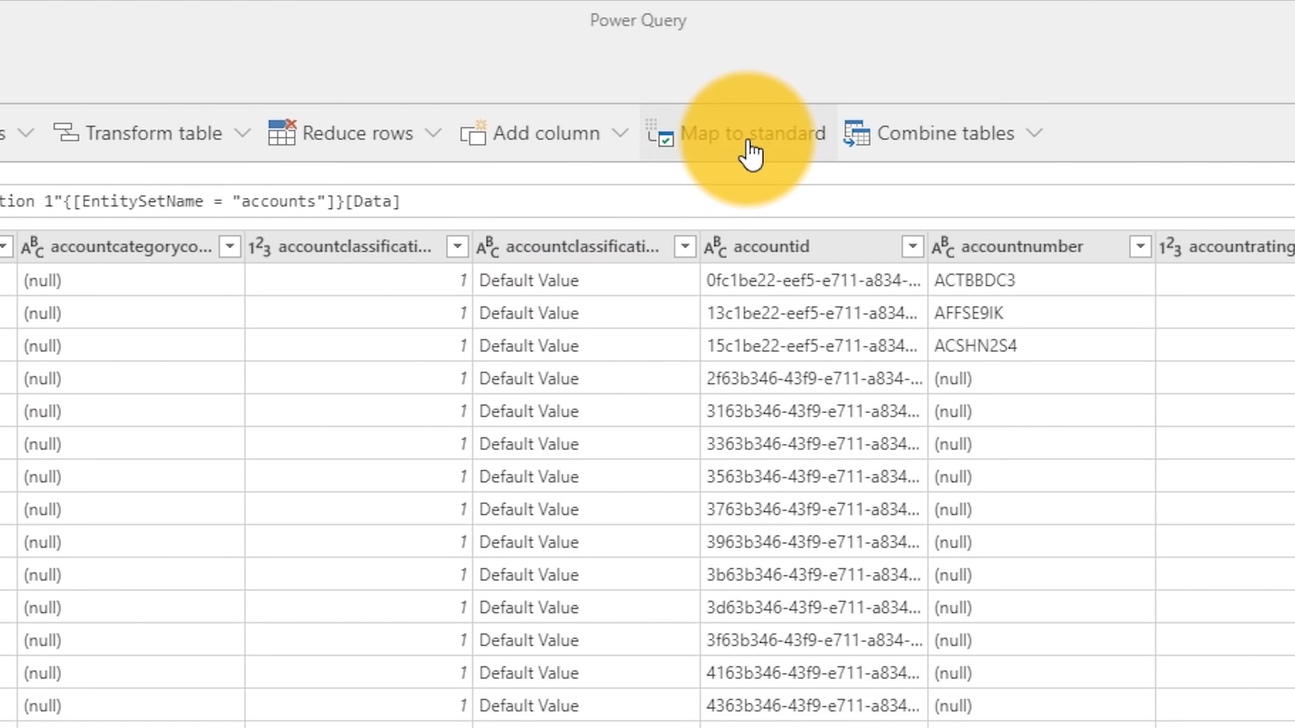
and I will select Account.
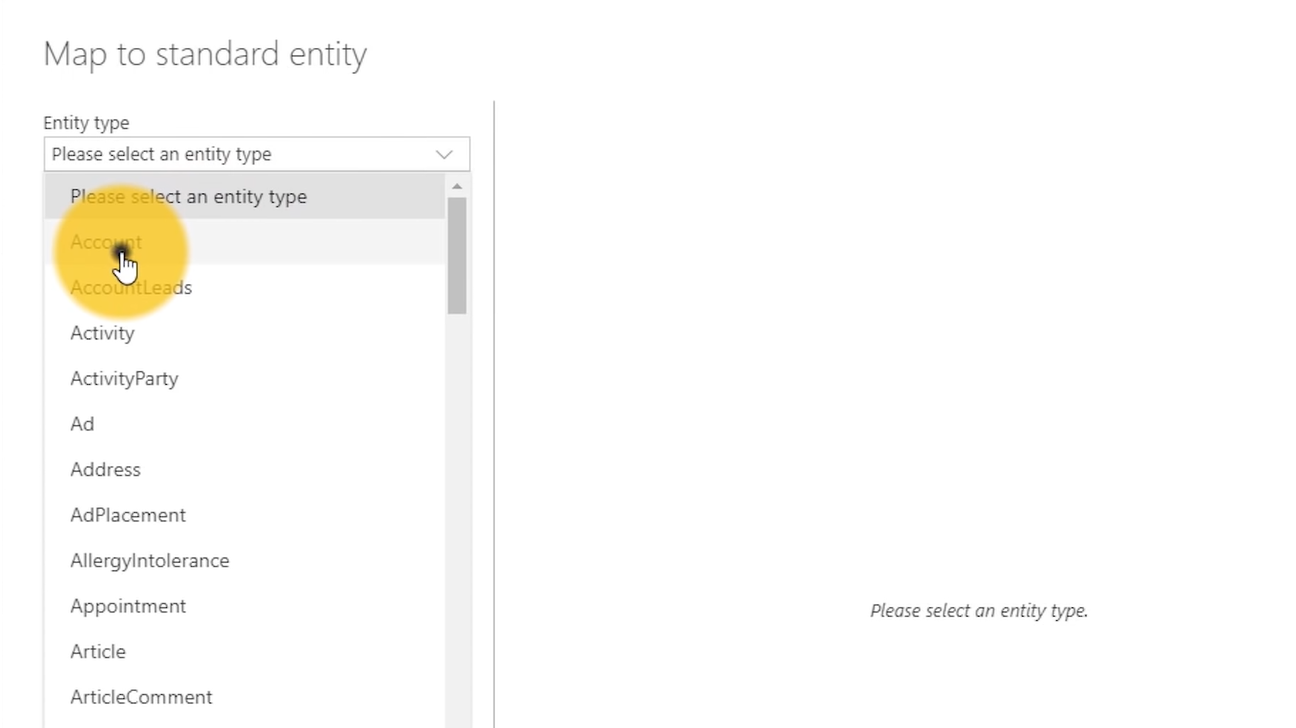
What this is doing is I’m mapping this to an actual entity type that is a common schema item. Let’s go ahead and hit Ok.
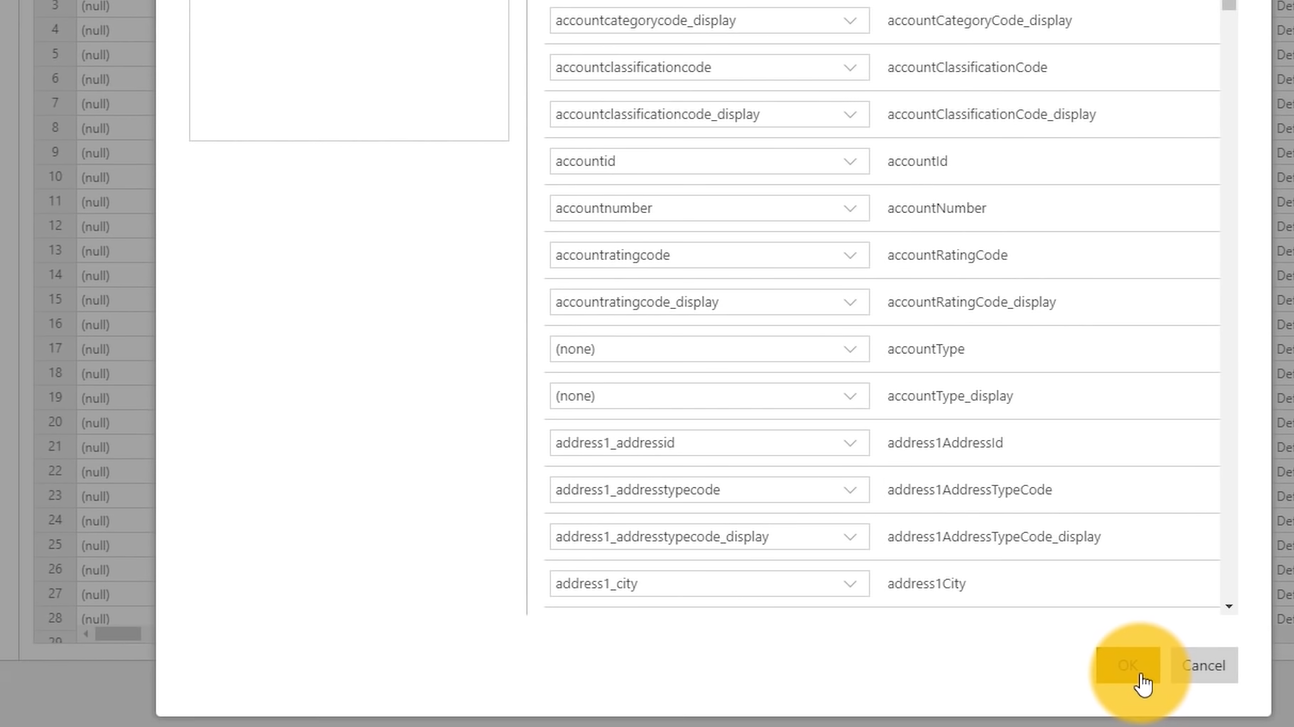
I don’t have to do any additional mapping here. I can if I want but this is already an account. So, let’s go to sales order and we’re going to map this as well.
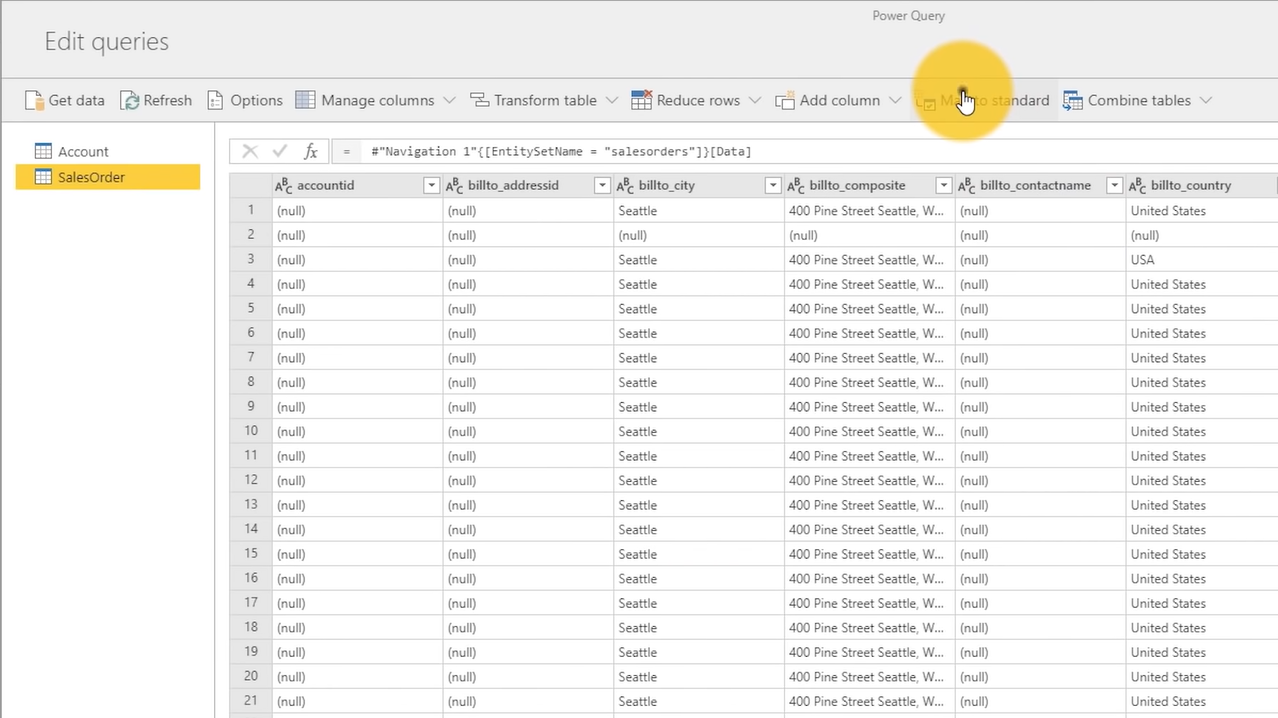
In this case, it’s a sales order so it’s going to be of the Order entity type.
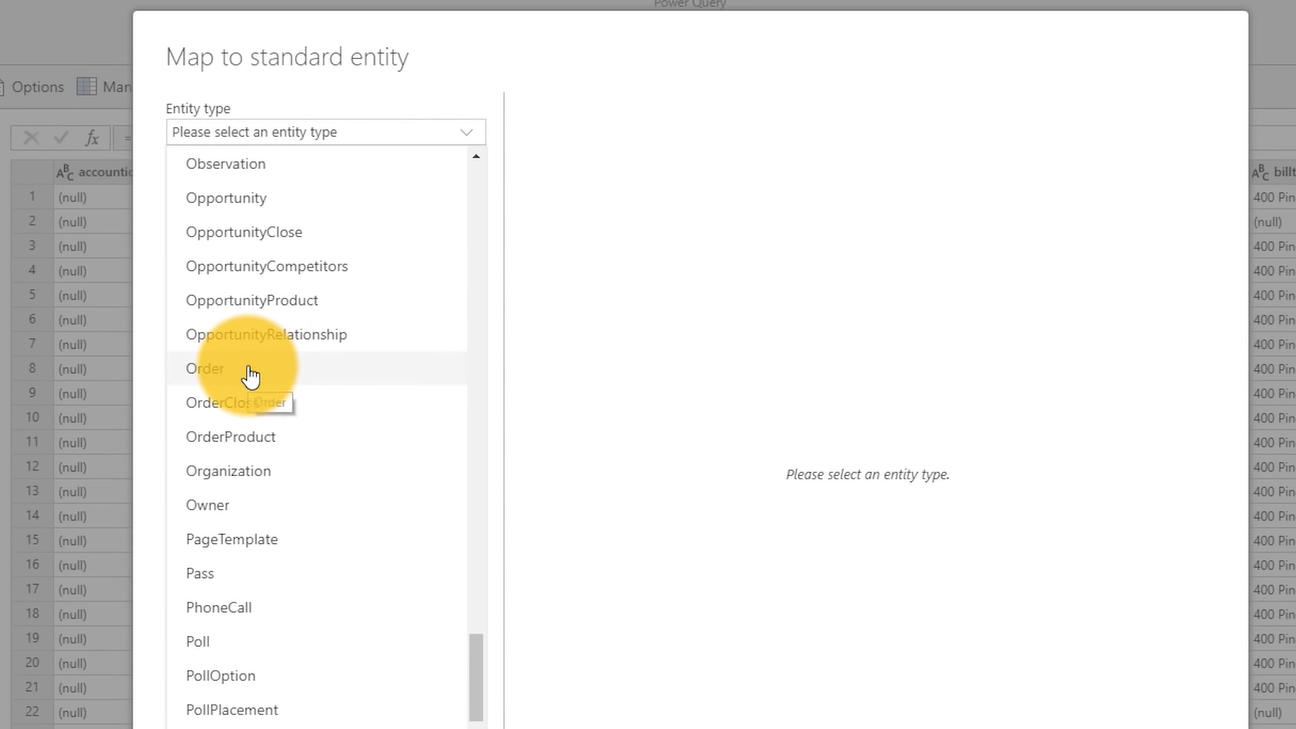
We can see here everything lines up as expected.
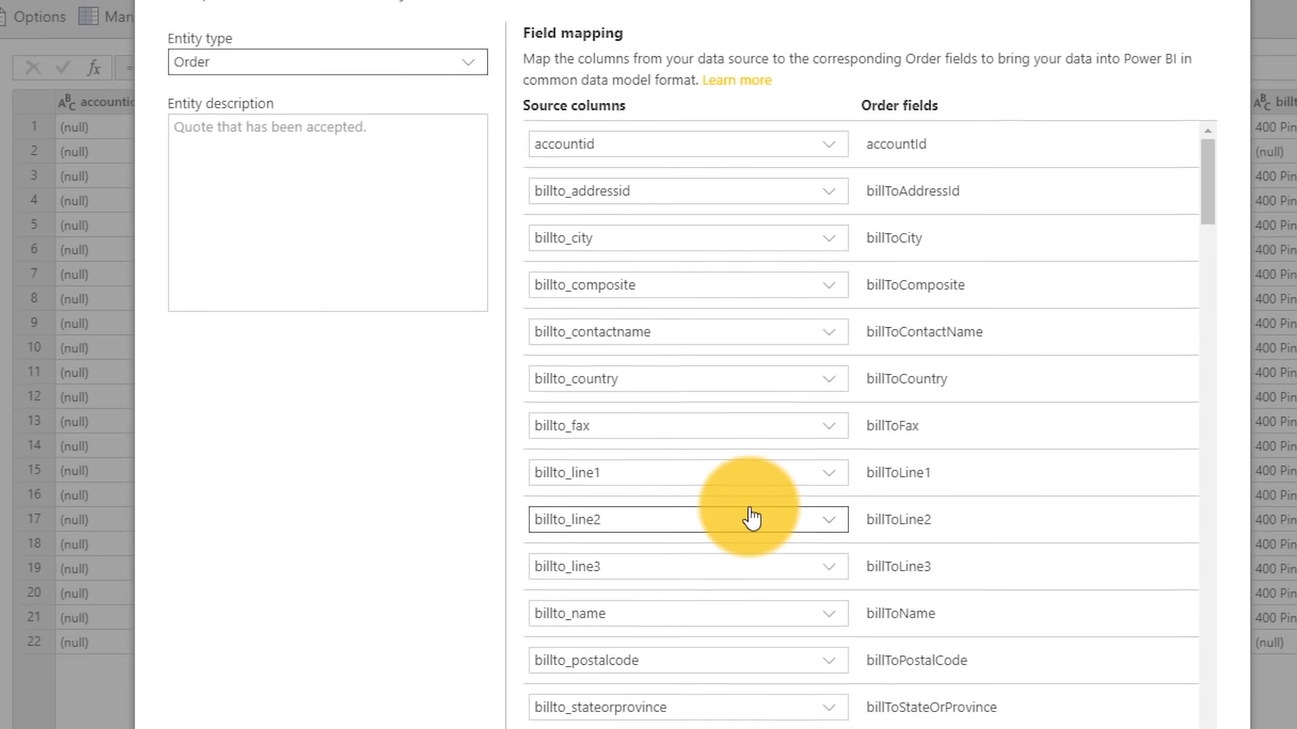
That’s great let’s go and hit Ok.
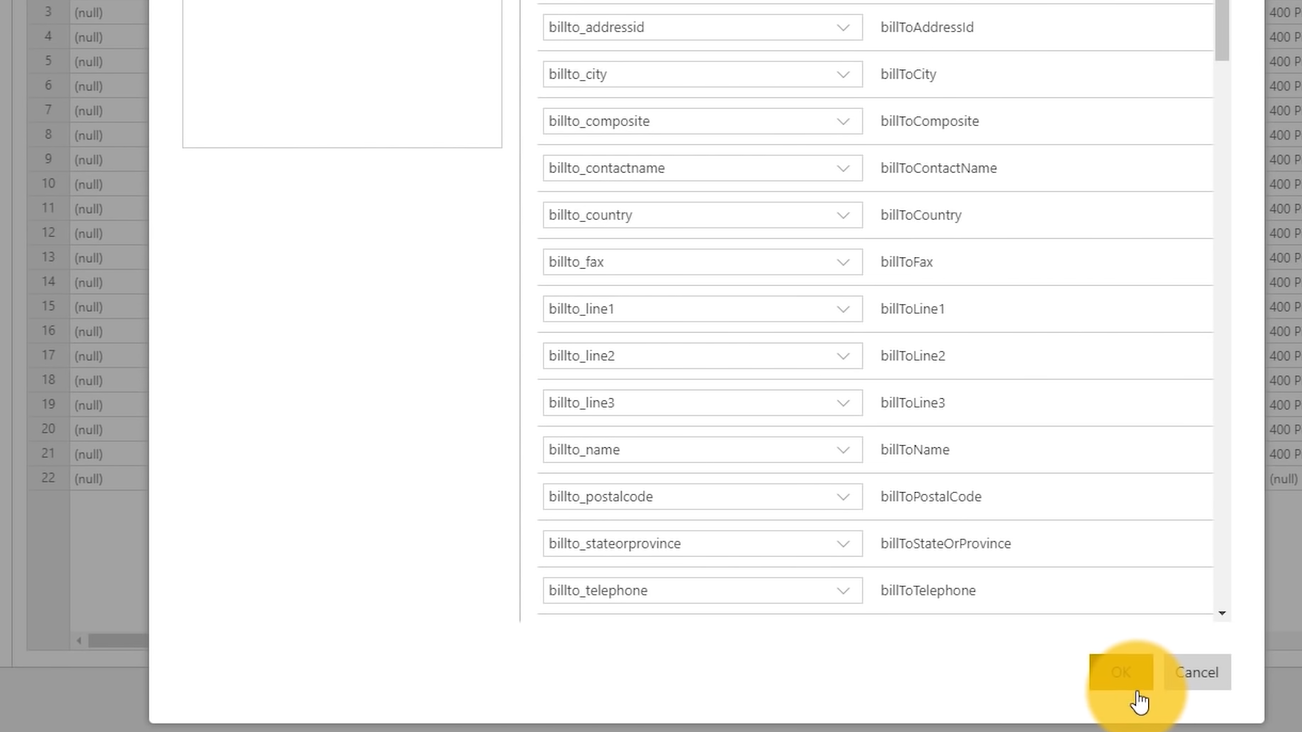
Then we’re going to hit Done.
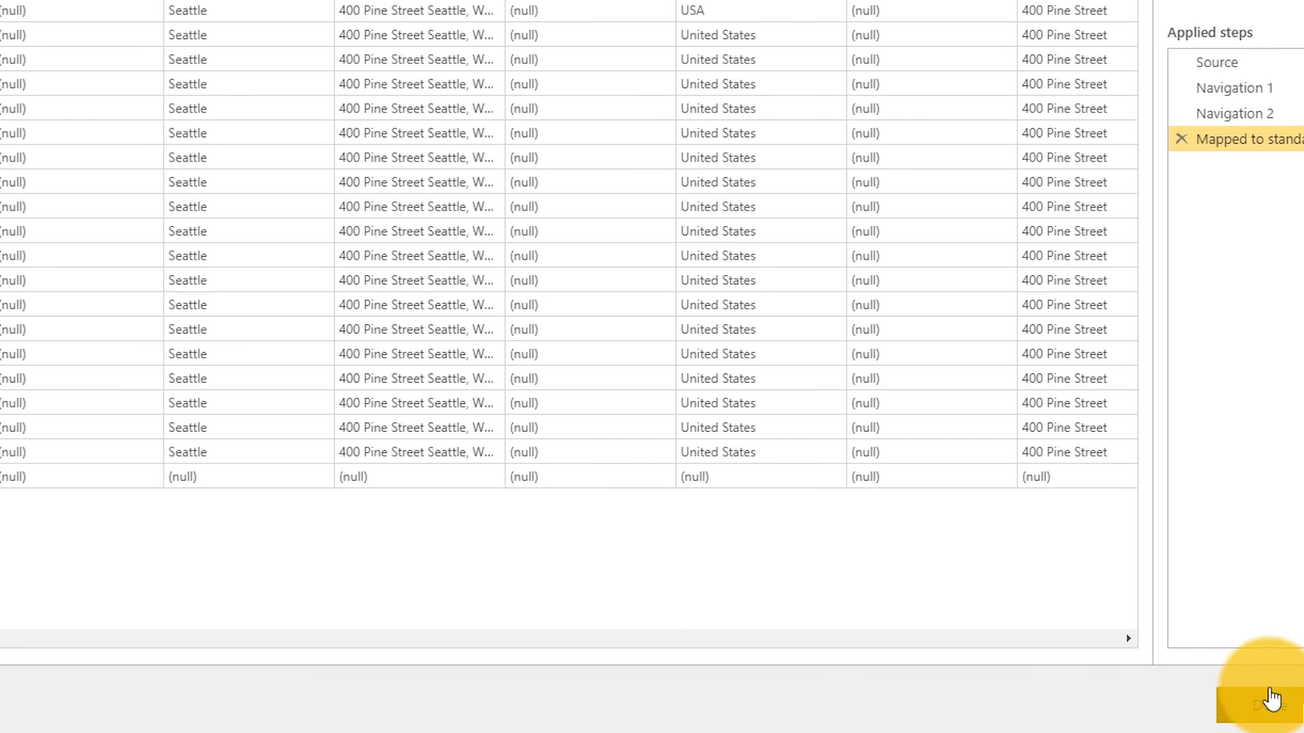
Now I’ve got two entities inside of my dataflow. The other thing I can do here is I can go ahead and Add an entity.
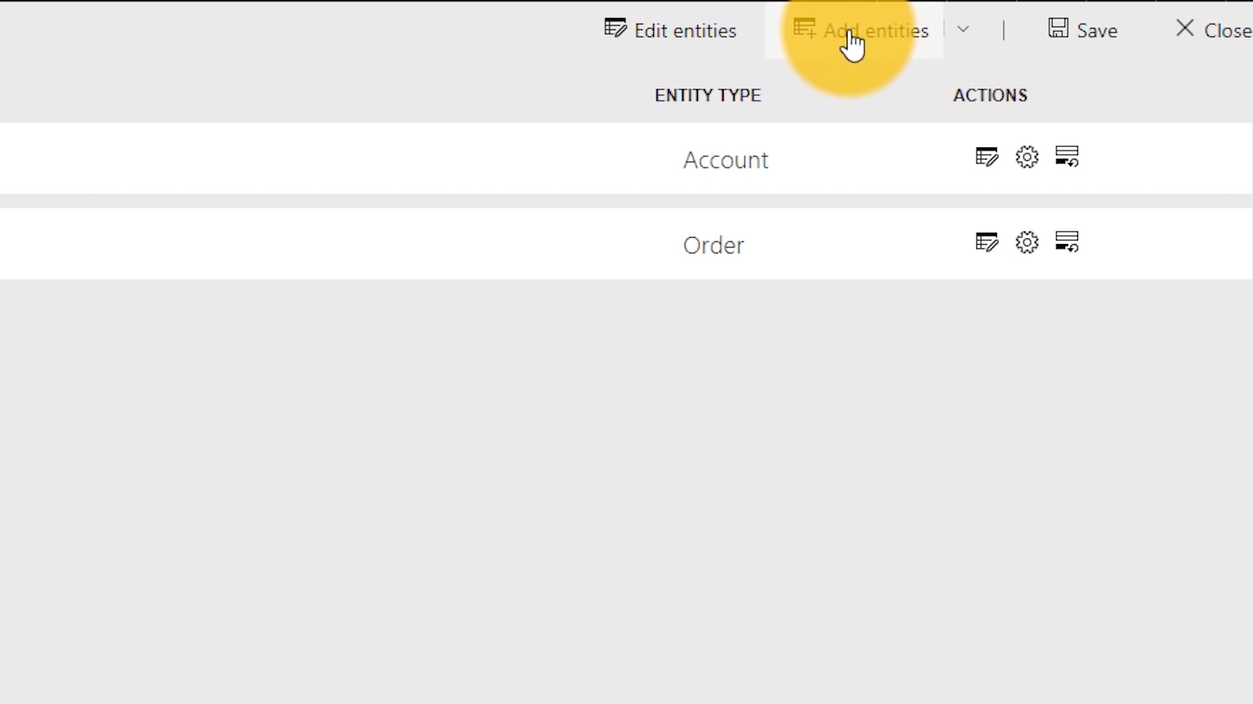
I can pull data in from other items as well. So, let me go and add another entity and we’ll grab some data from the sequel server. So, let’s go ahead and choose a sequel server. In this case, it’s going to be an Azure Sequel Database.
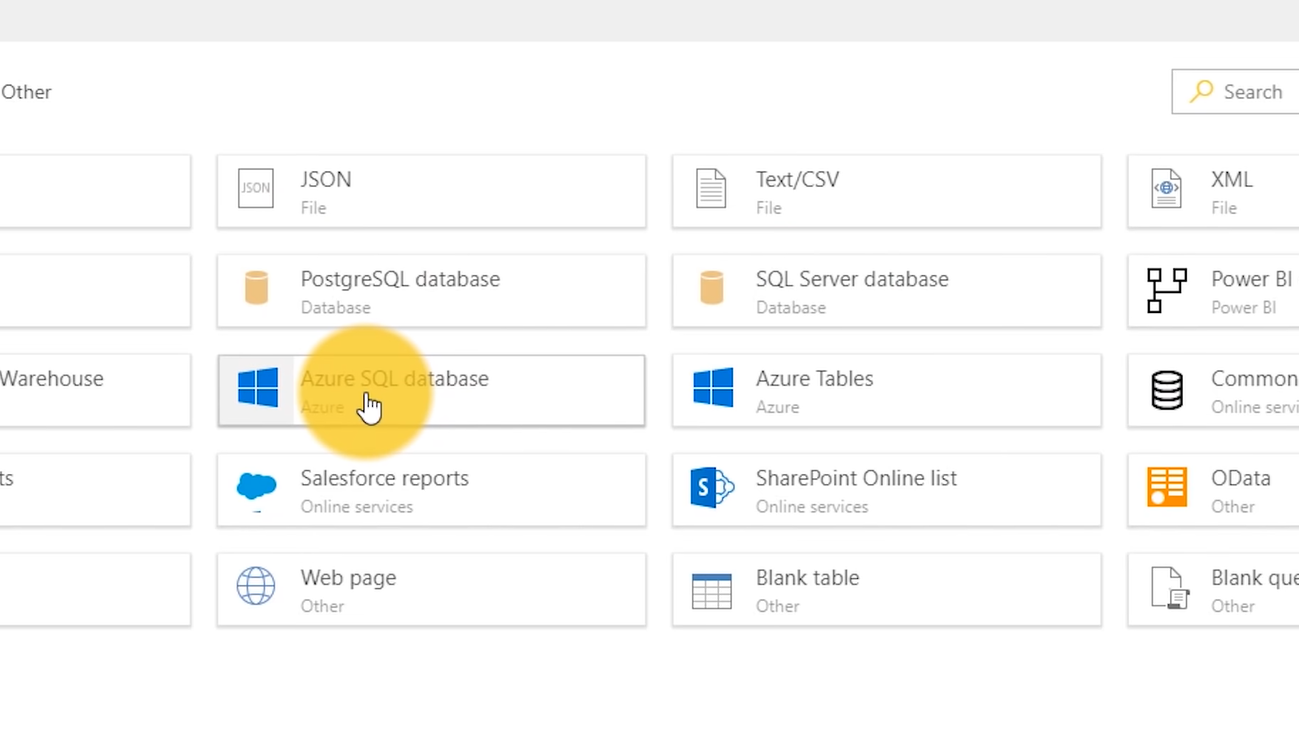
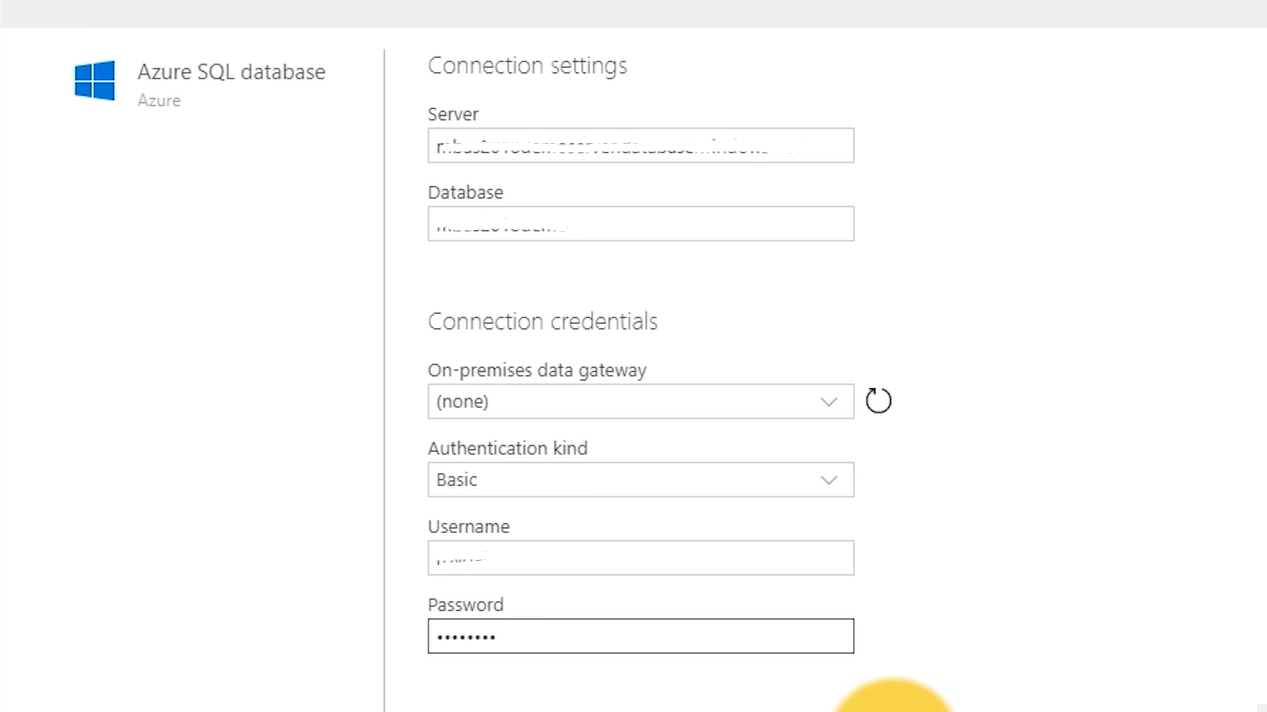
Once we’ve got our information. In here we’ll hit next to connect to this as your sequel database.
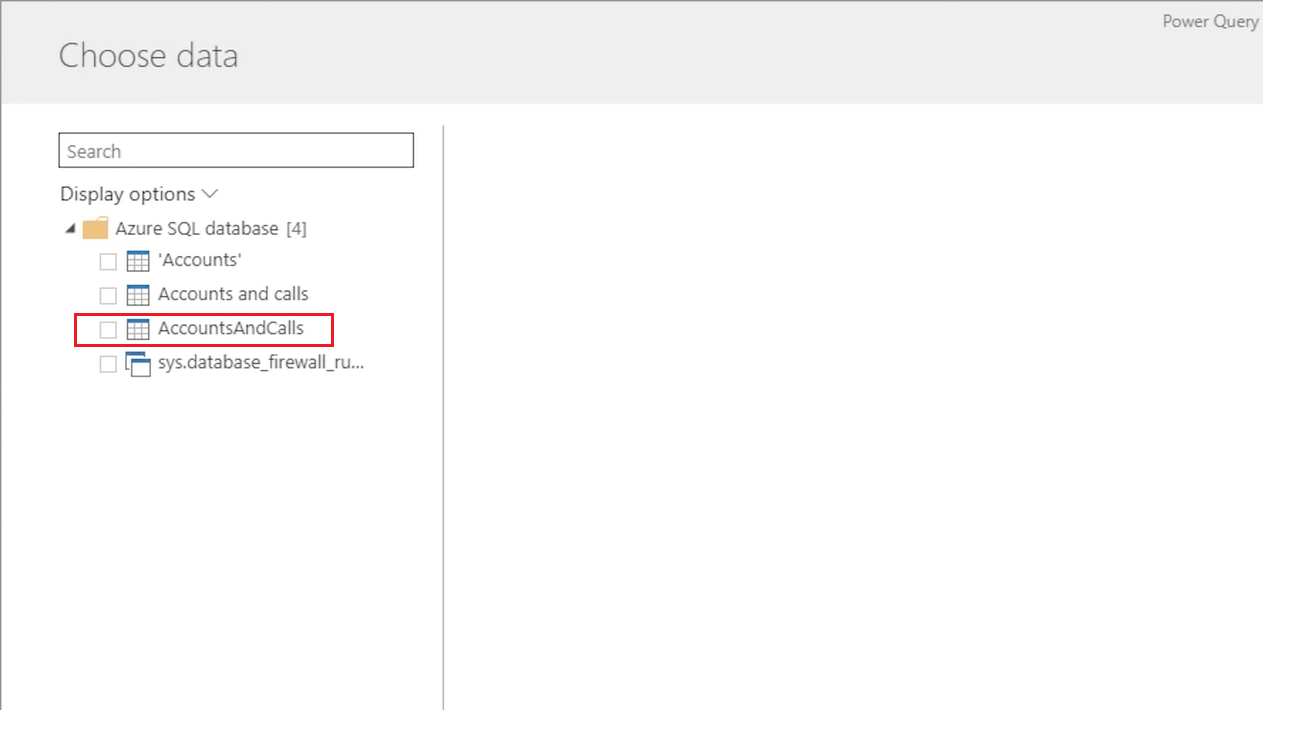
Here I will see additional information and what I want is AccountsAndCalls.
Then I can go ahead and Load that as well.
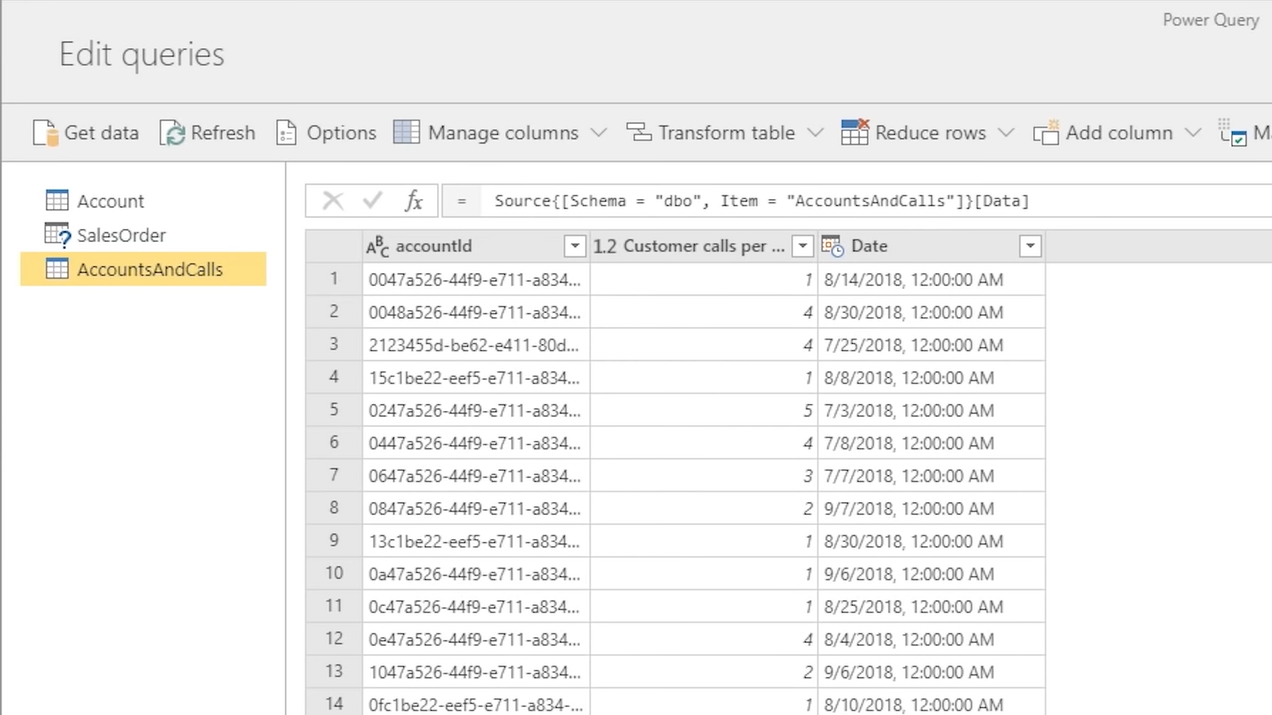
Then once we’ve got our entities inside of our dataflow we can Save that dataflow.
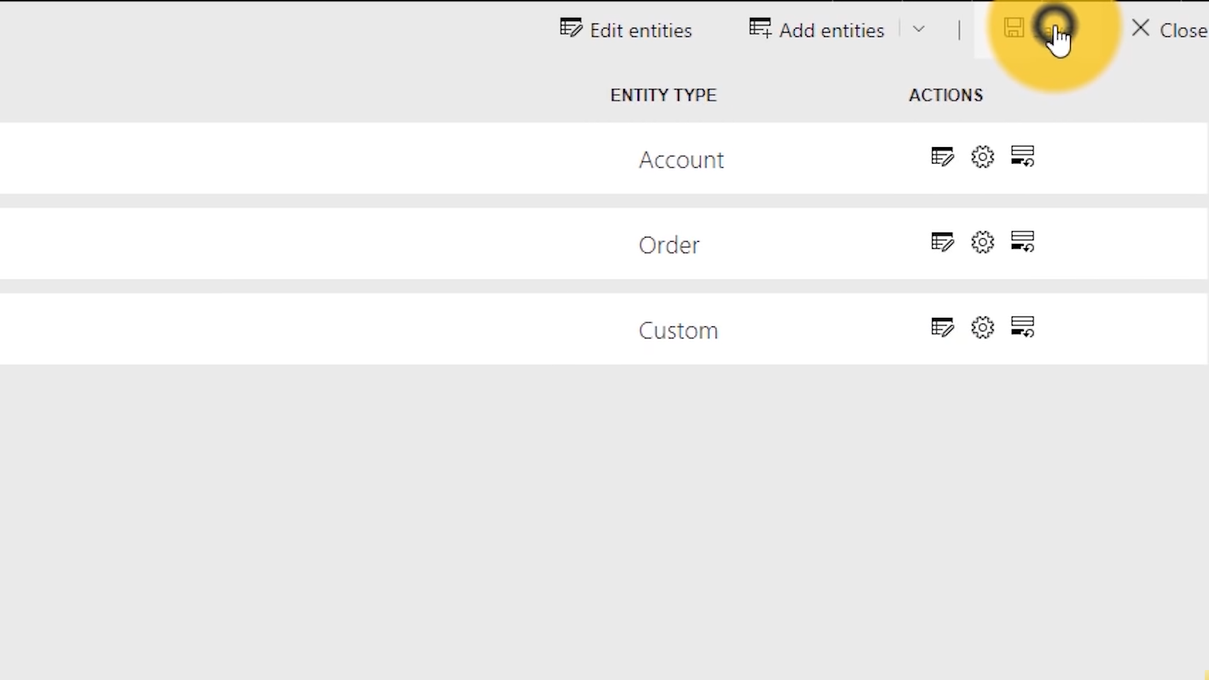
I can give it the name Account and Sales and I’ll hit Save.
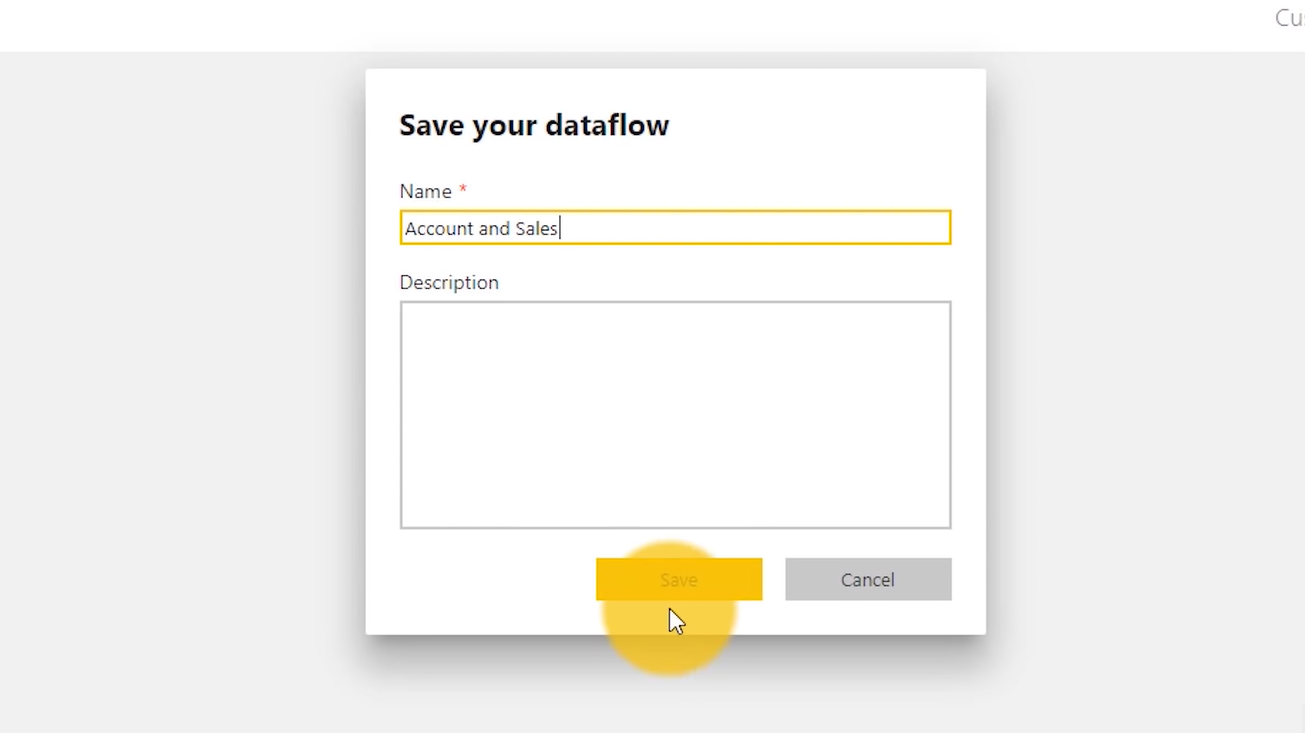
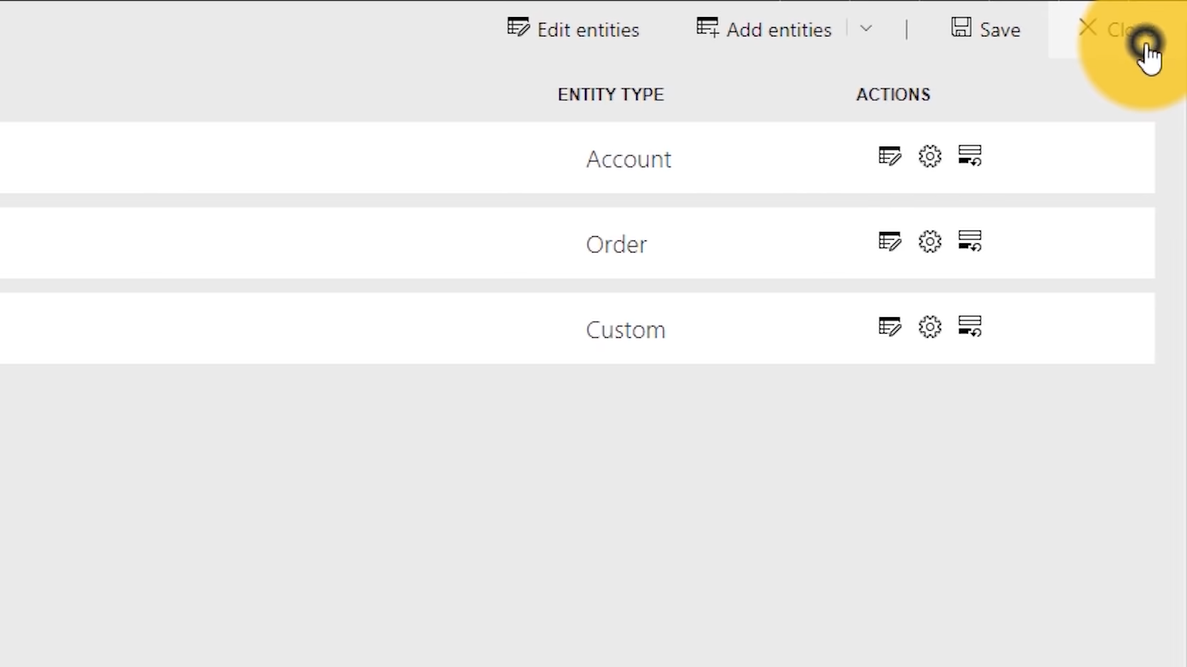
Then we have to refresh this data. So, what this has done is creates the actual dataflow in the system. This is the schema and the structure of that dataflow but we need to hit refresh to pull that data and store it inside of Azure data like storage. I can go ahead and do that. So, we’re going to Close.
And I can just go to Refresh Now.
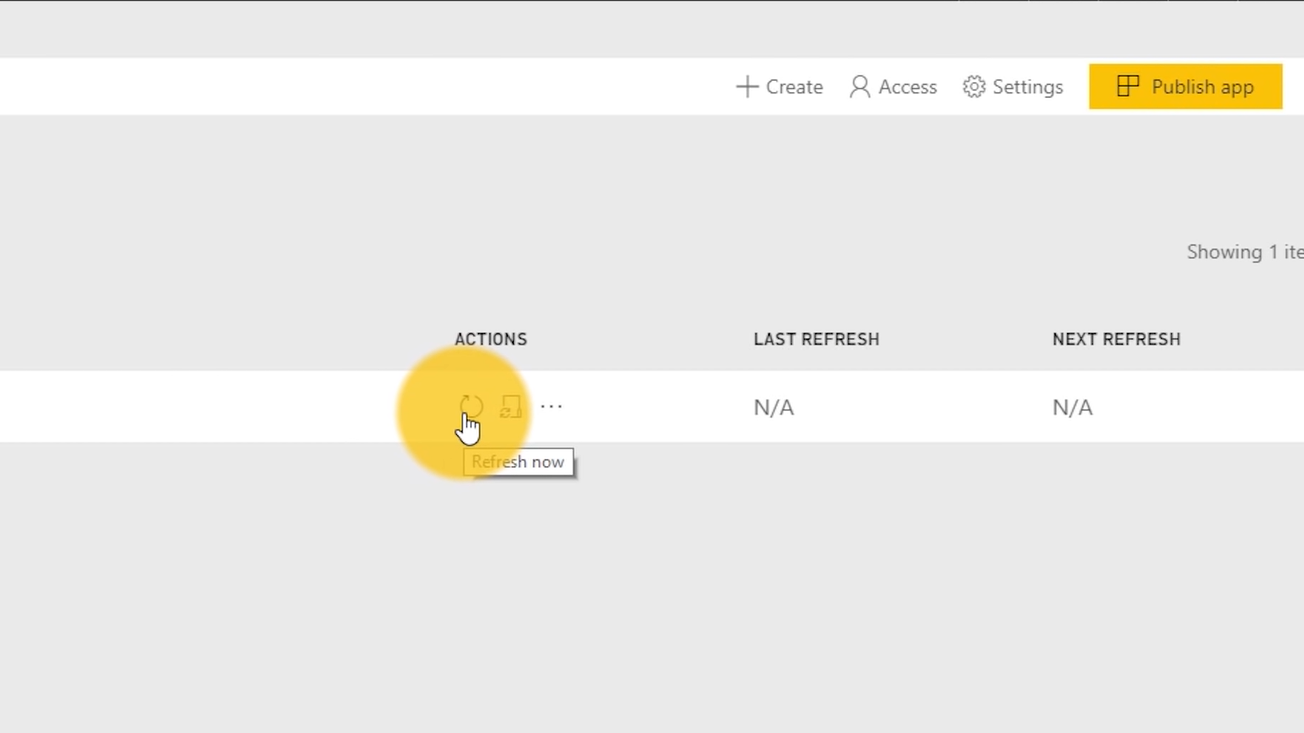
This is refreshing the actual data under the covers. Let’s talk about some Power BI Premium specific features for Power BI dataflow. I mentioned we have to refresh that data. This could be a very large dataset. It could take a lot of time to refresh and the normal behaviour of refresh inside of Power BI is that we’re going to refresh the entire set of data that is coming into the system.
One of the things we get with Power BI Premium is we can do an incremental refresh on that dataflow. This allows us to update a small segment based on a policy that we’ve defined in the system. Another Power BI premium specific item is what is called linked entities and what this means is that can reference other entities in the system and build on top of what’s already been created.
So, For Example: If I go to create another dataflow.
Here you will see, before we created a regular entity so we just added a new entity but I could also have the option of adding a linked entity within the system.
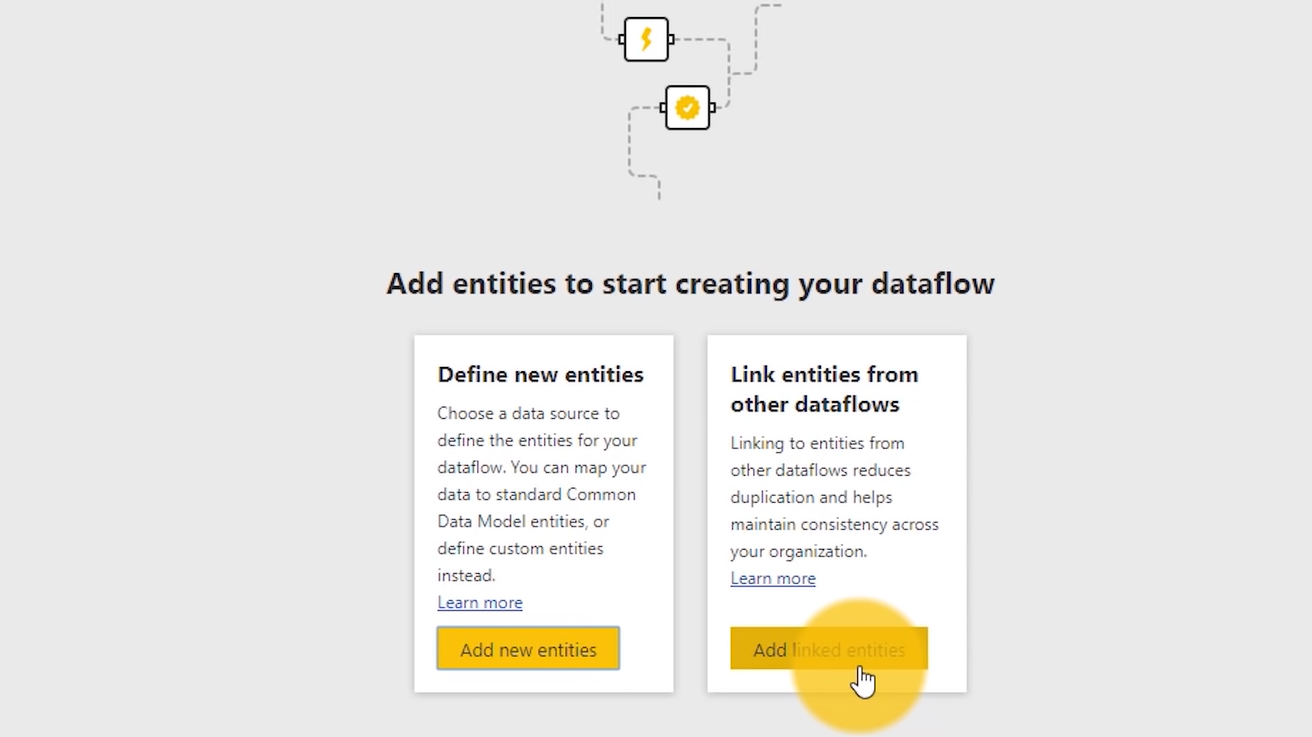
When we do that, that allows me to select an existing entity that’s there and then do further operations on top of it if I want and the beauty of this is that when the dataflow is refreshed or even refreshed downstream it understands what’s related to it and so it’ll take care of refreshing for you. You could always make sure that you have the latest set of information available. The beautiful thing about linked entities is that you can take advantage of what other people have created to reduce duplication and ensure the consistency of your data itself. If something gets edited in the dataflow that’s downstream those changes will take effect in this new linked entity as well. So, consistency is important.
The other thing to consider with Power BI Premium is it comes with 100 terabytes of storage underneath the hood of that premium node and so you can take full advantage of that storage space with Power BI dataflows.
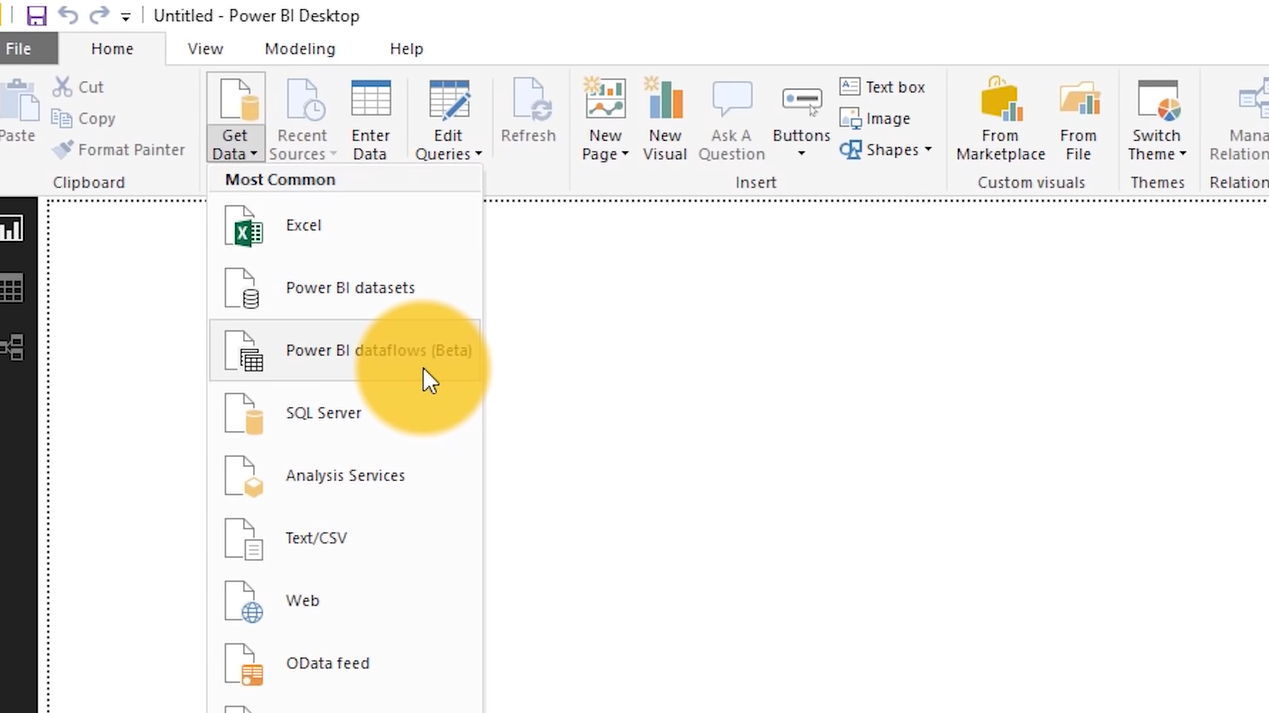
We’ve created a dataflow and how we’ve got to use that data in our reports. The dataflow itself is not a dataset. That’s a very important distinction. The dataset is a semantic model on top of data, Power BI dataflows and a dataflow created in the system is the data. Its schema ties data and we still have to create a dataset. To do that, we jump over to Power BI Desktop, and if we go to Power BI Desktop one of the things we’ll see as an option. If I go to Get Data, I will now see Power BI Dataflows listed there.
After signing in to the preview connector. I will get a list of different workspaces that I have available to me and I will see the one that we created, which is this Account and Sales, and then I can choose the actual entities that I want to grab.
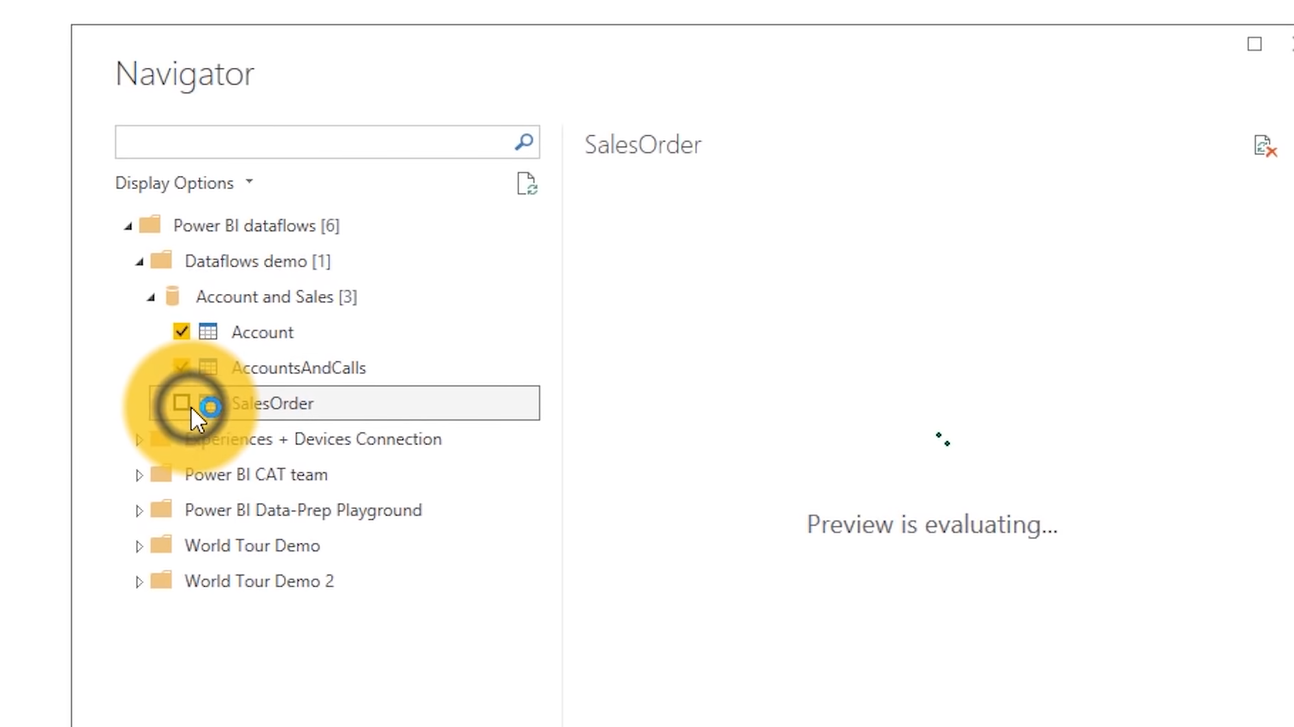
We’ll go ahead and do that and then you can further edit these items inside of the power query of Power BI Desktop if you choose Edit or we can just go and hit Load.
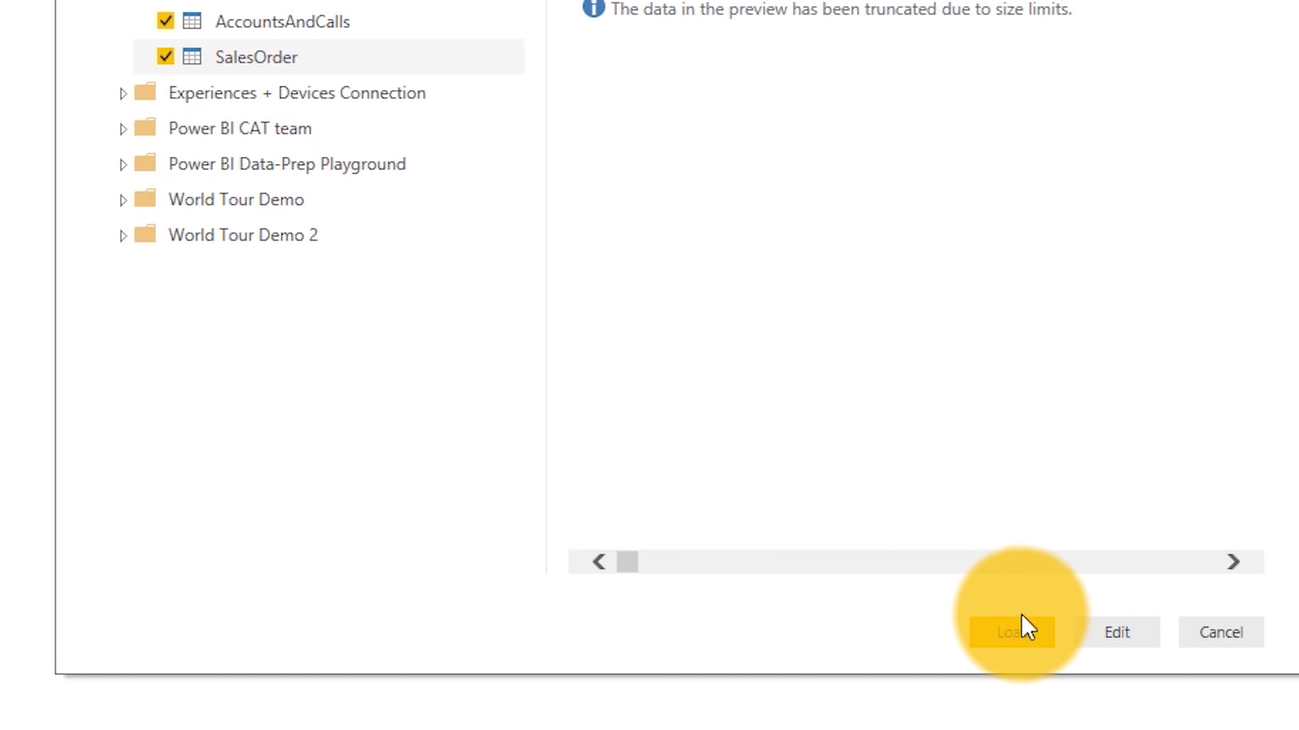
When we do that, this is going to pull that data inside a Power BI Desktop.


At this point, we can create our data model and our reports on top of that and then publish this to the Power BI service.
Pretty easy that is how you can create a dataset and get that up into the Power BI service to take advantage of the entities inside of a dataflow. That’s how we can create dataflows inside of the Power BI service.

