During the month of June 2021, OneStream Software made available a new MarketPlace Solution, Table Data Manager, to which this blog will provide an introduction. Per the Setup Instructions, “Table Data Manager was built to enable the management of tables and views in an Azure SQL Database” and based on this blog the functionality I tested works with an on-premise install also. The minimum OneStream platform version is V.6.2.0 and to begin, download the MarketPlace solution.
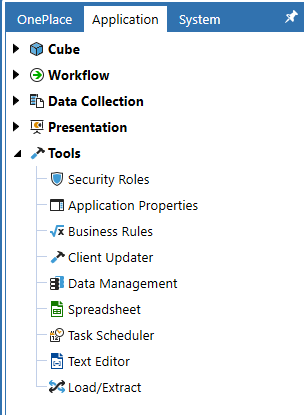
Once the MarketPlace solution is downloaded, log into the appropriate application then select “Application” -> “Tools” -> “Load/Extract“.
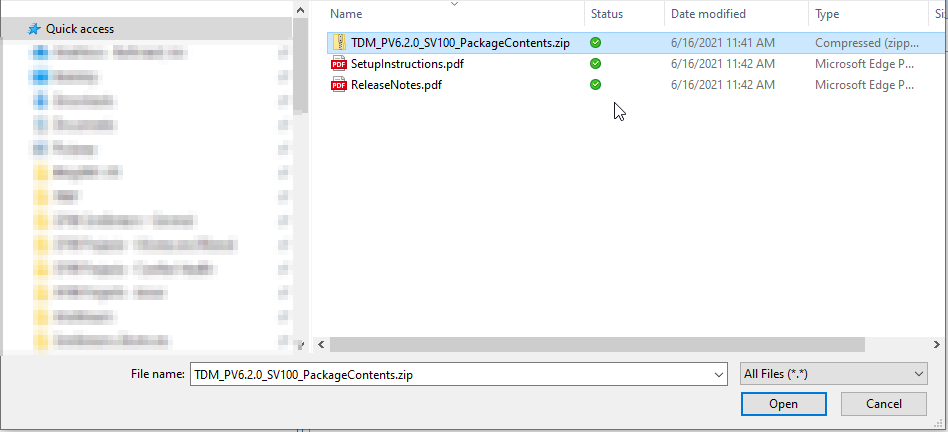
Select the file “TDM_PV6.2.0_SV100_PackageContents.zip” downloaded from MarketPlace and then click “Open“.
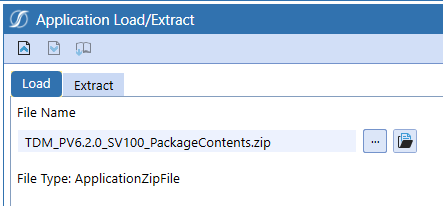
At the Application Load/Extract page, select the “Load” ![]() icon.
icon.
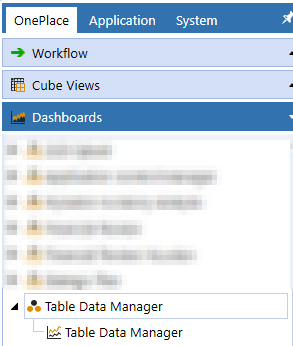
After a minute or two, the import will complete, and upon completion navigate to “OnePlace” -> “Dashboards” -> “Table Data Manager” -> “Table Data Manager“.
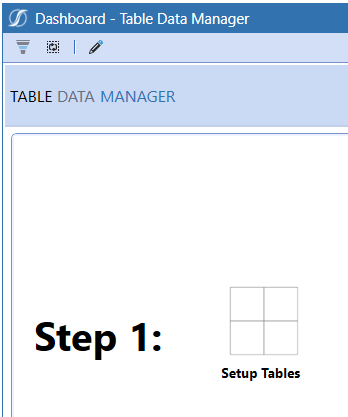
From the Table Data Manager dashboard, select “Setup Tables“.
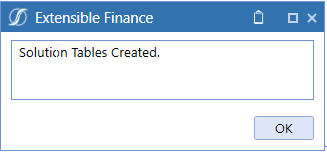
Select “OK” aft the solution tables are created.
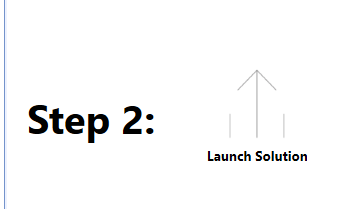
Select “Launch Solution“.
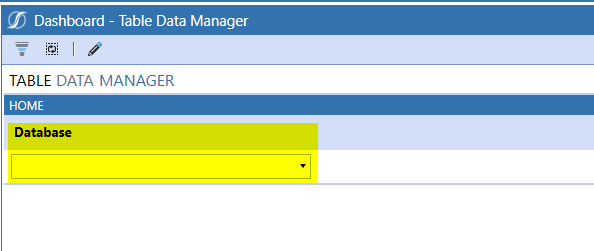
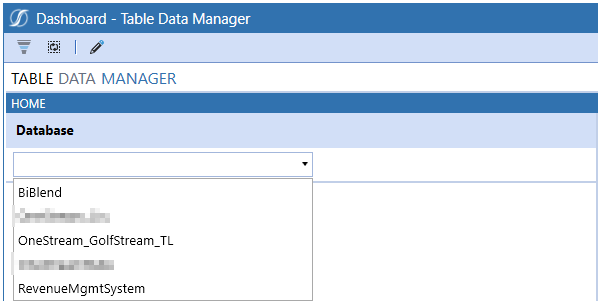
The “Home” page of Table Data Manager initially has one drop-down for “Database” which when selected will list the current application you are logged into which in this circumstance is “OneStream_GolfStream_TL“, as well as databases that have been configured as external databases. For purposes of this blog, I will continue with “OneStream_GolfStream_TL” as the database selected. Note, the Access and Maintenance Group of the Dashboard Profile is configured to Administrators by default; therefore, non-administrators will not have access unless security is modified.
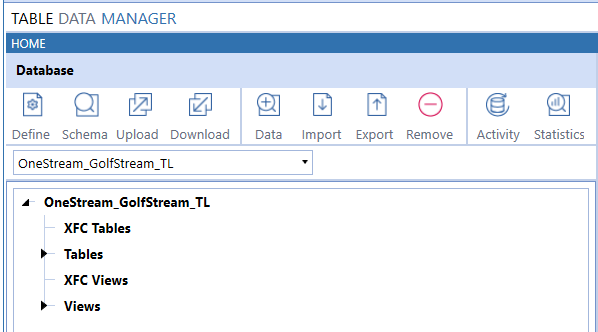
Once the database is selected the “Home” page will render with a list of icons and functionality to select “Define, Schema, … Activity, Statistics” as well as options to select database “Tables” and “Views” plus “XFC Tables” and “XFC Views“.
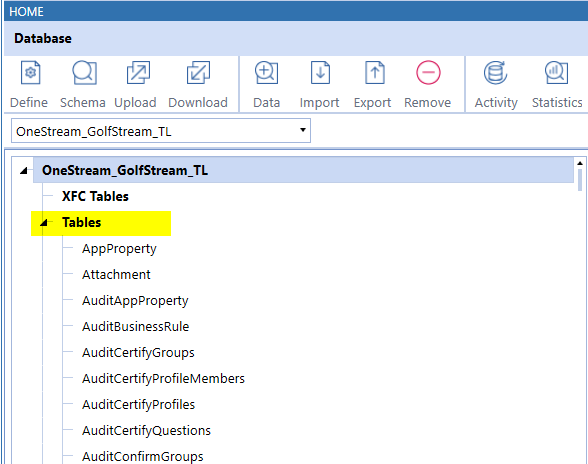
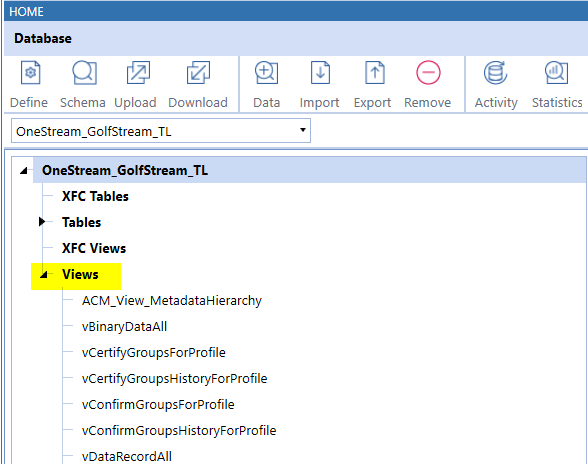
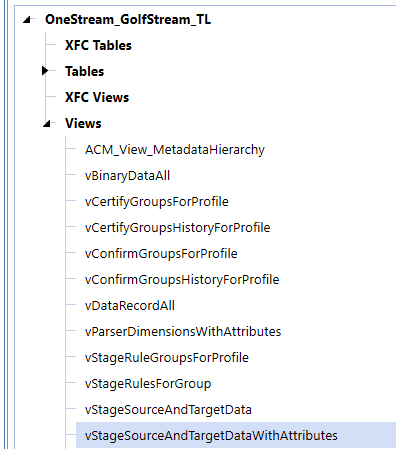
If you expand “Tables” first image or “Views” second image a list of Tables or Views stored in the database selected which do not have an extension of XFC are listed.
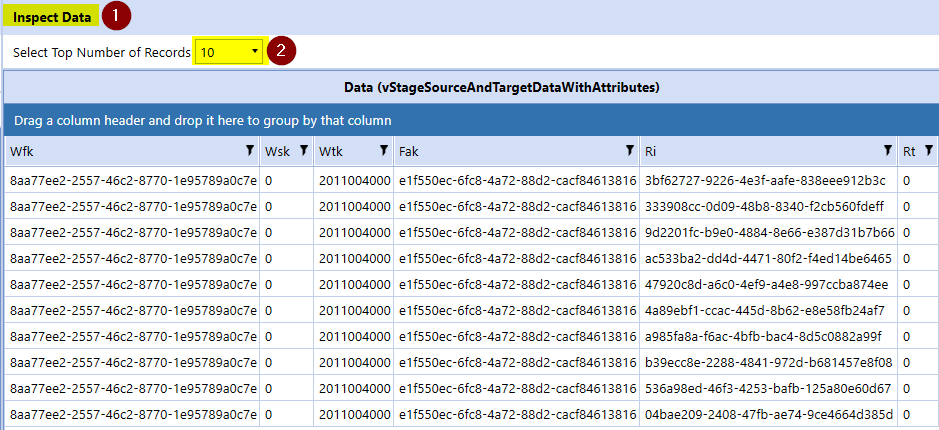
To view data in either a Table or View, select one of these objects which in this example is “vStageStourceAndTargetDataWithAttributes” then select the “Data” ![]() icon.
icon.
With “Data” selected, the “Inspect Data #1” grid will list ten records “#2” by default which can be changed utilizing the drop-down. Having briefly reviewed, Tables and View, we will review “XFC Tables“.
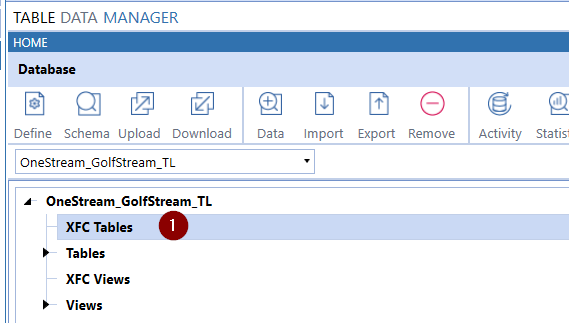
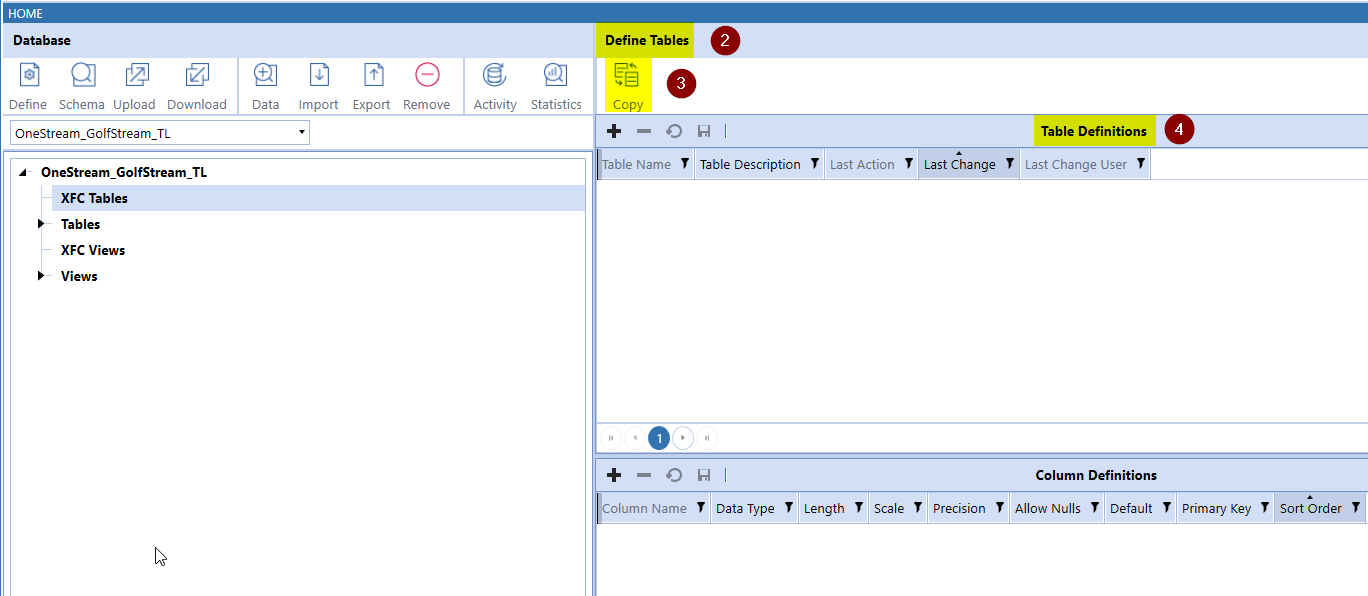
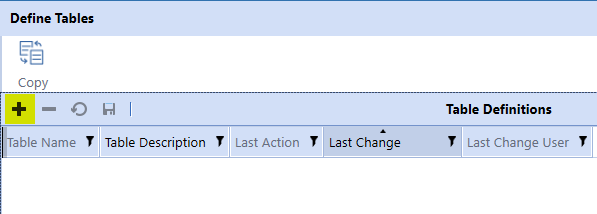
Select “XFC Tables #1” which will then display “Define Tables #2” an option to “Copy #3” or create “Table Definitions #4“. This blog will continue by reviewing the “Table Definitions” functionality of “Define” which enables defining and creation of a table.
To begin the process of defining a table, select the “Plus” ![]() icon.
icon.
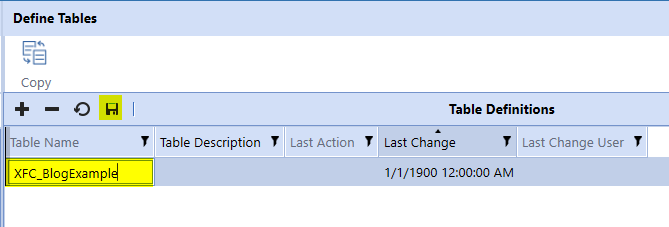
Key a table name which in this blog is “XFC_BlogExample” and then select the “Save” ![]() icon.
icon.
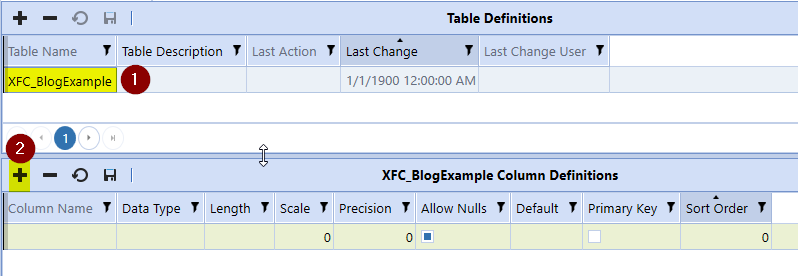
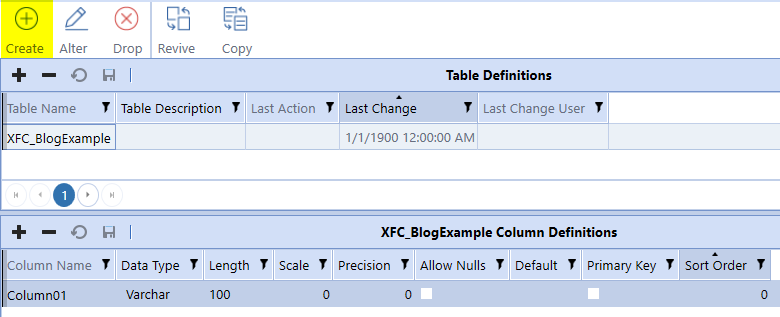
To add “Column Definitions” to the table, select the table previously created “#1” then select the “plus” ![]() icon to add a row.
icon to add a row.
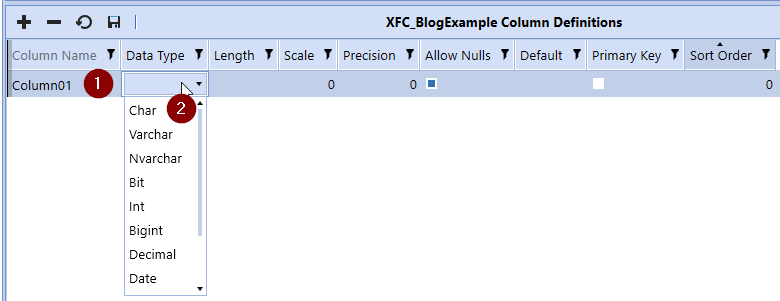
With a blank row added to Column Definitions, key the text for the Column Name which in this example is “Column01 #1” and then select a “Data Type #2” from the drop-down.
Continue updating the Column Definitions and after the updates are complete, select the “Save #2” ![]() icon. As this is an example, I have only added one row for the column definition.
icon. As this is an example, I have only added one row for the column definition.

When the “Table Definition” and “Column Definition” are created, the next step is to create the table which occurs by selecting the “Create” ![]() icon which in SQL syntax generates and executes a “Create Table” statement.
icon which in SQL syntax generates and executes a “Create Table” statement.
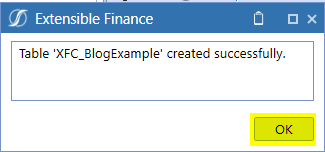
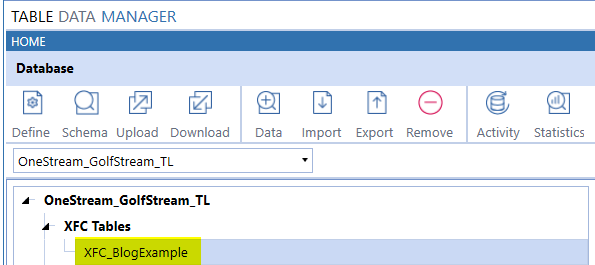
Select “OK” after the create table execution completes successfully which will list the table created below “XFC Tables” as displayed in the second image.
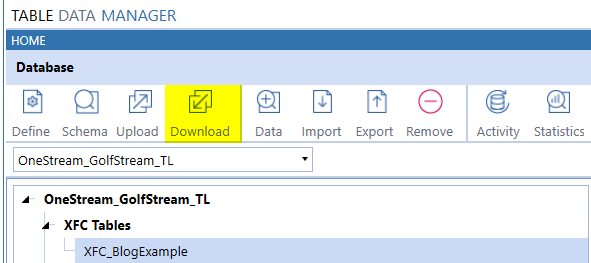
With the example table created, the SQL script that created the table can be downloaded by selecting the table and then clicking the “Download” ![]() icon which is step 1 of 2.
icon which is step 1 of 2.
Step 2 of 2 which is to access the script to be downloaded occurs by selecting the “File Explorer” ![]() icon.
icon.

The SQL script created by selecting the “Download” option is stored in your user folder with the table name selected providing the prefix for the file name followed by an underscore and “CreateDDL” and ending with an extension of “xml“. To download the file from “File Explorer“, select the file and then click the “Download Selected File’s Content File” ![]() icon as displayed in the second image.
icon as displayed in the second image.


Navigate to your preferred location and select “Save” to complete the file transfer.
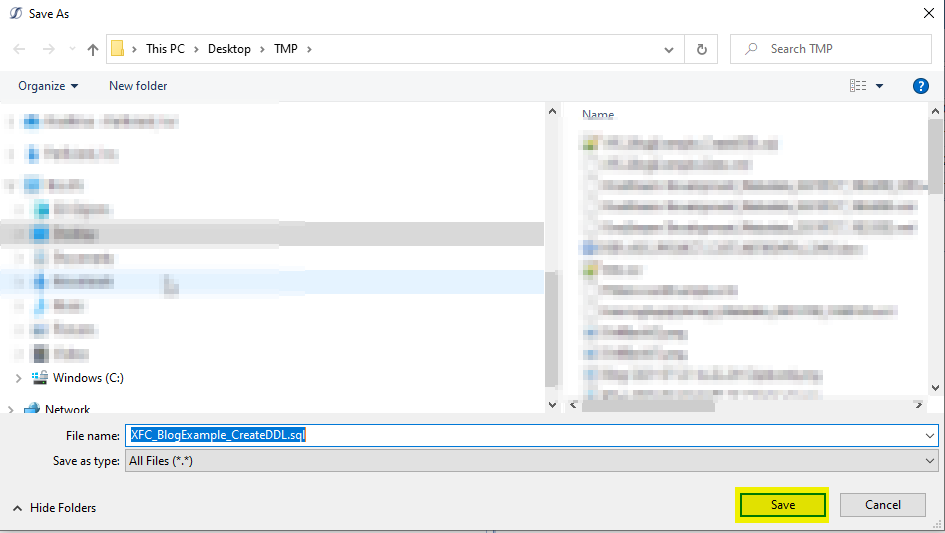
The file downloaded can be opened with SQL Server Management Studio “SSMS” or your preferred SQL Editor and the file transferred is displayed in the first image for reference.

With knowledge of the script format i.e. the same as a script, you may write with SSMS, another option to create a table is to upload a script. In the next image, the table name was changed from “XFC_BlogExample” to “XFC_BlogSecondExample #1” and Column02 “#2” with the same data type, etc. as Column01 was added. After the script changes, the script was saved with a file name of “XFC_BlogSecondExample_CreateDDL.sql“.

With the script updated and saved, return to “Table Data Manager” and select the “Upload” ![]() icon.
icon.

Navigate to and select “XFC_BlogSecondExample_CreateDDL.sql“. Once this is done, select “Open“.

When the file is uploaded, the script is also executed as indicated in the next image. Select “OK” to close the dialog box.
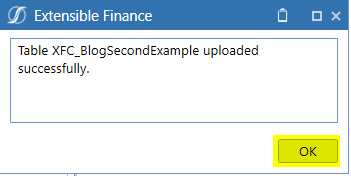
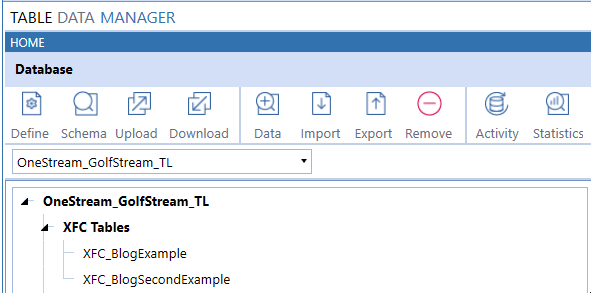
After a few seconds, Table Data Manager will update and the table created is displayed which will conclude my introduction to this Marketplace Solution.
I hope this blog has been helpful. If you have any questions, feel free to either post a comment to the blog or email me at terry.ledet@perficient.com.

Very Well Explained.