
If you have a project in your repository that you want to host on the web, running the build and release pipelines on Azure is one way to go. Although configuring them is super easy, the process itself is not very intuitive especially the first time you encounter it because what each pipeline does is not self-explanatory. In this blog post, I will be going over what you need, what each of the pipeline does, and how you can configure them.
You need two things prepared in advance: 1) a project in your repository and 2) an App Service on the Azure portal. Since setting up the App Service is very straightforward, I won’t be covering that here. Here is a detailed tutorial I found on Youtube for your reference. Once we have them, we will first create the build pipeline before configuring the release pipeline to allow Continuous Deployment (CD).
So what is a Build Pipeline? You can think of a Build Pipeline as a tool to lay the groundwork for the actual deployment that would be done later in the Release pipeline. It automates everything from setting up the trigger (indicate which branch you will detect the changes in to trigger the pipeline to run) and installing the Nuget packages to building and testing the VS. As you can see in the GIF below, you configure those in the pipeline YAML (A configuration file just like an XML).
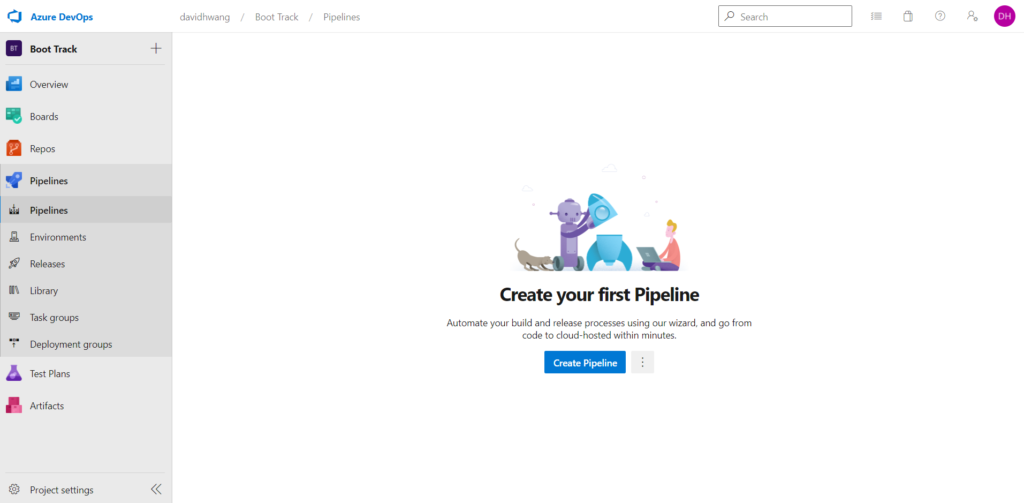
Here is where we are going to start. Open up your Azure DevOps and go the the Pipelines tab.

When you click the ‘Create Pipeline’ button and select the corresponding repository and version, all the YAML file will be configured for you. Just one thing you have to manually add is the “Publish build artifacts” task. Build artifact is basically a compilation of the environment and the project itself that will be called in the Release Pipeline. Publishing the build artifacts is the gist of the build pipeline and you have to manually add the task by searching for the task from the assistant menu (Refer to the GIF below).
You can then save and run the YAML file. I am running the pipeline on the master branch in this example but make sure you create a new branch for your commit.

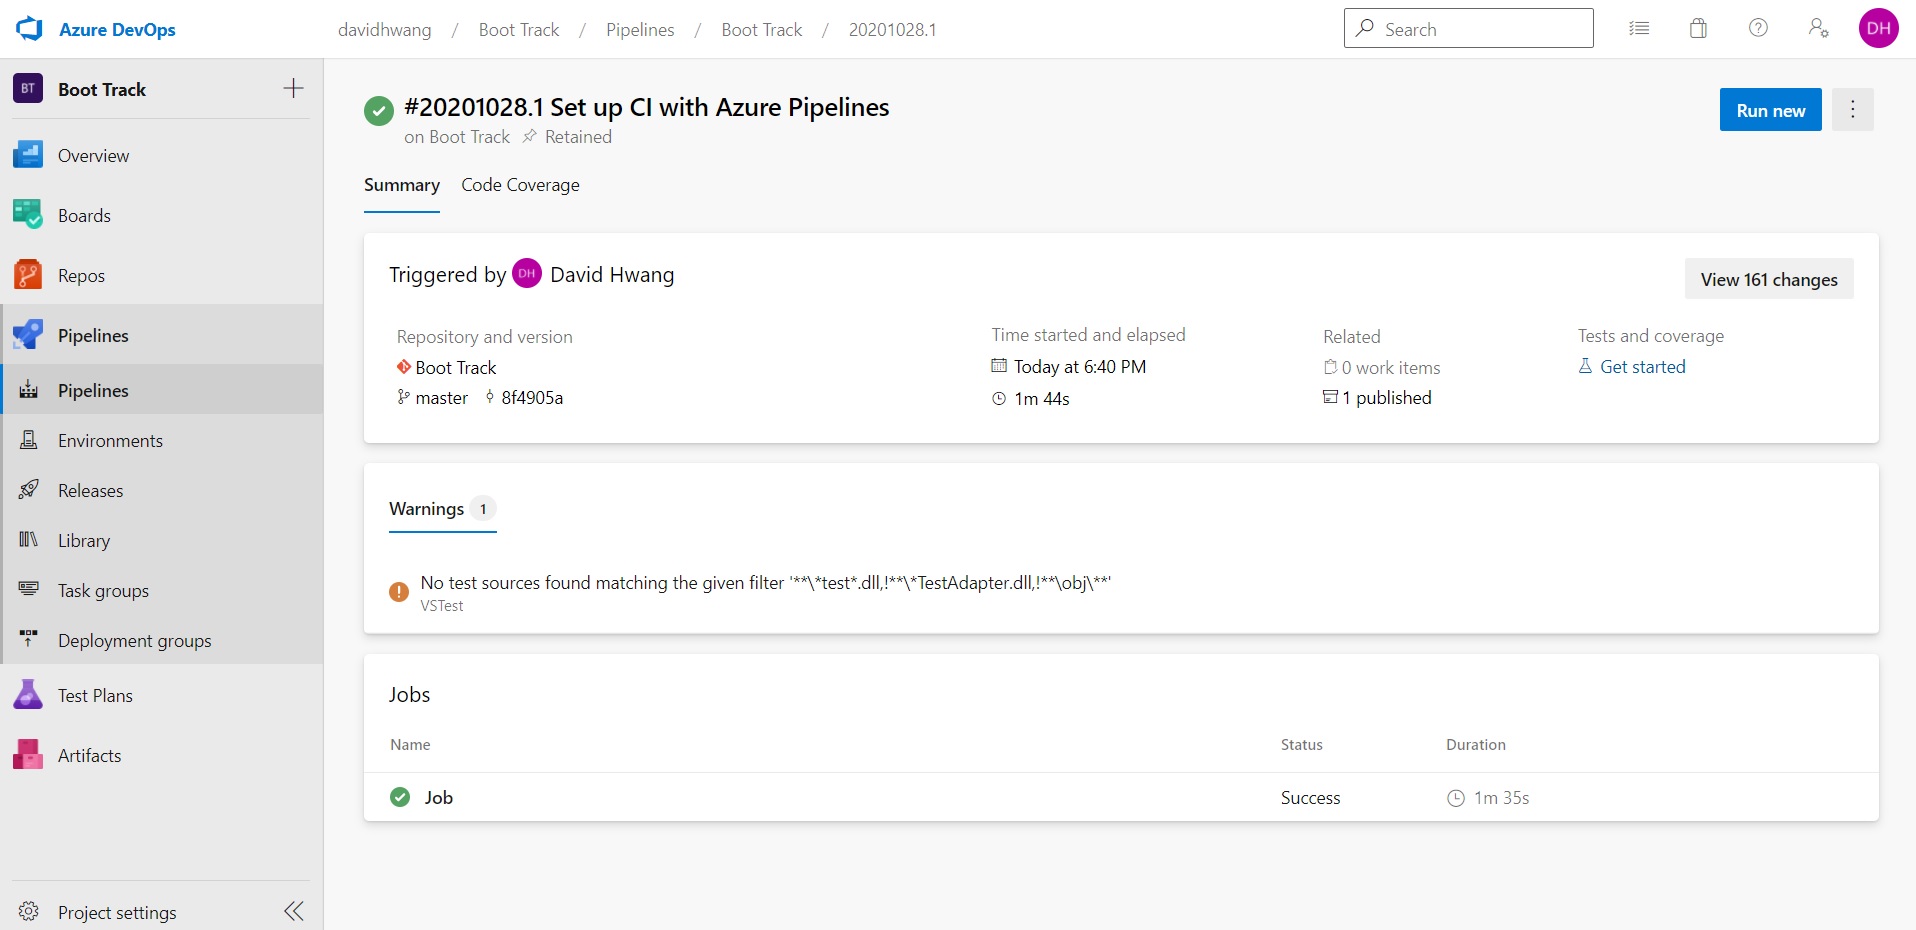
Once you save and run the pipeline, it usually takes a few minutes to complete and you will be directed to the pipeline summary page.
Once the pipeline has been built successfully, move on to the ‘Releases’ tab. The Release Pipeline allows Continuous Deployment (CD) by integrating the artifact your just published and automating all the deployments.
Refer to the GIF below and follow these steps:
- Click the ‘New Pipeline’ button.
- Apply the Template (‘Azure App Service Deployment’ template is used in this example but you can choose the empty template and manually add the tasks to fit your needs—refer to an example below).
- Name your stage and configure your task.
- Create the association with your Azure subscription and the App Service you created.
- Save!
We can now add the artifact that we created earlier in the Build Pipeline. Return to the Pipeline tab.
- Click ‘Add an artifact’ and choose the corresponding artifact. If you didn’t publish the build artifact as I described above, you wouldn’t be able to locate your artifact in this step.
- Click that thunder icon and enable continuous deployment. With this enabled, the release will be made every time you run your pipeline.
Go back to your ‘Pipelines’ tab and choose the pipeline you created earlier. Run the pipeline!
Once you have successfully run the pipeline, you should be able to see your project hosted on the URL provided in your Azure App Service. If your azure website URL redirects you to a localhost, click here to see how you can resolve that issue.
Here is an example of how you can configure the tasks in your release pipeline to automate the Azure SQL and App Service deployment tasks.

In the following post, I will be going over how you can extract the .dacpac file from your project and seamlessly deploy your database to Azure SQL within your pipeline. Hope that helped!