If you have an already existing Sitecore solution that you are planning on moving to the Azure cloud you need to understand the Blob service concepts firsts.
Azure Blob storage is Microsoft’s object storage solution for the cloud.
Blob storage exposes three resources:
- your storage account
- the containers in the account
- and the blobs in a container.

In the following example you will see how to create an upload and a download pipeline with the processors that will allow you to upload and download Blobs to your container of choice.
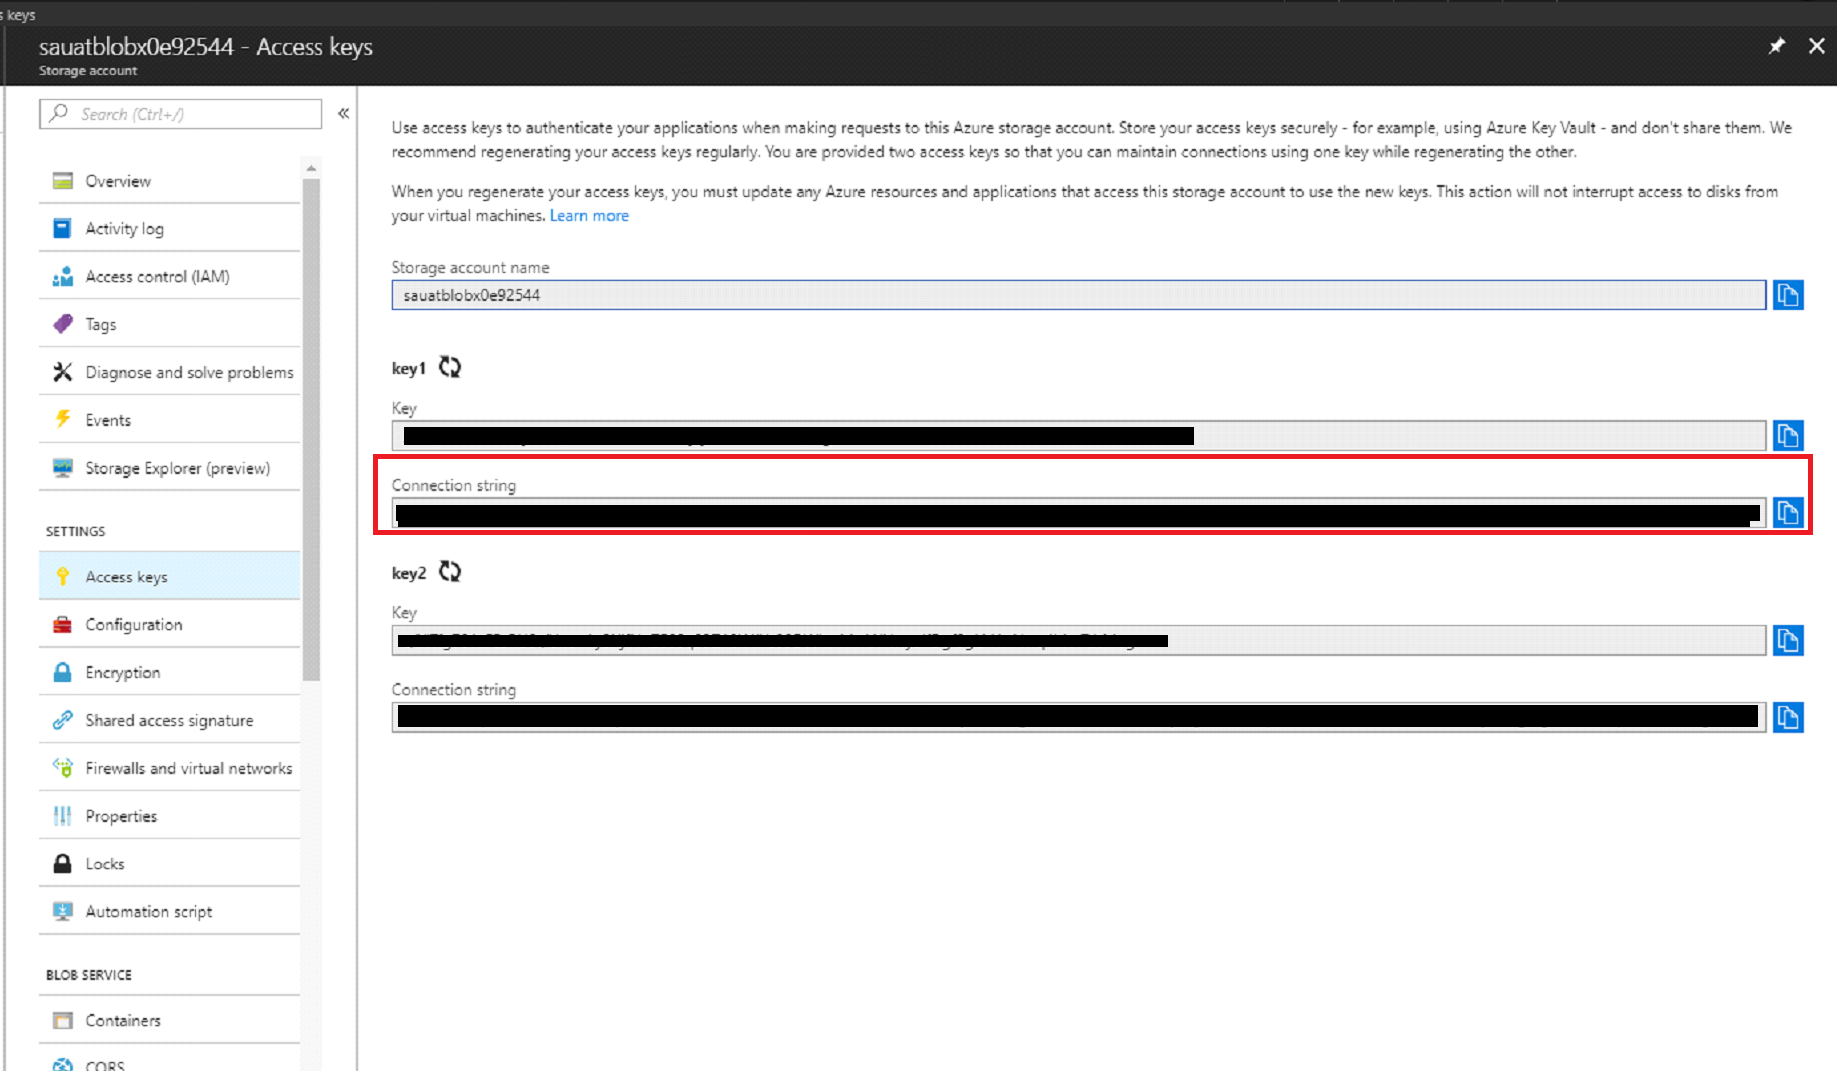
Before we start writing code you need to know your Azure Connection String. In order to find it, go to your Storage Account, pick the blob container you want and click on Access keys.

Now save that and we can start writing code.
First, in your configuration file you need to add an upload/download pipeline with a processor.
.Pipelines.CustomProcessor, "/>
Now, in the pipelines folder of the project in your solution you are pointing to, create two new classes. Name them CustomPipelineArgs and CustomProcessor.
The first one CustomPilplineArgs will be used to pass values you need for your pipeline to work correctly. It inherits from the PipelineArgs class.
public class CustomPipelineArgs : PipelineArgs
{
public string SourceUrl { get; set; }
}
The CustomProcessor class will look something like this:
 public class CustomProcessor
{
// Create a new public string to store the name of your Blob Container
public String BlobContainer =
public void Process(CustomArgs args)
{
// We pass the arguments to the Upload method
UploadToBlob(args);
// We pass the arguments to the Download method
DownloadFromBlob(args);
}
The UploadToBlob method uploads the file to the blob.
private void UploadToBlob (CustomArgs args) { // Get your Azure Connection string you saved previously string cn = Sitecore.Configuration.Settings.GetConnectionString(); CloudStorageAccount storageAccount = CloudStorageAccount.Parse(cn); PathMapper path = new PathMapper(); // Create a blob client for interacting with the blob service. var blobClient = storageAccount.CreateCloudBlobClient(); // Create a blob container var blobContainer = blobClient.GetContainerReference(BlobContainer); blobContainer.CreateIfNotExists(); // Source from where to upload the files to the blob var sourcePath = path.MapPath(args.SourceUrl); // Filename for the blob var fileName = Path.GetFileName(args.SourceUrl); CloudBlockBlob cloudBlockBlob = blobContainer.GetBlockBlobReference(fileName); cloudBlockBlob.UploadFromFile(sourcePath); }
The DownloadFromBlob method downloads the file to your local machine. If you want to change the location of the local path simply change the localPath string.
private void DownloadFromBlob(CustomArgs args) { // Filename of the blob var fileName = Path.GetFileName(args.SourceUrl); // Get the path where you will download the files string localPath = Environment.GetFolderPath(Environment.SpecialFolder.MyDocuments); // Get your Azure Connection string string cn = Sitecore.Configuration.Settings.GetConnectionString(); // Create Azure Storage CloudStorageAccount storageAccount = CloudStorageAccount.Parse(cn); // Create a Blob client CloudBlobClient blobClient = storageAccount.CreateCloudBlobClient(); // Create the container CloudBlobContainer container = blobClient.GetContainerReference(BlobContainer); // Create a block blob CloudBlockBlob blockBlob = container.GetBlockBlobReference(localFileName); // Check if the blockBlob exists if(blockBlob.Exists()){ // Download from Azure Storage cloudBlockBlob.DownloadToFile(localPath, FileMode.Create); } else{ Console.WriteLine("Error”); } }
In the two methods we can see how uploading and downloading a file from the Azure Blob storage can be implemented. By creating a custom pipeline and adding it to the config file we can easily connect custom Sitecore project with Azure Blob storage repository.

