
PowerBI on Azure supports for various type of RDBMS, such as Oracle DB, SQL Server, DB2 and so on. In this post, I will introduce the basic steps regarding how to connect to an Oracle DB in PowerBI.
In order to connect to an Oracle database with Power BI Desktop, the correct Oracle client software must be installed on the computer running Power BI Desktop. Which Oracle client software you use depends on which version of Power BI Desktop you have installed – the 32-bit version or the 64-bit version.
1. Determining which version of Power BI Desktop is installed
To determine which version of Power BI Desktop is installed, select File > About then check the Version: line. In the following image, a 64-bit version of Power BI Desktop is installed:

Installing the Oracle client
For 64-bit versions of Power BI Desktop, use the following link to download and install the 64-bit Oracle client.
http://www.oracle.com/technetwork/database/enterprise-edition/downloads/index.html
Start Oracle DB
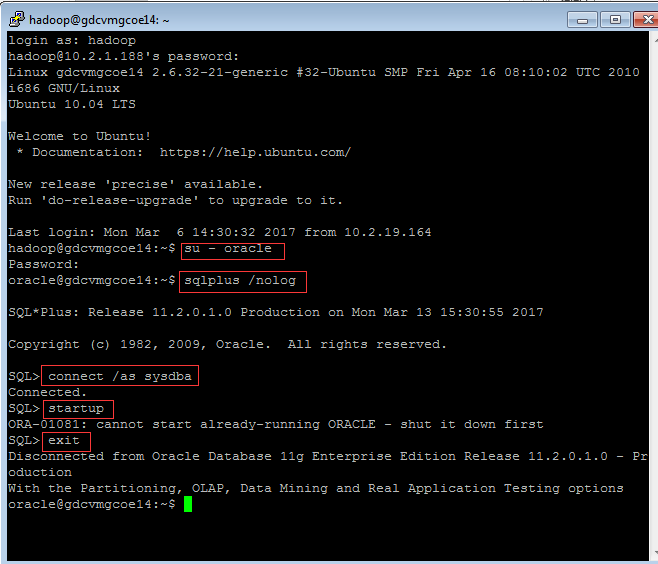
Start putty.exe, input ip port 22, then open, and input username and password:
>>su – oracle
>>sqlplus /nolog
>>connect /as sysdba
>>startup
>>exit
>>lsnrctl start

Configure tnsnames.ora file in our local computer
Locate the tnsnames.ora file C:\app\XXX\product\11.2.0\client_1\network\admin (where Oracle client installed). And add oracle connection into file.

2. Connect to an Oracle database database
Once the matching Oracle client driver is installed and stated oracle DB, you can connect to an Oracle database. Take the following steps to make the connection.
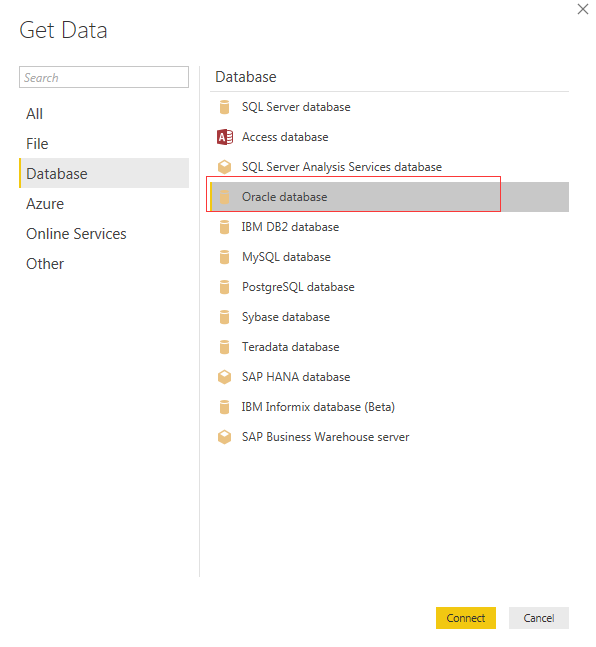
From the Get Data window, select Database > Oracle Database
 In the Oracle Database dialog that appears, provide the name of the server (same as file tnsnames.ora oracle name), and select Connect. If a SID is required, you can specify that using the format: ServerName/SID.
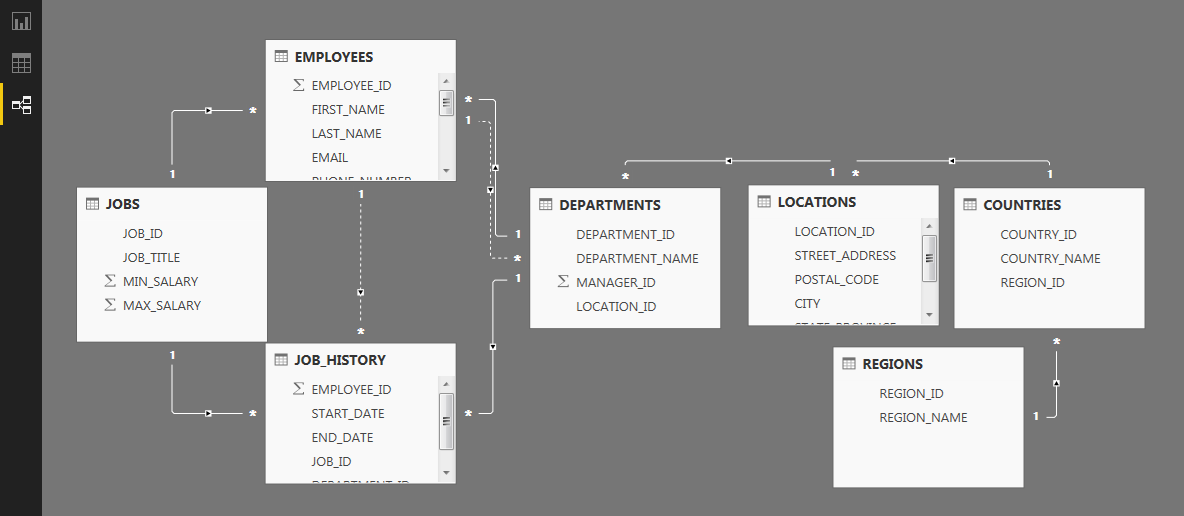
 After connecting to DB, you can select which table you want to use and add relationship in PowerBI.

3. Build a sample PowerBI Dashboard
Now let’s create one sample PowerBI Dashboard based on our Oracle database
Requirement:
i. Can use “Region Name” to filter in the page.
ii. Create one chart about “New Hire Count by Period”, in additional, we can drill down using Period.
iii. Create one chart about “Salary by Job title”.
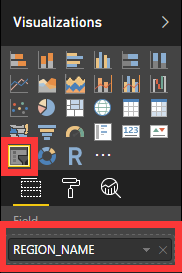
For Region Name section, in Visualizations, select “Slicer” and Add “Region Name” in “Field”:
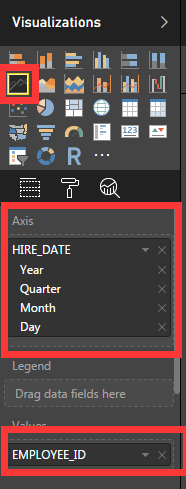
For “New Hire Count by Period” section, in Visualizations, select “Line Chart”, add data hierarchy in “Axis” and “Employee_ID” in Value:
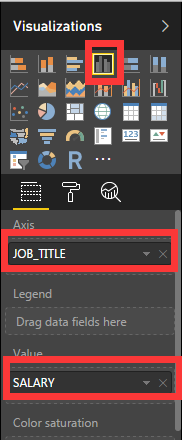
For “Salary by Job title” section, in Visualizations, select “Clustered Column Chart”, add “JOB_TITLE” in “Axis” and “SALARY” in Value:
Then one sample dashboard was created. See below.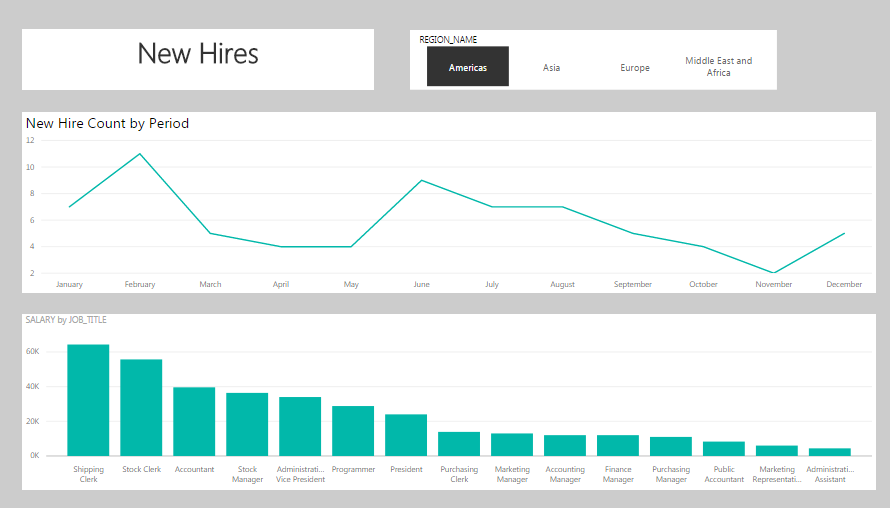
can you create role level security in power bi drilling down to the UPN.