“A Web service is a method of communication between two electronic devices over a network. It is a software system designed to support interoperable machine-to-machine interaction over a network.”
There are various tools available to test web services. Some of them are Soap UI, Soap UI Pro, Test Maker, Web Inject etc. The most common tool we use is Soap UI.
Soap-UI Pro (the licensed version) has come up with a user friendly UI. It gives utility to create the test data (to read/write from external files) step, create a data connection (to read/write from database tables) step and property Transfer (to transfer property between steps) step. It also provides a utility called Groovy script to achieve any validations/operations not possible with default SOAP UI steps.
Let’s look at the task that needs to be performed:-
Objective: – To automate a sample login (authenticateMember) REST web service using Soap UI Pro.
Resources: – Soap UI Pro tool, Input Excel data file, Output Excel data file.
Solution: – I will be using pre-defined soap UI steps to read/write data from external excel file and groovy script to perform few validations/operations those are not possible with the default steps.
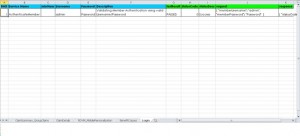
Step 1:- Prepare the Input Excel data file (Sheet Name- Login)
Assumption is that the service accepts username and password; we are passing both the parameters from the test data input sheet.
Step 2:- Prepare the Output Excel data file (Sheet Name – Login)
Assumption is that the service returns statusCode and statusDesc. Let’s see what the extra output fields are:-
- testResult – Insert either of Pass/Fail based on assertions.
- statusCode – Insert the status code returned from the REST response.
- statusDesc – Insert the status description returned from the REST response.
- Request – Insert the raw REST request.
- Response – Insert the complete REST response returned from the service.
Step 3:- Create the Automation test suite.
- Open Soap UI Pro, import your project.
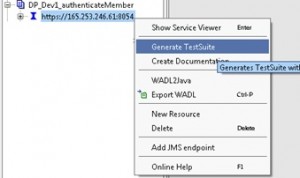
- Go to the webservice endpoint and right click to see the context menu.
- Click on option “Generate TestSuite”.
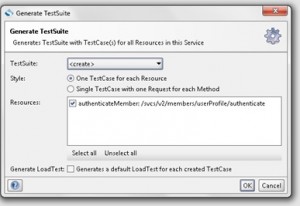
- In the Generate Test Suite pop-up, check the checkbox authenticateMember (sample service name) service and click OK.
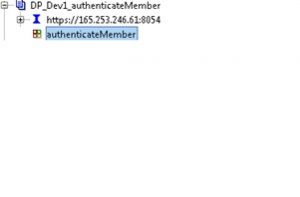
- Once done, we will be able to see the test suite (authenticateMember) generated with the selected service.
Step 4:- Create testcase under test suite.
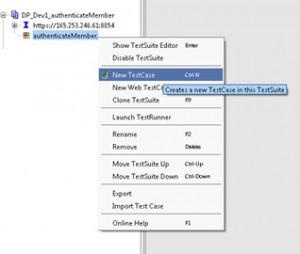
- Go to the created test suite and right click to see the context menu.
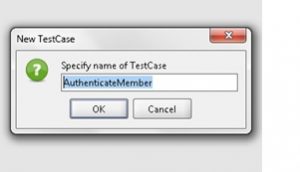
- Click on option “New TestCase”.
- In the New Test Case pop-up, give the name of the new testcase and click OK.
- Once done, we will be able to see the test case (AuthenticateMember) generated.
Step 5:- Create test steps under created test case.
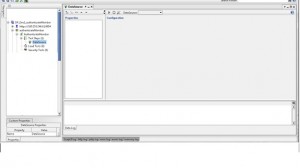
(i) Create DataSource step to read username and password from the test data input sheet
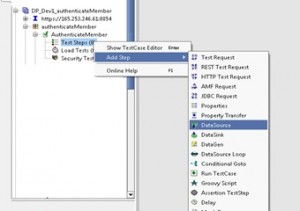
- Go to the AuthenticateMember testcase and right click to see the context menu.
- Click on option “DataSource”.
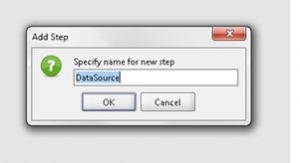
- In the Add Step pop-up, give the name of the step and click OK.
- Once done, we will be able to see the test step (DataSource) generated.
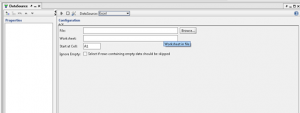
- In the DataSource step, click on the dropdown next to DataSource label and select “Excel”.
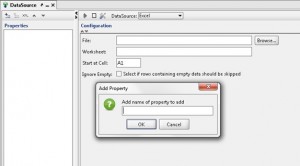
- Since we need 2 values (Username and Password), we will be creating 2 properties in this step to capture the values from the input data excel file. To create property, click on “+” sign on the left corner, name the property name and click OK.
- Create properties with name “Username” and “Password”.
- Now we need to browse for out test input data sheet in the File: text box, give the proper sheet name in Worksheet text box and give the cell number where Username and Password cells are located in the test input data sheet.
- Once done run the test step, to run click on the green coloured Play button. We will be able to see the properties populated with the values we stored in test input data sheet.
(ii) Create REST request Test Step
- Assuming that authenticateMember REST request takes Username and Password as test input.
- Go to the AuthenticateMember testcase and right click to see the context menu.
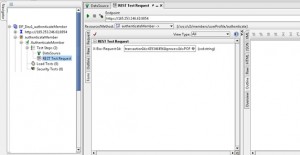
- Click on option “REST Test Request”
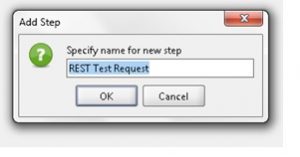
- In the Add Step pop-up, give the name of the test step and click OK
- Once done, we will be asked to select the REST request which we want to import. Select the appropriate REST request(depending on the project) from the dropdown and click OK
- Once done, we will be able to see REST Test Request test step created.
(iii) Parameterize the input data in created REST Test Request test step.
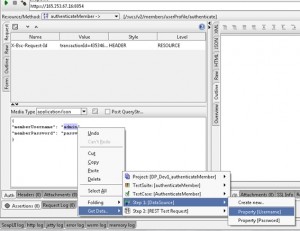
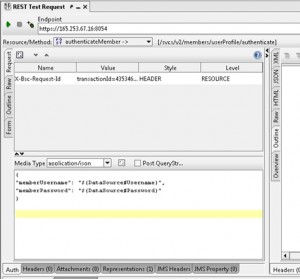
- Go to the Request tab where we need to enter Username and Password.
- To remove the hard coded values; right click on “admin” so that context menu appears and selects the value; GetData-> DataSource -> Username. Do the same for Password.
- Once done, we will be able to see the input data has been parameterized.
(iv) Execute the REST request and create assertions.
- Assuming that if we pass valid Username and Password, statusCode=0 and statusDesc=Success is returned.
- Hence we need to create assertions for the above two fields.
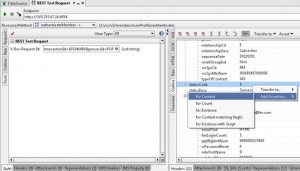
- Go to statusCode field in REST response and right click so that context menu appears.
- Select AddAssertion -> forContent.
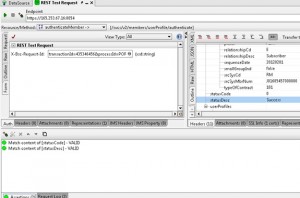
- Verify Xpath for the source node of “statusCode” and Expected Result
- Do the same for statusDescription.
- Once done, we will be able to see 2 Assertions created at the left bottom of REST request step.
- We will be writing a customized groovy code to validate the assertions whether they are PASSED or FAILED. If they are passed then we will insert “Passed” into the execution result column in output data sheet. Else insert “Fail” if any one of the assertions failed.
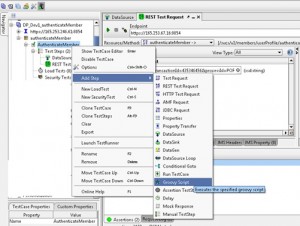
- Go to the AuthenticateMember testcase and right click to see the context menu.
- Click on option “Groovy Script”
- In the Add Step pop-up, give the name of the test step and click OK.
- Once done, we will be able to see the test step (Groovy Script) generated.
(vi) We will be writing code to validate the assertions.
//import class for assertion
import com.eviware.soapui.model.testsuite.Assertable
//Create variables
def testStepSrc = testRunner.testCase.getTestStepByName(“REST Test Request”)
def propertyVal = testRunner.testCase.getTestStepByName(‘DataSink’)
// Count number of assertions created in REST request
def counter = testStepSrc.getAssertionList().size()
// if status matches string “VALID”, then pass else fail
for(i=0;i<counter;i++)
{
String status=testStepSrc.getAssertionAt(i).getStatus()
if(status!=’VALID’)
{
output=’FAIL’
}
else
{
output=’PASSED’
}
}
testRunner.testCase.testSuite.setPropertyValue(“result”, output)
//Create a property Status and put the value either pass/fail in it depending on the assertions status
propertyVal.setPropertyValue(“Status”,output)
(vi) Create DataSink step
- DataSink step is required to setp up property values and the same can be directly inserted into the output data sheet.
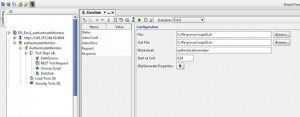
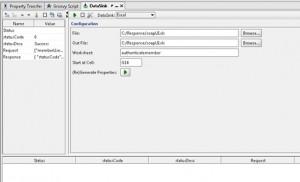
- Since we will be inserting 5 values (result, statusCode, statusDescription, request and response), we will be creating 5 properties in DataSink step and insert the same into output data sheet.
- Go to the AuthenticateMember testcase and right click to see the context menu.
- Click on option “DataSink” option.
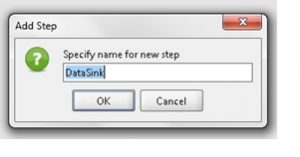
- In the Add Step pop-up, give the name of the test step and click OK
- Once done, we will be able to see DataSink step created.
- Create 5 properties and the values will get supplied from the propertyTransfer step (this will be added in the next step).
- To create the properties follow the same approach as we followed while creating properties in DataSource
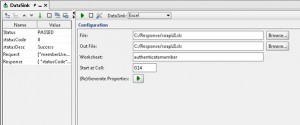
- Enter the Configuration parameters; here we will be passing the path of output file, the specific worksheet and cell number on which we want to insert the values.
- No need to give values to the created properties, this will get inserted from propertyTransfer step.
(vii) Create PropertyTransfer
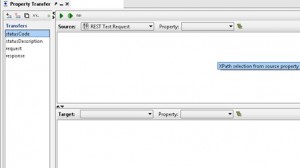
- Property transfer is required to transfer property values from one step to another. We will be transferring property values from REST response and GroovyScript to Data Sink
- Go to the AuthenticateMember testcase and right click to see the context menu.
- Click on option “Property Transfer” option.
- In the Add Step pop-up, give the name of the test step and click OK
- Once done, we will be able to see Property Transfer step created.
- We will be creating 4 property values (statusCode, statusDescription, request and response). The property status will be populated to DataSink step from GroovyScript.
- After we are done creating the properties, we need to select Source, Property and Target, Property. This will enable transferring of properties. To transfer statusCode property
Source – REST Test Request
Property – ResponseAsXML
Xpath – node description of statusCode
Target – Data Sink
Property – statusCode
This will transfer the statusCode value to DataSink’s statusCode property. Do the same for the other properties as well.
- After you are done, execute this step. Open DataSink step and execute, we will be able to see property values for statusCode, statusDescription, request and response.
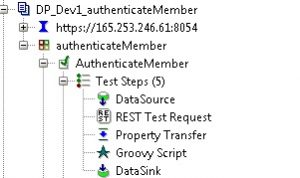
- This is how the project flow will look like. Because the steps are dependent on one another hence proper flow is mandatory for the execution to go through.
Step 6:- Execute the test suite
- Execute the testsuite by clicking on the Play button for the test suite.
- After we are done, verify the DataSink We will be able to see all the property values.
- Verify the output Data sheet, The data has been inserted to the output data file starting from the cell we mentioned in the DataSink step.


