Part – 2
Following Part 1, after you’ve installed and configured your new SharePoint 2010 farm, this article details how to install and setup the Self Service Portal.
Service Manager 2012 – Self Service Portal Install
Run the Service Manager installer – select the “Install the Service Manager web portal”

Make sure both check boxes are selected on the next screen:

Enter your organization name and agree to the license terms:

Select the location for the website parts – the default choice is fine here:

The prerequisites check runs next, address any issues that arise – none should if you’ve followed this so far!
Click through this checker and now you’ll be prompted for the web content and portal server names/ports.
The first screen is for the “web content server” – this feeds into the self-service portal, by default it suggest port 443 – this makes no sense, as the user will not hit this service directly, change this to port 444 as shown:
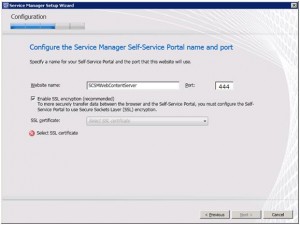
Make sure the “Enable SSL” box is check and from the SSL certificate download select the certificate that is self-signed OR if you have an internal or 3rd party installed certificate select it(only one choice normally shows up here FYI on a fresh server)
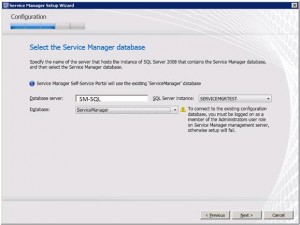
Next it needs to know where your database is located that Service Manager is using – point it to that SQL server and instance and select the Service Manager database you are using. (Normally if left default, the database is called ‘ServiceManager’)
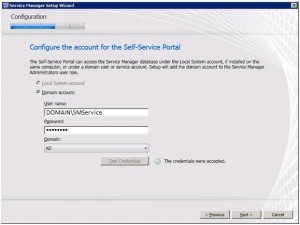
Now enter the service account you used when you installed Service Manager e.g:
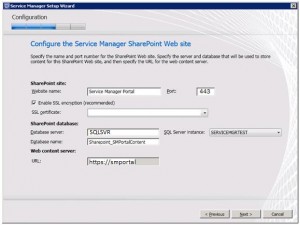
Now we can specify the settings for the actual self-service portal – here we change the port to the sensible 443 – select a certificate from the drop down.
In the SharePoint section it should be pointing to the SharePoint SQL server and suggesting a content database name, if not enter yours here.
The URL that you will point users to is shown at the bottom of this screen:
Enter the Service Manager account details here:
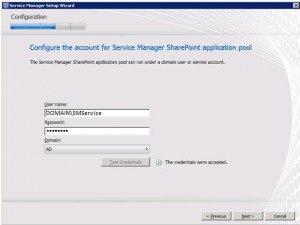
Allow Microsoft Updates connection:
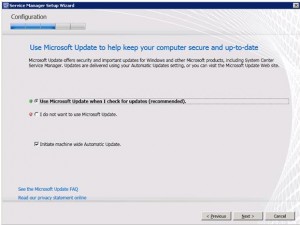
Review the summary screen and click to complete the installation – a confirmation screen will show when complete – note the URL of the SharePoint site shown and go to a browser to open:
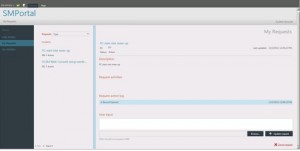
ET voila!
