
In this article, we will cover all the remaining actions available in Mission Control.
Base Code Deploy
The Optimizely team continuously improves the platform by introducing new features and releasing updated versions. To take advantage of these enhancements and bug fixes, projects must be upgraded to the latest version. After upgrading the project, it needs to be deployed to the appropriate environment. This deployment is carried out using the “Base Code Deploy” option in Mission Control.
How to deploy the Base Code
-
Log in to Mission Control.
-
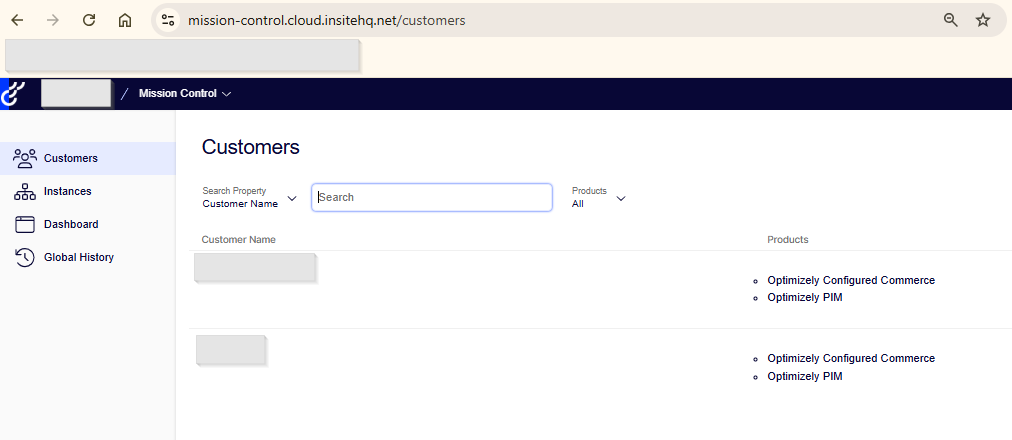
Navigate to the Customers tab.
-
Select the appropriate Customer.
-
Choose the Environment where you want to deploy the base code changes.

-
Click the Action dropdown in the left pane.
-
Select Base Code Deploy.

-
A pop-up will appear with a scheduler option and a dropdown showing the latest build version.

-
Click Continue to initiate the deployment process.
-
Once the process completes, the base code is successfully deployed to the selected environment.
Reference: Base Code Deploy – Optimizely Support
Extension Deployment
There are many customizations implemented according to project requirements, and these are developed within the extension project following Optimizely framework guidelines. To make these changes available in the environment, we need to deploy the extension project code. This can be done using the Extension Deployment option available in Mission Control.
Deploy Extension Code
-
Log in to Mission Control.
-
Navigate to the Customers tab.
-
Select the appropriate Customer.
-
Choose the Environment where you want to deploy the extension code.
-
Click the Action dropdown in the left pane.
-
Select Extension Deployment.

-
A pop-up will appear with an optional scheduler and a dropdown showing available extension build versions.

-
Select the desired extension version to deploy.
-
Click Continue to initiate the deployment process immediately.
-
Once the process completes, the extension code is successfully deployed to the selected environment.

Reference: Extension Deployment – Optimizely Support
Production User Files Sync
In any project, there are numerous user files—especially images—which play a crucial role in the website’s appearance and user experience. During development, it’s important to keep these files synchronized across all environments. Typically, the files in lower environments should mirror those in the production environment. Since clients often update files directly in production, the “Production User Files Sync” option in Mission Control becomes extremely useful. It allows developers to easily sync user files from production to lower environments, ensuring consistency during development and testing.
How to sync production user files
-
Log in to Mission Control.
-
Navigate to the Customers tab.
-
Select the appropriate Customer.
-
Choose the lower environment where you want to sync the user files.
-
Click the Action dropdown in the left pane.
-
Select User File Sync from the list of available options.
-
A pop-up will appear with an optional scheduler and a Source Environment dropdown containing all environments available for the selected customer.
-
Select Production as the source (or any environment as required), then click Continue to start the sync process.
-
Depending on the size of the user files and network parameters, the process might take several minutes to complete.
Reference: Production User Files Sync – Optimizely Support
Production Database Sync
This option allows you to synchronize data from the production environment to a lower instance.
Note: Data cannot be synced from a lower instance back to production.
Critical Requirements
- Matching Website Keys
- The website keys in both the production and target environments must match.
- If they do not, the site may experience a startup failure and become unstable.
-
Version Compatibility
-
The target environment must be running on a version that is equal to or newer than the source (production) version.
-
Both source and target environments must be on one of the last three supported long-term versions, or their corresponding short-term support versions.
-
If version requirements are not met, the sync process will fail.
-
- Data Loss Warning
-
This is a destructive operation—it will overwrite data on the target (lower) environment.
-
Ensure that no critical or important data exists in the sandbox or lower instance before initiating the sync.
-
The Production Sync option does not replicate all data, but it does synchronize several key components. Below is the list of data that gets synced:
Product Data
-
Product settings (e.g., ERP Managed, Track Inventory, Quote Required)
-
Attribute values
-
Category assignments
-
Product content (metadata and rich content)
-
Product specifications
-
Child variants
-
Pricing and cost
-
Product number and URL segment
-
Warehouse inventory (stock levels)
-
Shipping information
Category Data
-
Category details (name, description)
-
Category hierarchy
-
Assigned products
-
Category content (metadata and content)
-
Attribute values
CMS Content
-
CMS customizations made via out-of-the-box widgets (non-code changes)
-
Variant page customizations and display rules
Additional Data
-
Attribute types and values
-
Variant types
-
Customer records
-
Website users
Data Not Synced from Production to Sandbox
The following areas are excluded from the Production Sync process and remain unchanged in the target sandbox environment:
- System Configuration
- Integration Job Settings
- Admin & User Data
-
Exceptions
-
If a production admin user has made changes to data being synced (like
CustomerOrders,Content, etc.), that admin user is also synced to the sandbox. -
Admin user roles are also synced to preserve permission context.
-
To prevent role duplication:
-
All sandbox roles are appended with
-1. -
Production roles retain their original names.
-
-
If a matching admin user exists in both environments:
-
The production user and roles are retained.
-
Sandbox-only users receive roles with the
-1suffix.
-
-
-
-
Logs and Cache
Sync production data
-
Log in to Mission Control.
-
Navigate to the Customers tab.
-
Select the appropriate Customer.
-
Choose the lower environment where you want to sync the production data.
-
Click the Action dropdown in the left pane.

-
Select Production Database Sync from the list of available options.
-
A pop-up will appear with:
-
-
An optional scheduler, and
-
A Source Environment dropdown (select the production environment).
-

-
-
Click Continue to initiate the sync process.
-
This is a large-scale data transfer operation. The sync process may take several minutes to complete, depending on the volume of data.
Note: Optimizely does not provide a rollback option for this process. Once the deployment is complete, any changes—such as modifications to stored procedures or database scripts—restored it.
I’ve been looking into tools and services that can help with optimizing platform performance and content delivery — something like The Aff Vault
— which offers resources for improving site speed, architecture, and overall user experience. Might be useful for teams using Optimizely who want to go beyond deployment into optimization.