In my last two blogs, we discussed the Introduction to Sitecore Content Serialization and Sitecore CLI configuration for SCS. In this blog, we are going to configure the Sitecore for Visual Studio. SVS is also introduced with Sitecore 10 release, and it’s a Visual Studio extension, which gives you a graphical view to interact with the Sitecore instance. SVS is designed to work with a command line in the background and also provides an interactive interface in Visual Studio 2019. It provides all the features required for the serialization. SVS requires a license; we can utilize the same license as Sitecore TDS. If you don’t have a license, then you can purchase from the TDS site. For learning purposes, you can request a trial license as well.
Purchase/Trial Sitecore TDS and SVS license
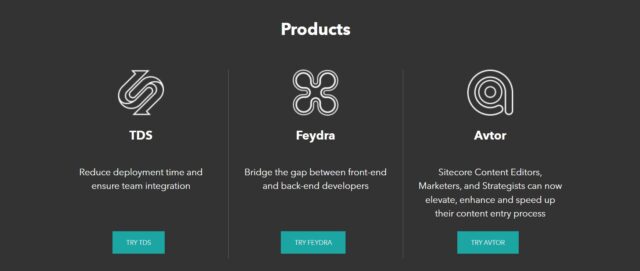
Step 01: Goto the TDS site
Step 02: Click on the Free Trial link
Step 03: Click the Try TDS button

Step 04: Submit the TDS free trial form.
Step 05: After submission, you need to download a package and install it.
Note: Sitecore TDS trial version is valid for 30 days.
Download/Install Sitecore for Visual Studio
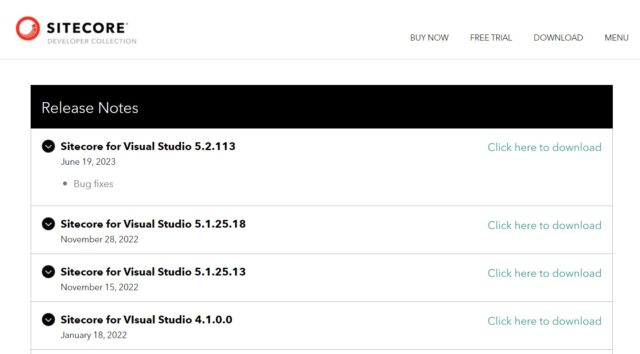
Step 01: Click on the Download button on the TDS website.

Step 02: Now, you can see all the versions.

Step 03: Download the compatible version.
Step 04: Double-click on the downloaded .vsix file to start the installation.
Step 05: After successful installation, open Visual Studio with administrator privilege.
Step 06: Add a new NuGet package source from the NuGet package manager. The package source will be
https://nuget.sitecore.com/resources/v3/index.json
Step 07: After successful Sitecore for Visual Studio installation and add the required NuGet package source in the NuGet Manager. You can see the Sitecore Module Explorer in the popup when you right-click on your Solution.
Please stay tuned for more blogs regarding Sitecore Content Serialization and feel free to add comment below if you have any questions or comments.
To Be Continued!

