
In the last blog, we get to know about how to create a component in the site studio.
In this blog, we are going to set up the component form builder for the component.
You can improve specific functionalities or enhance the visual appearance of your site by using component form builder. The component form builder is located below the layout canvas. To add fields to your Component forms, use Field elements. It can be built by clicking the plus button similar to the layout above with using fields instead of elements.
Building a Component Form Builder
Firstly, we need to add the tab container
Click on the plus button, first search for Tab Container from fields in the Sidebar browser, and drag and drop into the form builder.
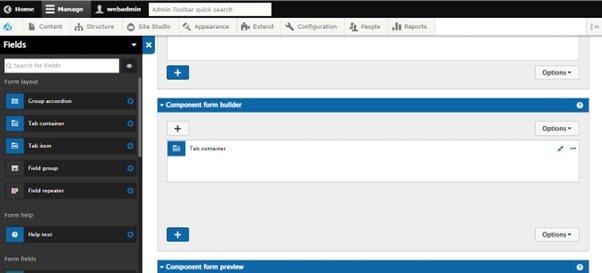
Now choose Tab item fields and wrap them inside the Tab container. Renamed the tab item fields as Content.
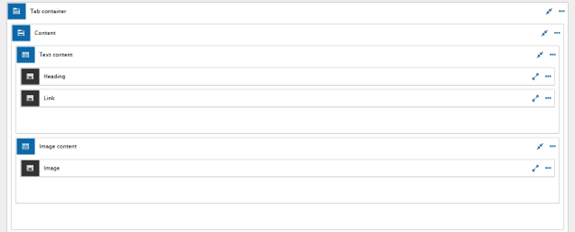
Adding Text and Image
In the content field, you can add the text and image content inside this field, then add the field group inside it.
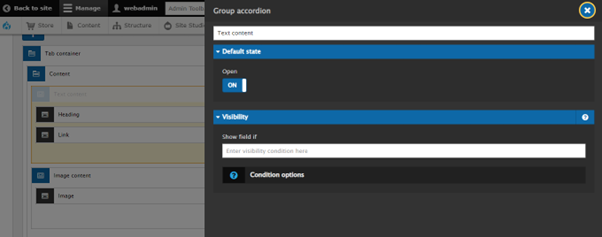
Also, by double-clicking on the field, you get to choose the Default state of the field as well as we have the settings of Visibility. Depending on the conditional logic placed into the field’s “Show field if” input, component form fields can be shown or hidden.
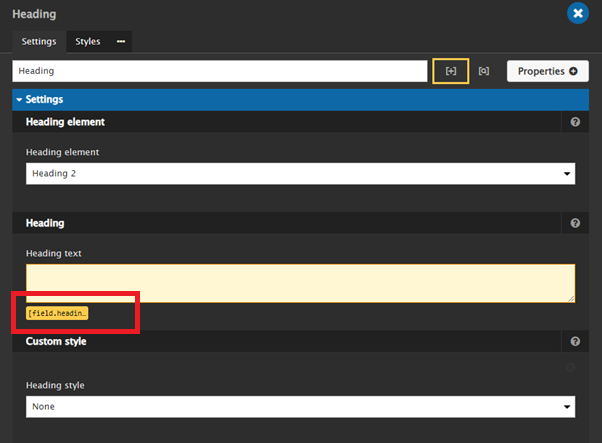
Connecting to the Right Field

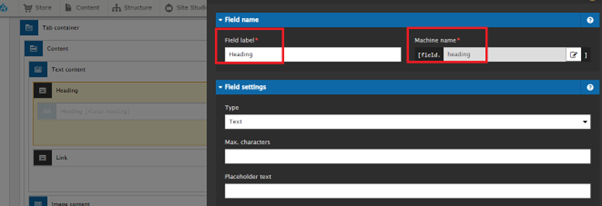
Now we need to connect fields with the correct element, so double click on the Heading element from the layout canvas, then switch to toggle variable mode. Simply type the name of the field in the square bracket as shown in the below image. To switch out of variable mode, click the plus sign, it will return every field to its original form.
Also, add Field label and Machine name on form fields.
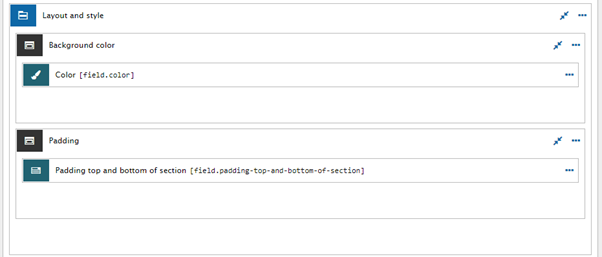
Layout and Style
Second, is the Layout and Style, here we need to add the stylings for components, for ex – Background color, border, outer padding, and Text / Image alignment which will be editable in the component, then do add the same above steps to enter tokens into the form fields.
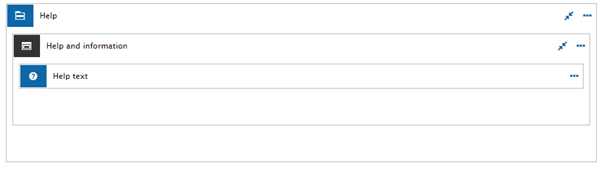
Help Tab
And last is the Help, in this tab, we can add information or uses about the form elements, and this tab is totally optional.
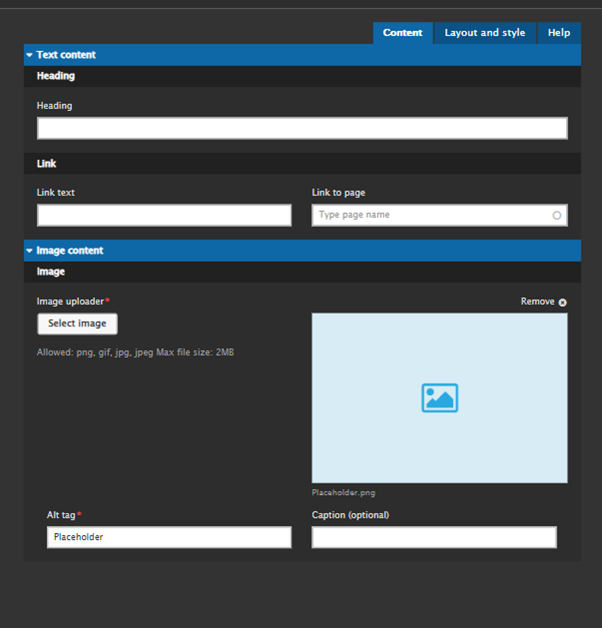
Preview Form
And lastly, preview your component form in the Component form preview area to see how the form has been created.
Thanks for Reading!
Thanks for the complete information
Nice content Thanks for sharing such informative content.