OpenShift, is a Paas (platform as a service), which can be used just like the Google Compute platform, AWS, and Microsoft Azure. It supports the developers by making the development and testing workflow of the applications much easier by ensuring that the developers don’t have to worry about switching between the physical and the virtual servers whenever required. It helps to increase the productivity and efficiency of the existing application workflow with reduced maintenance costs.
The OpenShift web console is a user interface (UI) that’s accessible from a web browser. Developers can use the web console to visualize, browse, and manage the contents of projects. The web console is started as part of the master. All static assets required to run the web console are served from the OpenShift binary. Administrators can also customize the web console using extensions, which let you run scripts and load custom stylesheets when the web console loads. You can change the look and feel of nearly any aspect of the user interface in this way.
Understanding the OpenShift Platform Lifecycle
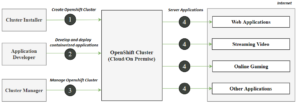
The following figure illustrates the basic OpenShift Container Platform lifecycle:
- Creating an OpenShift Container Platform cluster
- Managing the cluster
- Developing and deploying applications
- Scaling up applications
How to Use the OpenShift Web Console to Deploy an Application
Login into OpenShift Web Console using your Red Hat credentials.
There are two ways you can work on the OpenShift Web Console once you log in:
- Developer
- Administrator
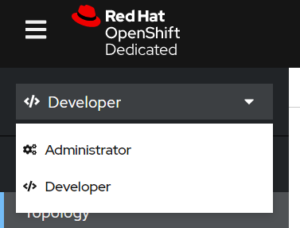
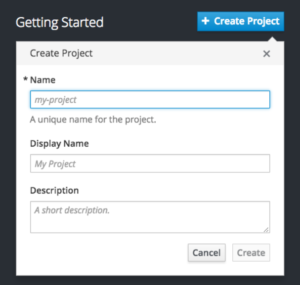
Select “developer,” navigate to the project section, and create the project. Provide the appropriate project name, and display name.
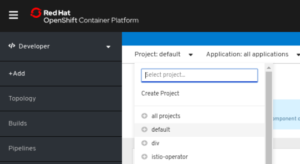
Click on “add” and select the tool you want to deploy the web application code from (i.e. GitHub).
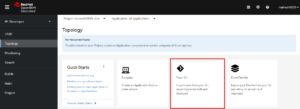
Go to GitHub and copy the “Git Repo” URL.
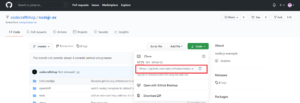
Paste the URL in the field. It will start to verify. Once the verification is done, you’ll see a green check that shows the “build image” is verified.
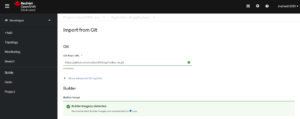
It will automatically detect the code type (i.e. case node.js).

Provide the “application name” and a “display name”. Then, select “DeploymentConfig.”
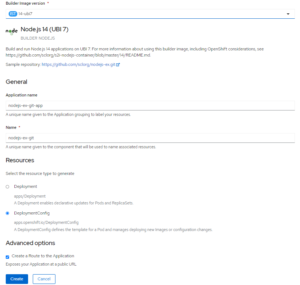
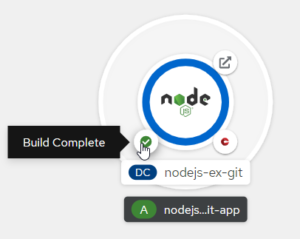
Click on “create” to start the build. Once it’s complete, you’ll see a blue circle, which will indicate the build is successfully completed. If any errors occur, then the build will not be completed.
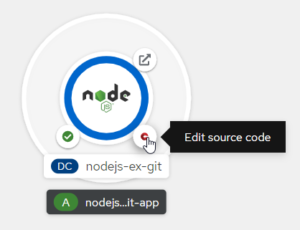
You can make changes to your source code directly from the “edit source code” option as shown in the image:
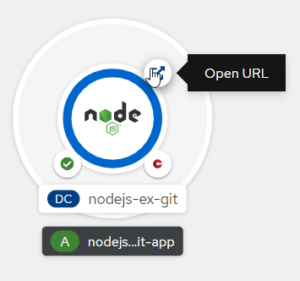
Once you click “open URL,” you will see your Web Application.
Easy Solutions with OpenShift
The OpenShift Web Console is very easy to use for developers as well as administrators. The administrator type allows one to monitor container resources and container health and manages users, while the developer type is oriented around working with application resources within a namespace and working with operators. With this type of versatility, it’s easy to do tasks such as deploy web applications. For more information, contact our experts today.

