
When you think of creating a new React application, the first thing that may come to mind is creating it with command-line interface (CLI), which allows you to run the create-react-app command to set up your project. The create-react-app helps you to create projects easily with minimal effort and configuration.
If you only want to focus on React, the create-react-app is all you’ll need to create a React boilerplate with the entire required configuration, but the create-react-app is best suitable for small projects and it’s not always enough for larger, more complex applications, such as this application you’ll be creating. Instead, you’ll want to use Webpack 4 and Babel to create your React application.
How to Get Started
Before creating a React application with Webpack 4, you should have the Node Package Manger installed in your system. If not, you can do it from here.
Understanding Webpack 4
A webpack is a static module bundler for modern JavaScript applications. Simply, a webpack is a module bundler that lets us bundle our project files into a single file for production. In a webpack, you have control of the development environment and can setup your configurations per your needs.
Project Initialization
First, create a project folder with the name “react-webpack-demo.”
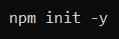
Next, you’ll need to initialize your project with the help of the Node Package Manager. For project initialization, simply enter the below command in the terminal.

This command will ask you few questions, but you can skip them by hitting the “enter” key or fill in the needful details of the project and proceed. You’ll now see a new file named “package.json” in the folder structure. It should look like this:

Use the command below if you want to skip all the questions:
Create the Boilerplate
Now that you’ve initialized the project, there are several technical items you need to install and run.
Webpack
Install the Webpack with the following command:
![]()
–save-dev (“-D”) is used to save packages as a development dependency. This will add the Webpack and the Webpack-cli as a dev dependency to our project.
Installing React
React and the React-dom needs to be installed as a dependency with the following command:
![]()
Installing Babel:
React works with ES6 and JSX, but you need to install Babel to convert the ES6/JSX code to JavaScript code so that the browser understands it. Install “babel-core,” “babel-loader,” “babel-preset-env,” and “babel-preset-react” as a dev dependency by following the command below:
![]()
You can also view the definitions of the commands below:
- Babel-core: Transforms ES6 code to ES5.
- Babel-loader: Webpack helper to transpile code.
- Babel-preset-env: Preset which helps Babel to convert ES6, ES7 and ES8 code to ES5.
- Babel-preset-react: Preset which Transforms JSX to JavaScript.
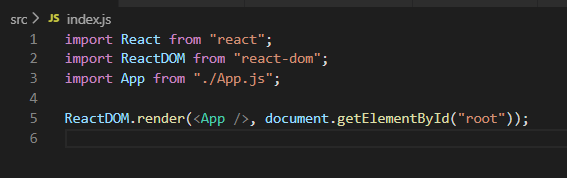
Index.js
Next, create the index.js file. This file will be the entry point to your app and must be created inside the root of the “/src” folder. Next, add the following line code inside:

Index.html:
You must also create an index.html file inside the root of the “/src” folder and add the following code inside:

Webpack Loaders
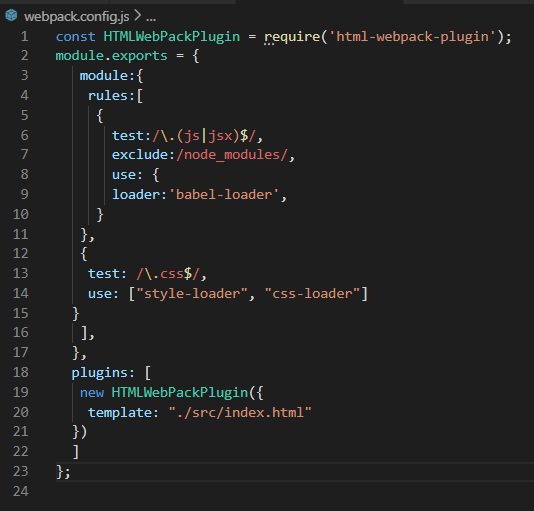
Now you need to create a webpack.config.js file in the root directory of the project so that you can define the rules for your loaders. You need to define the entry point and output directory of your app inside this file. Add the following lines of code inside this file.

In the above code, you can see Babel-loader is used to load your JSX/JavaScript files, the css-loader is used to load and bundle all CSS files into one file, and the style-loader will add all styles inside the style tag of the document. The webpack will bundle all the JavaScript files into index-bundle.js inside the “/dist” directory. Learn more about Webpack Loaders here.
Before the webpack can use the css-loader and style-loader, you must install them as a dev-dependency.
![]()
.babelrc
Create a .babelrc file inside the root of the project directory with the following content inside:

This file will tell the Babel which pre-sets to use when you’re transpiling the code. You will use these two pre-sets:
- env: This preset is used to transpile the ES6/ES7/ES8 code to ES5.
- react: This preset is used to transpile JSX code to ES5.
Compiling files using Webpack:
Add the following lines of code inside the scripts object located in the “package.json” file as below:
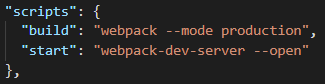
You can now compile the project using the below command:
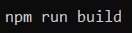
Now you can see the main.js file created under the “/dist” directory after executing the above command. This will contain the transpiled ES5 code from the index.js file.
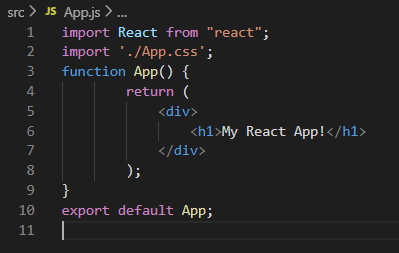
App.js:
Now you’ll create an app.js file inside our “/src” folder with the following contents inside:
App.css:
You can now create an App.css file inside the “/src” folder with the following content inside:
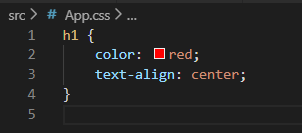
You will use this file to ensure the css-loader and style-loader are working correctly. You can now modify the index.js file that we created earlier to contain following lines of code:
html-webpack-plugin
You also need to install html-webpack-plugin. This plugin generates an HTML file, injects the script inside the HTML file, and writes this file to dist/index.html.
Install the html-webpack-plugin as a dev-dependency by running the following command:
![]()
Now, configure this plugin inside the webpack.config.js file by adding the following lines of code inside:
The value of the template key is the index.html file that you created earlier. It uses this file as a template and generates a new file named index.html inside the “/dist” folder with the script injected.
Now that the setup is almost compete, all that’s left is to compile the source files using webpack. You can run the project using the command below:
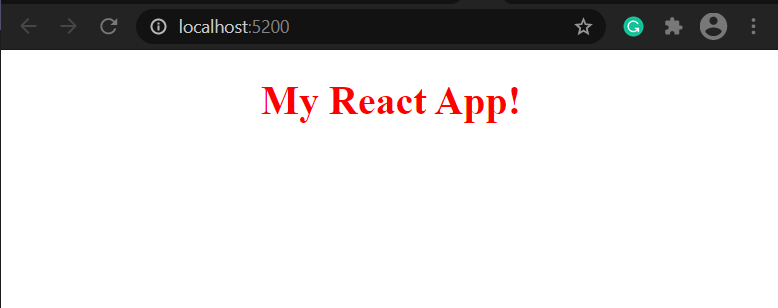
You will get the output inside the “/dist” folder of our project. After opening the index.html in a web browser, we can see the text “My React App!” inside of it.
However, approach has a drawback. You have to manually refresh the webpage to reflect your changes. You can install the webpack-dev-server to have the webpack watch your changes and refresh webpage whenever any change is made to your component.
Installing webpack-dev-server
You need to run the command below to install the webpack-dev-server as a dev-dependency:
![]()
Open the webpack.config.js file and add the lines below:
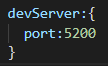
Now run the below command in the terminal:

You should see the browser window open and display the content just like the screenshot below:
Creating Your Own Application is Simple
And there you have it! You can create your own React boilerplate with these different steps and use this to create more React projects. This is only a starter to help familiarize you with Webpack concepts and a lot can be improved over moving to actual production. I hope you are excited to learn more ways of doing things with Webpack 4 and Babel. For more information on these technical processes, contact our experts today.