Does your organization need to produce reporting with descriptions other than the Default Description specified on a member? If yes, this blog post is for you as I will demonstrate how to leverage Excel and a metadata import to update member descriptions that are not the Default Description. The reason for a custom solution is that currently, the Metadata Builder does not support descriptions other than the Default Description. This blog will demonstrate the process by first creating the French description and then developing the XML for the metadata import utilizing Excel and Notepad++.
Before I begin reviewing the custom solution and to level set the discussion, a OneStream application with a default install and configuration has Culture Codes for English (United States) “en-US” and French (France) “fr-FR” which are displayed in the next image in addition to the Default Description. In this blog, French (France) will be utilized as an example of a Non Default Description.

As mentioned previously, the reason for a custom solution is that currently, the Metadata Builder does not support descriptions other than the Default Description. To begin the process, launch Excel and log into the appropriate OneStream application which for this blog will be the Golfstream application.
After you have logged into the Golfstream application, create a Quick View which will return the members that require a description update. In this example, I am creating a list of Balance Sheet base members after selecting CorpAccounts as the dimension. The Member Filter is displayed in the first image and the Quick View is displayed in the second image. Note, this presentation was created by selecting the Annotation view member as data is not needed and the Row Header Text Type is set to Name.

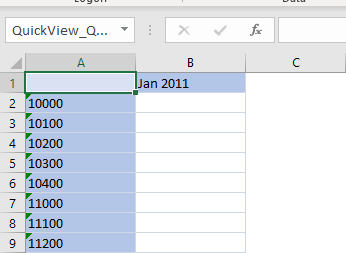
With the Quick View created and the members displayed, select the option “Convert to XFGetCells” from the OneStream XF Ribbon.

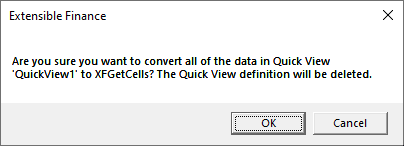
Select “OK” when the Extensible Finance dialog box renders.
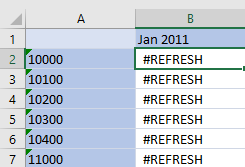
Next, the description of the member will be retrieved by replacing the XFGetCell represented by “#REFRESH” displayed in column B and initially in cell B2 of the first image with the following formula: “=XFGetMemberPropertyVolatile(“Account”,A2,”Description”,””,””,””)”. With the formula added to cell B2, copy the formula and replace the XFGetCell formulas. After the selection of “Refresh Sheet“, the member and member description is displayed in the second image.
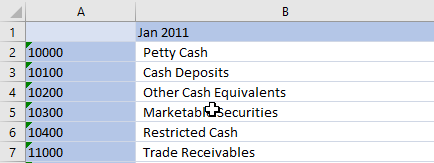
With the member in column A and the member’s Default Description in Column B, the French description will be added to column C starting in cell C2. To begin the process, click cell “B2” and then select “Review -> Translate”.

The Translator pane will open and the From dialog box detects the language as well as places the selected value in both the From and To text box.
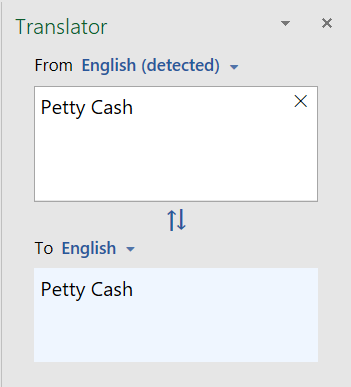
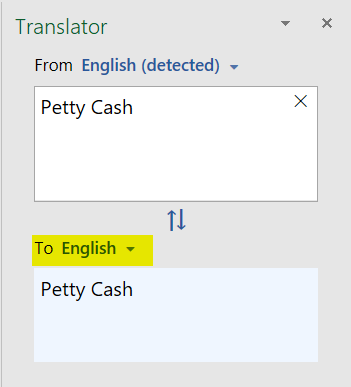
Update the To language from “English” to “French” and select the “Tab” key to cause the translation to occur which is displayed in the second image.
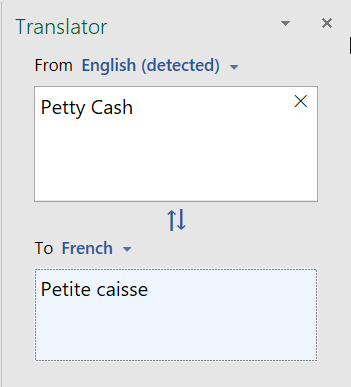
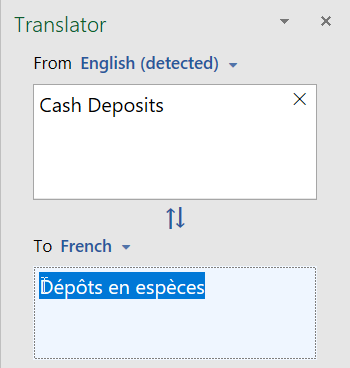
Select the French translation of the member description and then copy/paste the translated value to cell C2.

Repeat this process for the other descriptions by selecting the next cell “C3” and the description will automatically translate if the Translator pane was not closed. Copy/paste the translated value to cell C3 and repeat this process for the other rows. Note, the selection of multiple cells will Translate all of the selected cells; however, a copy/paste will result in one row instead of multiple rows. By adding a delimiter to the description, the one row can be parsed to multiple columns using “Text to Columns” and then when the copy/paste occurs the transpose option can convert the multiple columns to multiple rows.
Before we transition to creating the XML to import into OneStream, the following formula “=XFGetMemberProperty(“Account”,A2,”DisplayMemberGroup”,””,””,””)” will be added to cell D2 to return the security member specified for the DisplayMemberGroup property. Once this formula is added to cell D2 copy the formula to the member rows.

Having leveraged the Translate function of Excel to convert the English description to the French description, the next several steps will be to develop an Excel formula to create the XML for the metadata import. To begin, the format of the XML can be determined by extracting the metadata of a member with a French (France) description and the next image displays the XML needed to import one member. Note, the extract which occurred was modified to enable the presentation in the image.

Add the values listed starting with cell E1 and concluding with cell Q1. Note, the text for cell L1, O1, and P1 will include a space after the visible characters which were included for formatting purposes.
| Cell | Text |
|---|---|
| E1 | <member name=" |
| F1 | " description=" |
| G1 | " |
| H1 | displayMemberGroup=" |
| I1 | "> |
| J1 | <descriptions> |
| K1 | <description culture=" |
| L1 | fr-FR" |
| M1 | description=" |
| N1 | " |
| O1 | /> |
| P1 | </descriptions> " |
| Q1 | </member> |
In cell E2, add the following formula “
=CONCATENATE($E$1,A2,$F$1,SUBSTITUTE(B2,”&”,”amp;”,1),$G$1,$H$1,D2,$I$1,$J$1,$K$1,$L$1,$M$1,C2,$N$1,$O$1,$P$1,$Q$1)” which concatenates the text from cell E1 to Q1 with the text in columns A to D for the corresponding row to create the XML. Note, due to XML reserved characters, the ampersand “&” character is substituted with “amp;” as part of the formula. Once this is done, copy the formula in cell E2 to the appropriate rows.

With the XML created utilizing an Excel formula, copy and paste the XML generated to a text editor which in this circumstance is Notepad++.

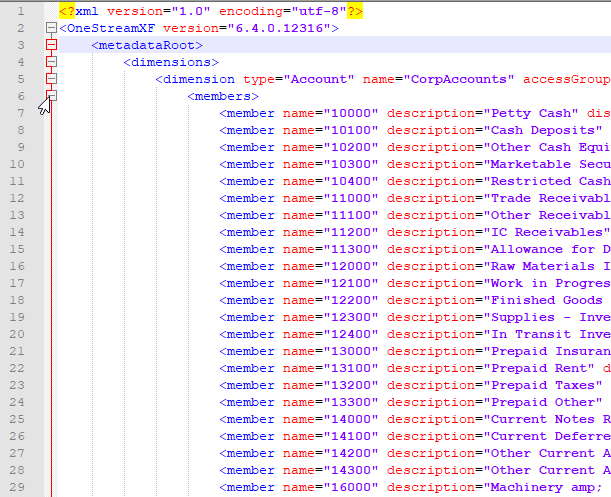
After the XML is copied and pasted to a text editor, leverage the example from the first image to include the rows before and after “<member name” which are rows 1 to 6 and 8 to 12 as displayed.

To upload the file, save the file. Two images are included for reference, the first displays row 1 to 6 from the example and the second image has the <members> collapsed to show rows 1 to 6 and 81 to 84 both of which originated from the example file.

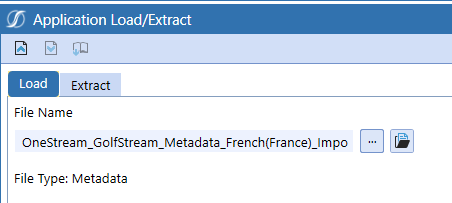
If you have not already done so, log into the OneStream application. Once logged into the application, select and expand “Application > Tools > Load/Extract”.
Navigate to and select the XML file previously created. Once this is done, select the “Load” ![]() icon. The load will complete without error which is confirmed by the second image sourced from the Activity Log.
icon. The load will complete without error which is confirmed by the second image sourced from the Activity Log.

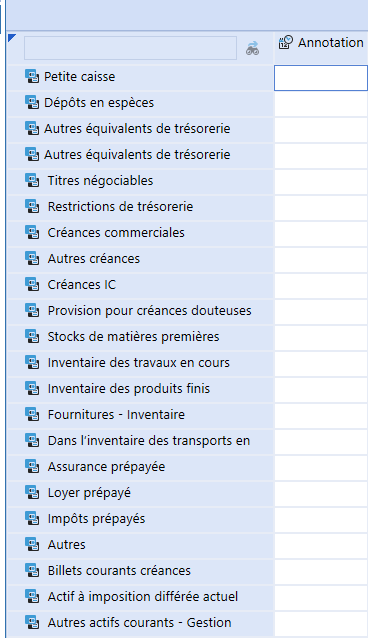
To see the results using Excel, navigate to “System -> Security” and select your user account. With the account selected, update the Culture from “English (United States)” to “French (France)”. Note, administrator privileges are assumed for this step.


To display the uploaded account descriptions without changing the Windows Display Language setting, create a Cube View that duplicates the display of the original Quick View. Once the Cube View is created, selected the “Open Data Explorer” icon to display the uploaded descriptions.
I hope this solution is helpful. Should you have any questions, either leave a comment or email me at terry.ledet@perficient.com.

