
Before we start the actual installation of the new Hyperion Oracle EPM 11.2 software, we need to stop and consider several items. The following things should be examined.
- Supported OS
- Supported DB
- Preparing the Windows Servers
- Preparing the OS Installation Account
- Unzipping the software
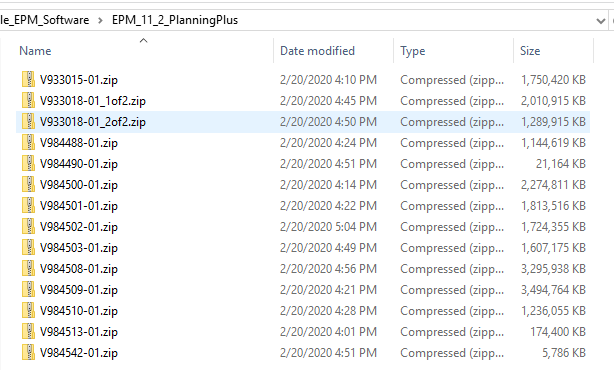
In this blog, we will be using the “Oracle Hyperion Planning Plus 11.2.0.0.0” software downloaded in the previous blog.
Supported OS
The supported Operating Systems are in the Support Matrix for 11.2. The support matrix is available online “Oracle 11.2 Support Matrix”. It is a .xlsx file with all of the currently supported software for 11.2. Open the file and go to the Menu tab.
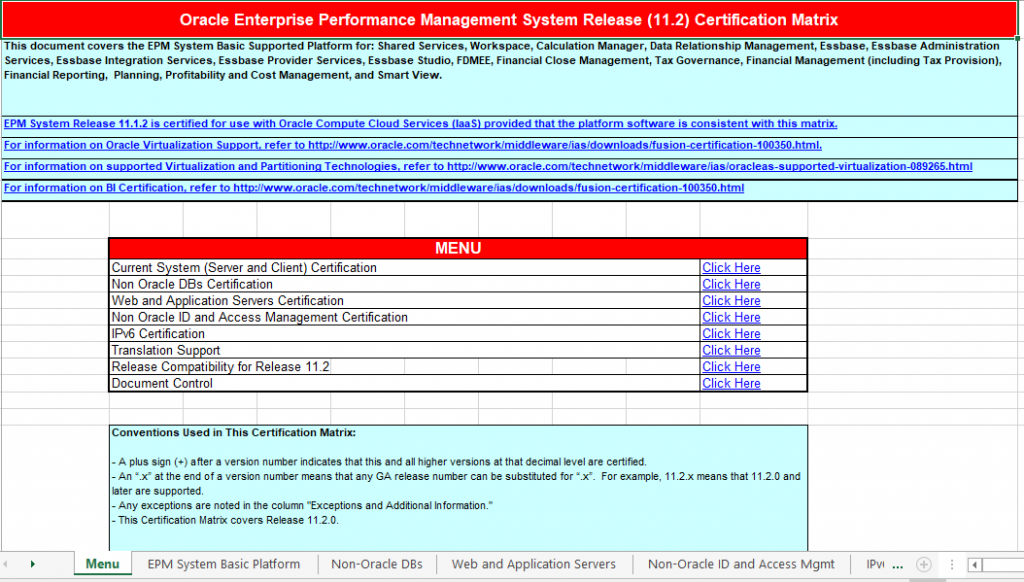
Click on “Current System (Server and Client) Certification”
![]()
There we see that Windows Server 2019 at any SP level is supported. Linux support is scheduled to be added soon.
Supported Databases
To determine the DB support we first look at the previous screen print to see the supported Oracle versions


Then Click on “Non-Oracle DBs Certification” and see what else is supported.
![]()
The big take away is support for SQL Server 2016. I understand that SQL Server 2019 support will be coming soon.

Preparing the Windows Servers
The windows servers will need to be set up for the installation. Details can be found in the “Oracle Enterprise Performance Management System – Installation and Configuration Guide” available online from Oracle but at a high level are as follows.
The following steps are needed on all servers used in the installation.
- Apply Windows updates and reboot servers
- Validate ports to be used and resolve any conflicts
- Disable UAC for the installation Account
- Synchronize the clocks of all the servers in the installation
- Validate access between all servers to all other servers in the installation
- Disable the Anti-virus software on the EPM systems at least for the duration of the installation. Long-term exclude the Oracle Home directory from automated scanning.
- Setup any shared file systems used in the installation.
- Verify that the disk space required for the installation is available on the server.
Preparing the Installation Account
The installation account needs to be set up with several required permissions and will need to remain after the installation is complete. The Installation Account is utilized for all EPM patching.
- Don’t use the Administrator account to install software
- The account created for installation must have the following Local Policies
- Act as part of the OS
- Bypass Traverse Checking
- Log on as a botch job
- Log-on as a service
- Full access to Windows/Temp, Temp and Oracle directories
Unzipping Software
Now that everything is prepared, we are ready to unzip the software for installation. The example being used is the downloaded software from the previous blog the “Oracle Hyperion Planning Plus 11.2.0.0.0” software.

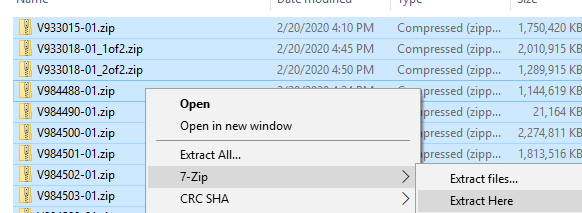
When we downloaded the software, we put it into a single directory for ease of use. That directory must not contain any spaces in its path. Navigate to that directory and unzip the files. I prefer 7-zip as some times the file names in the zip file are too long for the standard windows zip. The zipped software for this installation is 20.8gb in size. Normally you should unzip this software on a share that will be mounted on every server in the installation. This will assure that you use exactly the same software on every server and have a single place to contain that software.
Navigate to the directory containing the download of the .zip files from edelivery.
Select all files, Right Click and “Extract Here”
During the unzipping, when prompted to overwrite files, choose “Yes to All”

Now we have prepared the servers and software we can start the actual installation. Stay tuned for upcoming blogs in this series covering:
- Installing Oracle EPM 11.2 onto Windows 2019
- Configuring Oracle EPM 11.2
- Migrating from 11.1.2.4 to Oracle EPM 11.2 Planning, HFM, FDMEE & RAA