(What is it?) Mapping Architect for Visio is an Informatica power center client which is used to create mapping templates using Microsoft office Visio.
(Why?) Mapping templates created using Visio work as a sketch of PowerCenter mapping which offers reliability and improves efficiency in:
- Defining principles or rules that determines how specific procedures or methods can be well-defined for data integration projects.
- Following best practices, standards, and special techniques.
- Being used as a reusable object for similar mapping code or projects
- Multiple mapping code can be generated at one shot with the same template
- Documentation – Mapping template can be used to represent data or process flow while preparing design documents.
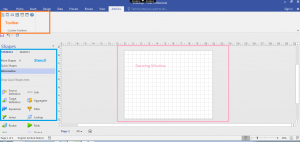
Components / Tools of Visio: The Visio provides the following 3 main tools,
- Informatica Toolbar:
- Creates a mapping template from mapping XML -when the Powercenter mapping export xml is used for template creation.
- Validate– The mapping drawing can be verified and validated.
- Publish – The mapping template XML file and parameter file is created while publishing the drawing file.
- Arrange all button – used to show the mapping objects in best alignment.
- Show parameters – Displays the parameters ($<parametename>$) that are created while creating the mapping template which is used to choose/enter the values at the time of importing the template wizard in designer tool.
- Declare parameter & variable – Mapping parameters and variables are defined which is denoted as $$<ParameterName>
- Informatica stencil: Displays shapes that represents mapping objects.
- Drawing Window – Work area for mapping the template using an Informatica stencil.
Getting started with the mapping Architect for Visio:
1. Mapping Template Creation:
A mapping template can be created in any one of the following ways:
- Manual – Mapping template created using Informatica stencils
- Importing export XML – A mapping template can be created by importing the existing mapping XML from PowerCenter as a base and can be customized.
Let’s see the first option in detail in this article,
- Manual Template creation:
- Drag the mapping objects from Informatica stencil and create a mapping flow along with the links between each mapping objects.
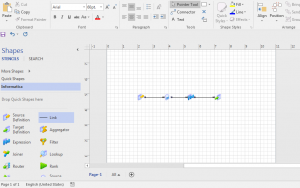
- Rules can be configured for each link to designate how data should move from one object to the other object, whether all ports to be moved to the next transformation or any specific fields or key columns to be passed over to the next transformation. Rules can be defined by double clicking on the link object and properties can be configured as per the requirement. By default, the new rule will be all ports.
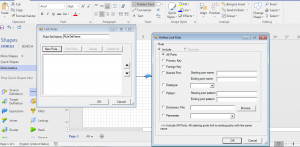
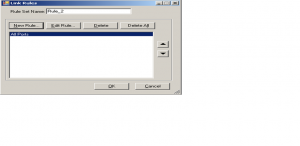
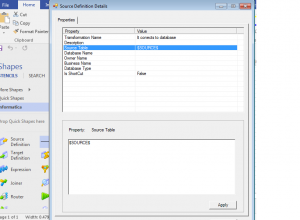
- Like the link task, properties of all mapping objects in the drawing panel can be configured by double clicking on the objects. For example, in the case of multiple mapping generation with the same template, the source and target would be different for each mapping. In this case, the source table and target table can be parameterized and this option will be used to choose the source/target at the time of importing the template wizard. Eg. $SOURCE$ parameter for Source and $TARGET$ for Target object.
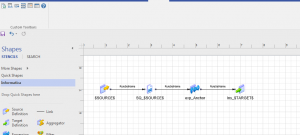
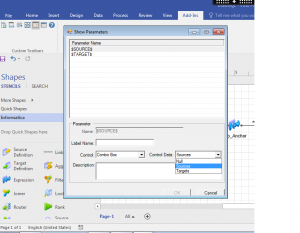
- Using the show parameter button from the Informatica toolbar, the parameter properties can be set. At the time of importing the template wizard, this set up allows you to choose the source table either in a drop-down fashion (Control =combo box) or in an edit box.
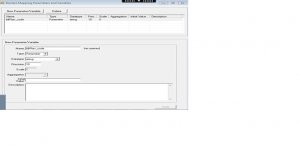
- Using declare parameters or variable can be defined which can be used as a parameter in the mapping and variables in session or workflows. Eg. $$Plan_code parameter, string as datatype.
- Once all the rules and parameterization are done, the mapping template should be validated using the validate button from the toolbar.
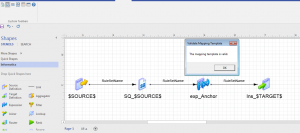
- Final step is to save the changes to mapping template drawing file.
2. Publish Mapping Template:
When publishing the mapping template, the mapping template XML file and the mapping template parameter file will be generated which are used to generate multiple mappings along with parameter value specification when the import mapping template wizard is used.
After publishing, if there is any update on the mapping template drawing file then it should be re-published.
3. Generation of multiple mappings:
There are two methods to generate mappings in PowerCenter using the mapping template,
- Mapgen commandline program
- Import mapping template wizard
Import mapping template wizard option:
To begin with the import mapping template wizard, the basic requirement should be,
- Mapping cannot be created without source and target in the repository as the template wizard could not access source/target definitions.
- If in case the shortcuts are used in the templates, then ensure the destination source/target should be available in shared folder in the active repository.
To start with import wizard template,
- Open the folder where the mapping will be created in the designer tool
- Select the mapping tab and choose the import mapping template option and upload the template XML file and click next when wizard opens.
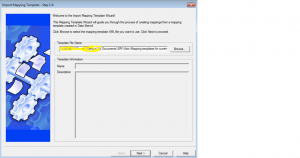
- This step is used to specify the parameter values that are defined in the mapping template. In our example, we have created a parameter for source & target ( $SOURCE$ / $TARGET$) with control properties as combo box. So, this step enables us to choose or map the source and target definitions or shortcuts to the corresponding mapping. An alternate option is to opt “use existing” button to make use of mapping template parameter file XML.
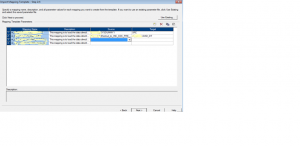
- Clicking the next option twice, the next step will be to click the option ‘Yes’ for the below prompted dialog box. This will export the source and target definitions to tabledef where the PowerCenter client is installed.
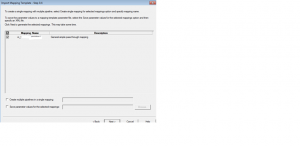
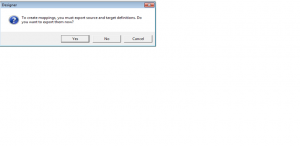
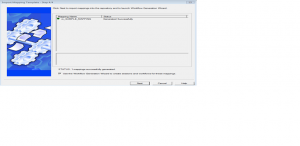
- The final step will show the status that the mapping(s) are generated successfully. In order to generate mappings, enable the check box denoting “use the workflow generation wizard to create session and workflows for these mapping”. If not, it can be unchecked which prevents workflow generation/creation. The next step will be to click ‘Yes’ for the below prompted dialog box. This will export the source and target definitions to tabledef where the PowerCenter client is installed.
Did you find any other enhanced technique for the same perception ? What and how are you implementing them? Let us know in the comments.
