Have you (or one of your clients) ever wanted to limit the default Personalization Rules in Sitecore 8? If so, you’ve just found the right step-by-step instructions.
Wondering where to start? Considering writing some custom code that intercepts a pipeline? Nope. Guess again! You can actually do it with out-of-the-box features in Sitecore 8.
8 Easy Steps: How to Customize Personalization Rules
Let’s lay out the steps necessary steps to customize the Personalization Rules. In this example, we’ll create a rule to limit by site name for a country.
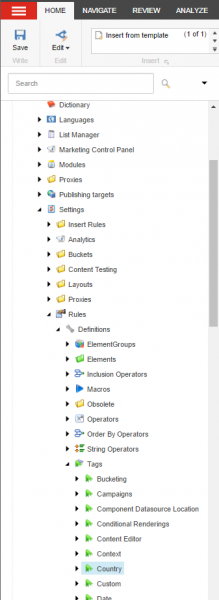
- Create a new Rules Tag for the Conditions.
/sitecore/system/Settings/Rules/Definitions/Tags
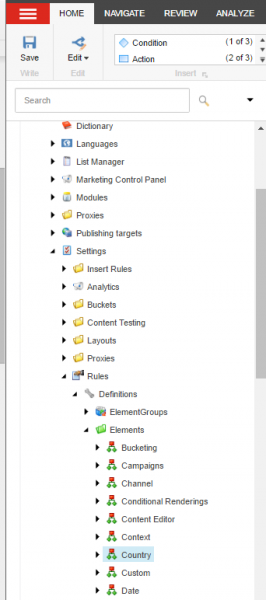
- Next, you’ll need to add a new Element Folder.
/sitecore/system/Settings/Rules/Definitions/Elements
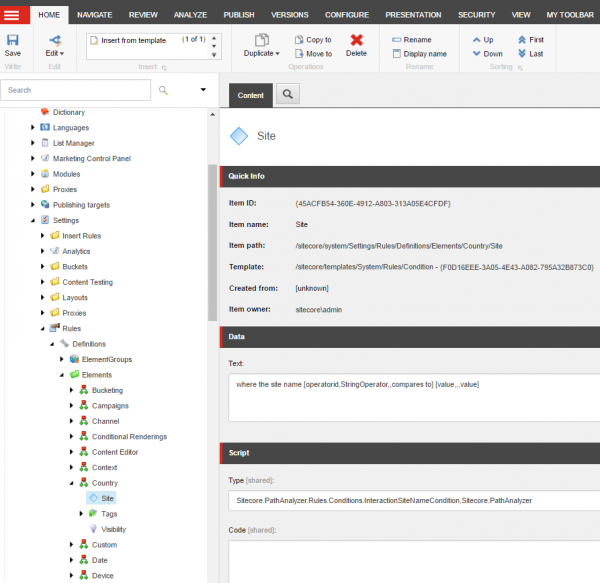
- Inside the Element Folder, add a new Condition.
/sitecore/system/Settings/Rules/Definitions/Elements/Country
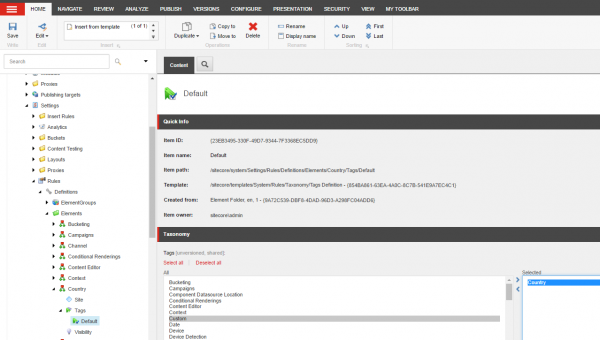
- Now assign the Rules Tag (created in step 1) to the new Condition’s Default Tag.
/sitecore/system/Settings/Rules/Definitions/Elements/Country/Tags/Default
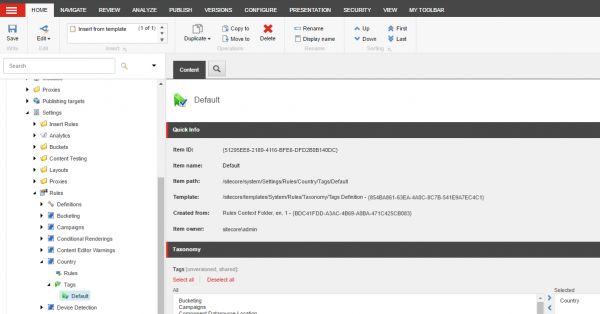
- Create a Rules Context Folder.
/sitecore/system/Settings/Rules/Country
- Assign the new Tag that was created to the Default Tag.
/sitecore/system/Settings/Rules/Country/Tags/Default
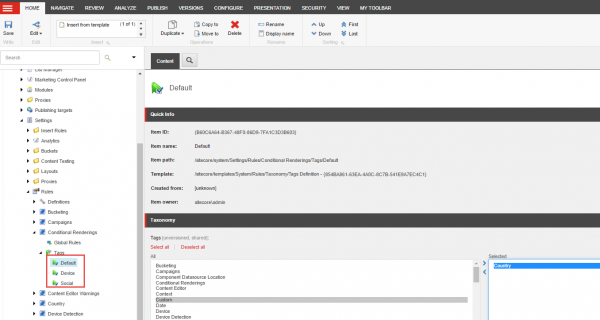
- Update all Conditional Renderings Tags to use the new Tag, Country, that was created and remove any previous ones.
/sitecore/system/Settings/Rules/Conditional Renderings/Tags/[Default, Device, Social]
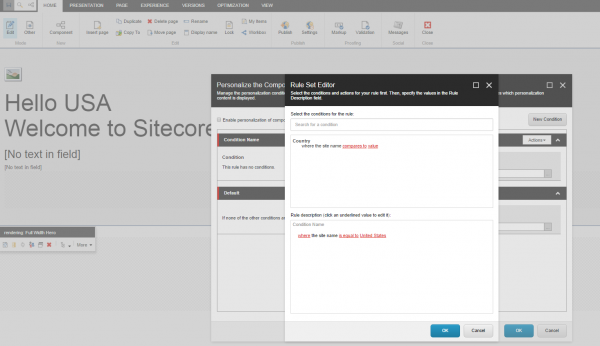
8. Finally, test it out. Add a new Condition to a component on a page, and then the Rule Set Editor should reflect the newly created condition.
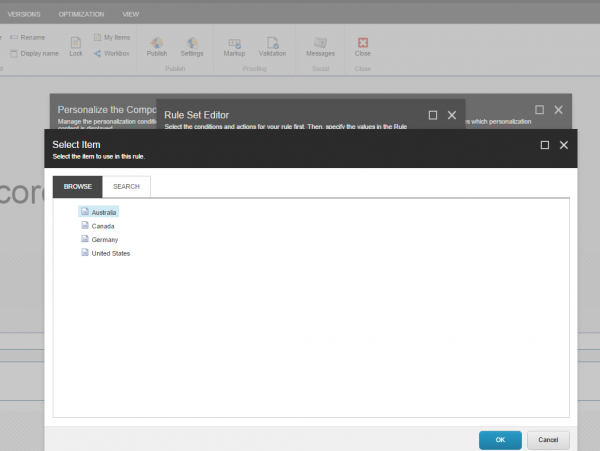
Note: If you want to limit the user’s choices to a specific set of values, just update the Condition created in step 3 to point to your folder, like so:
where the country name [operatorid,StringOperator,,compares to], [value,Tree,root=/sitecore/Content/MySite/Countries,specific country]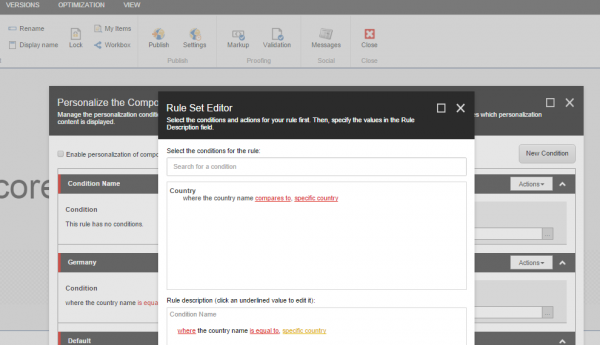
Get Started or Just Ask if You Need Anything!
Now that you know how to limit the default Personalization Rules in Sitecore 8, you’re ready to start customizing them for you or your clients.


