This blog post is intended for users who need to get rid of the repetitive tasks in Notepad++ and thereby reduce the time for data formatting and improving the efficiency.
Background – Notepad++ is a powerful open source text editor for use with Windows. In this post, the Macro and the Column mode editing features of Notepad++ are illustrated.
What is a Macro?
Macro is used to make a sequence of computing instructions available to the programmer as a single program statement, making the programming task less tedious and less error-prone.
Making use of Notepad++ Macro
Macro is one of the powerful features in Notepad ++ as it allows to automate some of the repetitive tasks.
Notepad++ allows users to record the actions that need to be automated by the macro, save it for further use and play back.
By default, notepad++ offers a macro “Trim Trailing spaces and save”, which could be used in SQL operations to remove the unwanted trailing spaces in the data. Trim is one of the most frequently used operations for String type data.
Example 1:- Illustration for using macro “Trim Trailing spaces and save” to trim the extra space.
- Consider the below example where we have spaces at the end.
- Often, we would need to get rid of this before doing some processing, and this can be done by using the default macro specified by Notepad++.
- Click on the “Macro” menu in Notepad++ and choose the “Trim Trailing and Save” option.
- It prompts for a save location and we can save it in our desired location. After saving, the data will look like below.
- An alternative way of removing the Leading and Trailing spaces is by navigating to the Edit menu → Blank Operations → “Trim Leading and Trailing space” as shown below.
Example 2: Appending Quotes around the data for SQL Operations
- Consider the above data which is already trimmed and the below example illustrates on how to append quotes and comma for further SQL operations.
- Place the cursor in the starting of the first line (Line 1, Col 1).
- Once the cursor is in position, click on the “Macro” menu → “Start Recording”. All the key strokes that are clicked thereon are recorded as part of the macro.
- Press the single quotation mark (‘) key followed by the “end” key to place the cursor at the end of the line 1 as below.
- In order to add another quotation mark at the end, press the “single quotation” key again and add a “comma” (,) to line 1 as shown in the below screenshot.
- Next step would be to bring the cursor to the next position (line 2) so that we can apply it for all the underlying data.
- Press the “down” arrow key and press “home” key to reach the start of line 2.
- Click on the “Macro” menu → “Stop Recording”.
- Navigate to the Macro → “Save Current Recorded Macro” to save the currently recorded Macro.
Adding a shortcut for the Macro
While saving the macro, we can also set Shortcut keys for the currently recorded macro as shown below.
- Navigate to “Macro” menu → “Run a Macro multiple times” and select any macro which needs to be run.
- Here we are using the “Current Recorded Macro” in the “Macro to Run” drop down. Specify the number of times, the macro needs to be executed in the highlighted box below.
- Select the “Run until the end of file” radio button and click “Run” to update the changes till the last line.
Note – Similarly, we can record Macros with any key strokes for various purposes.
Making use of Notepad++ Vertical Selection (Column Mode Selection)
Column mode selection is useful to make changes for all the selected lines at once. To make use of the column mode selection in notepad++, we have the two ways.
- Alt + Mouse dragging
Hold the “Alt” key and the drag by clicking the mouse to the number of lines that need to be changed. - Alt + Shift + Arrow keys
Hold the “Alt” and the “Shift” key and use the up or down arrow key to select the number of lines that need to be changed.
Once the selection is made, we can make the necessary changes to add any keystrokes.
Example:
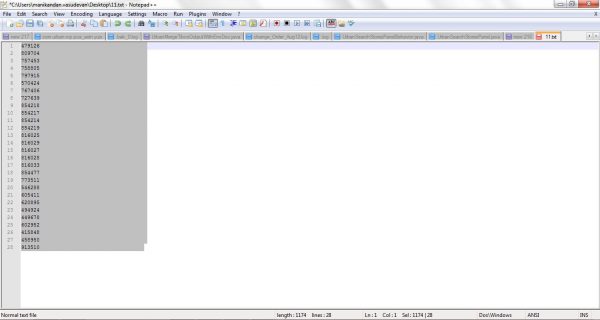
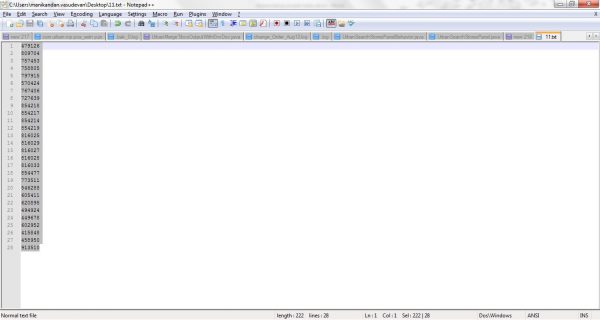
- Consider the below data where we need to create an xml out of it. Place the mouse pointer in line 1, col 1.
- Use either the Alt + Mouse Dragging or Alt + Shift + Arrow Keys to enable the cursor in column edit mode.
- Prepare the required xml by typing the key strokes (<Item ItemId=”) and that would be updated on all the lines as below.
- Similarly, Place the cursor at the end of line 1 and drag it to the column mode selection and enter the key strokes to complete the xml.
Advantages:
- Reduce Data formatting and structuring time
- Increase efficiency
- Automate repetitive tasks
- Make data formatting/structuring less error prone
- Allows saving and reusing data formatting steps.


good one dude 🙂
Thank you Yusuf 🙂
Thanks for giving in details
I tried so many video but was unable to achieve the result .
Later I saw your post and able to achieve results .