Sales Report with Date Picker.
Last week we created a generic sales report in SSRS. This week we will customize that report and display the numbers only for specific dates. Such reports are called Parameterized reports and are user friendly because the user can choose a date range for his/her reports.
So, let us begin!
Step 1: Let us modify the SQL query we wrote last week. Because we want to allow the user to choose a date range we will include a where clause. Pay special attention to Where clause.
[candle_soap_shop$].Product_Type
,[candle_soap_shop$].Product_Detail,
count(*)
FROM
[candle_soap_shop$]
Where [candle_soap_shop$].Sold between @StartDate AND @EndDate
group by [candle_soap_shop$].Product_Type
,[candle_soap_shop$].Product_Detail
order by count(*) desc
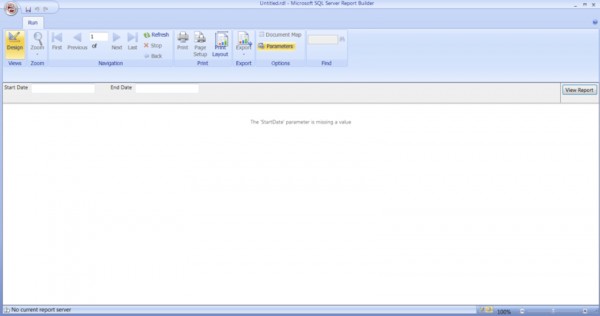
Let us run the report and see what we have.
You see two text boxes – one called the Start Date and the other End Date. Both text boxes are very descriptive. However, the user will have to enter the date every time he/she wants data. Another thing to remember is that different countries use different date formats. For example: United States uses mm/dd/yyyy format and India uses dd/mm/yyyy. Wouldn’t it be just more convenient if we gave the user a date picker to choose a start and an end date.
Let us go back to the home page by clicking on Design button on Top Left.
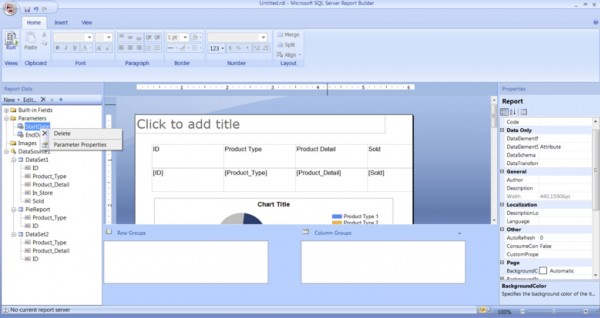
Step 2: Click on + sign to the left of Parameters to expand.
Step 3: Right click on StartDate and select Parameter Properties.
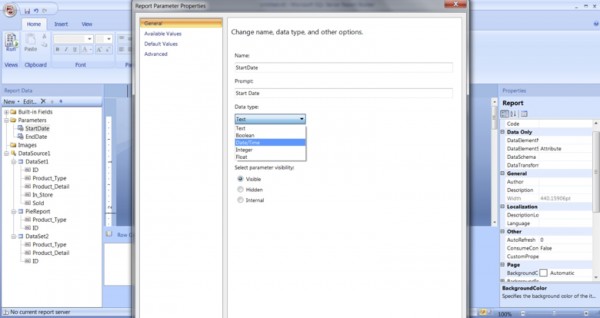
Step 4: Because we know that StartDate is a date, we will select Date/Time from the drop down and click OK.
After you have finished reading this article and creating this report, I would advise you to try out different types of parameters and see how the report looks.
Step 5: Follow steps 3 and 4 for EndDate.
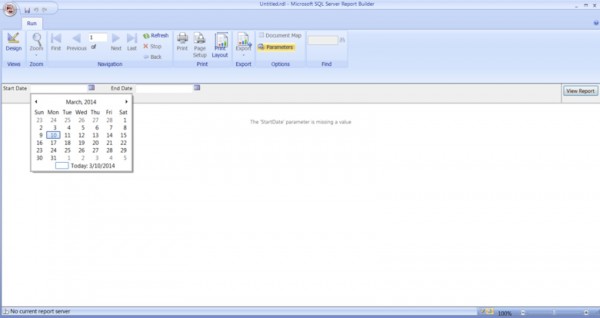
Finally, run the report and verify whether date picker is now available.
Stay tuned for more articles!!


