So you’re ready to install Cognos TM1 10.1.1. The following blog post will walk you through the installation of Cognos TM1 10.1.1 on a Windows 7 single machine setup. So let’s get started!
Before we can get started you will need to ensure that your computer meets the hardware and software requirements for the product modules that you want to install. To obtain the most up-to-date information about the installation requirements, see these resources: The system requirements at IBM TM1 10.1.1 System requirements and prerequisites.
In addition, to your PC requirements you will also need to obtain IBM Cognos TM1 exe file from your IBM representative.
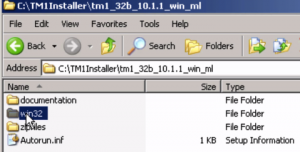
The following is a Cognos TM1 10.1.1 32 bit Windows 7 EXE file. If your Windows machine is a 64 bit, you will need to 64 bit Windows 7 EXE file.
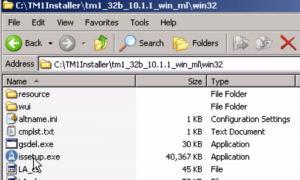
Once you have the Cognos TM1 10.1.1 EXE file, you need to then find the issetup.exe which is located in the win32 folder.
If you are installing on a 64 bit windows machine the folder would be called win64.
The issetup.exe is the EXE file used to install Cognos TM1 10.1.1 on your Windows 7 machine.
Right click on the issetup.exe, as you want to run the EXE as an administrator.
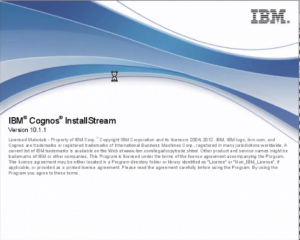
Once you started the installation, the IBM Cognos TM1 10.1.1 Install Stream will appear.
Please note: If you did not the IBM Cognos TM1 prerequisites as stated above, you may get the following error below, such as “.NET Framework 3.5” missing.
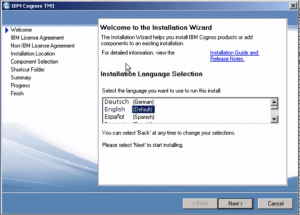
If you have installed all the prerequisites and your PC meets the hardware requirements you should then see the Welcome install window, allowing you to select the language.
Once you select your language, you will then want to click the Next button.
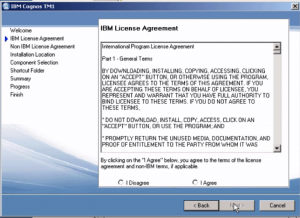
Next the Software License Agreement will appear; please read and check the “I accept the terms in the license agreement” then click the “Next” button.
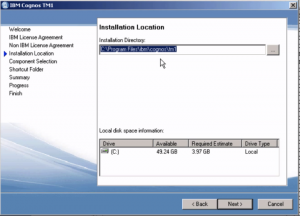
Once you have agreed to the license agreement, the install will ask you where you want to install TM1 10.1.1. I would recommend using the default location.
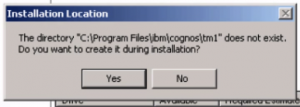
Please note a pop up will appear letting you know that if the DIR does not exists the DIR will be created. You will need to click Yes to allow the DIR to be created.
Now here comes the install of Cognos TM1 10.1.1
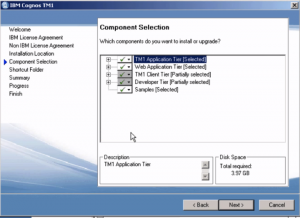
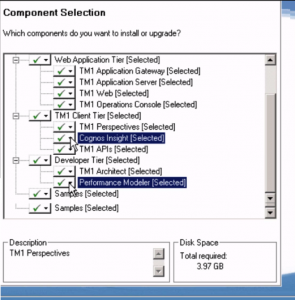
When the install component selection appears, I would recommend you expanding all the drop downs and selecting all the different IBM Cognos TM1 10.1.1 components as shown in the image below.
Once you have selected all the IBM Cognos TM1 10.1.1 components you will then need to click the Next button. If you were interested in learning more about all the TM1 components, I would recommend you check out some of the great TM1 blogs by Jim Miller.
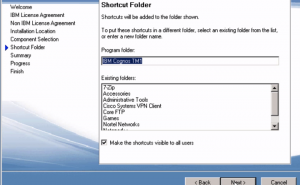
Once you clicked Next, a shortcut folder will be created on your Windows 7 machine.
If you are ok with the default shortcut folder name you will need to click the Next button.
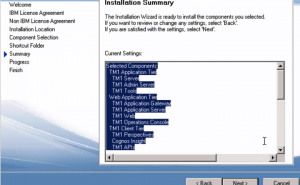
Once that is complete, an installation summary will appear showing you all the IBM Cognos TM1 10.1.1 components about to be installed on your Windows 7 machine. If you are ok with the settings shown, click the Next button.
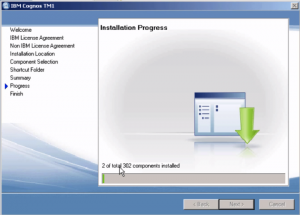
Once you click the Next button the IBM Cognos TM1 10.1.1 installation will start. Now this will take some time so kick back and relax while the install is being taken place.
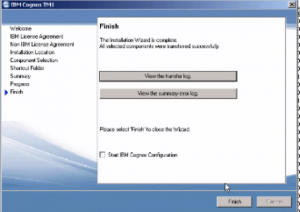
Once the install is done, this will complete the installation. As I said before easy as 1, 2, 3!
Well I hope you all enjoyed my blog post. Please check out all there other great posts found https://blogs.perficient.com/ibm. Thanks!

